For years I’ve wanted to write about wiring rooted juniper cuttings, but I stopped short as before and after photos aren’t always helpful.

Rooted juniper cuttings before and after wiring
To make the trunk-line easier to see, I removed the foliage from a branch to use as an example.
Wired juniper branch – 18″
From there, I mocked up some common wiring patterns to avoid. The most familiar is the S-curve.

An S-curve
There are actually a few problems with this pattern that do not have to do with the resemblance of the trunk to the letter “S”. The first is that the radius of each bend in the trunk is similar – it’s as if the curves were created with a protractor. To avoid this, try varying the radius of the curves you create.
The next problem is that each curve is about the same length, about 180 degrees, which makes the trunk look like a series of semi-circles (and in this case, like the letter “S”).
The biggest problem is that while the trunk clearly has movement from left to right, there is little movement from front to back. Here’s a photo of the same curves from the side.
Two-dimensional curves viewed from the side
This pattern is easy to fix. When wiring young trunks, make sure there is just as much movement from front to back as there is from side to side. Put another way, make sure the trunk looks interesting from all sides.
In some cases, the trunk may have lots of twists and turns but it mostly travels in a single direction.

Twisty trunk that moves up and to the right
A variation of this pattern is when a trunk starts out in one direction, takes a detour, but then continues in the same direction in which it started.

The trunk starts up and to the left, makes a detour, and then continues up and to the left
Evaluating the curves you create from all sides is the best way to avoid these patterns.
Another pattern to avoid is the loop-the-loop. It’s OK to use on occasion, but it’s not appropriate for every tree.

Loop-the-loop
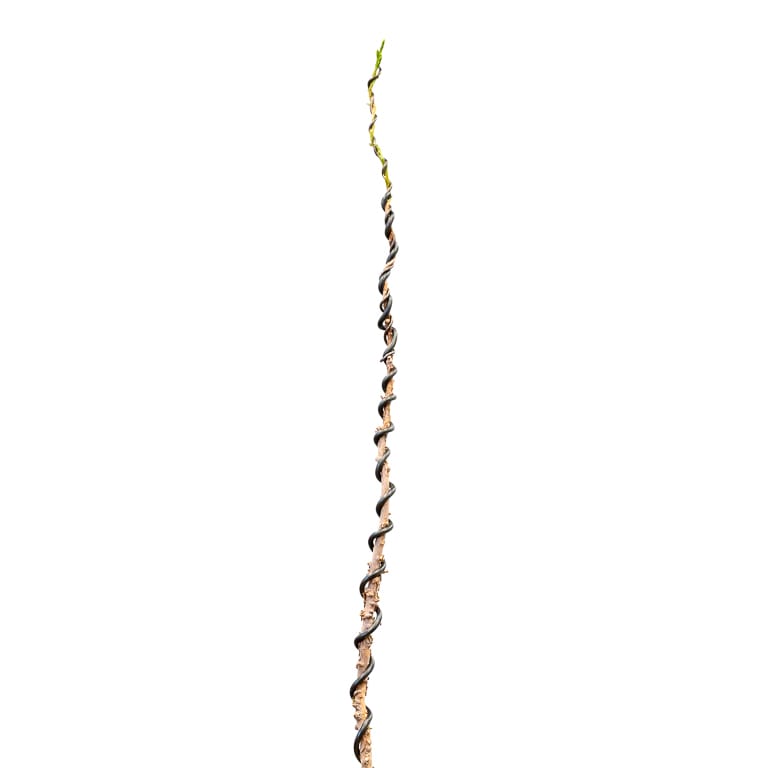
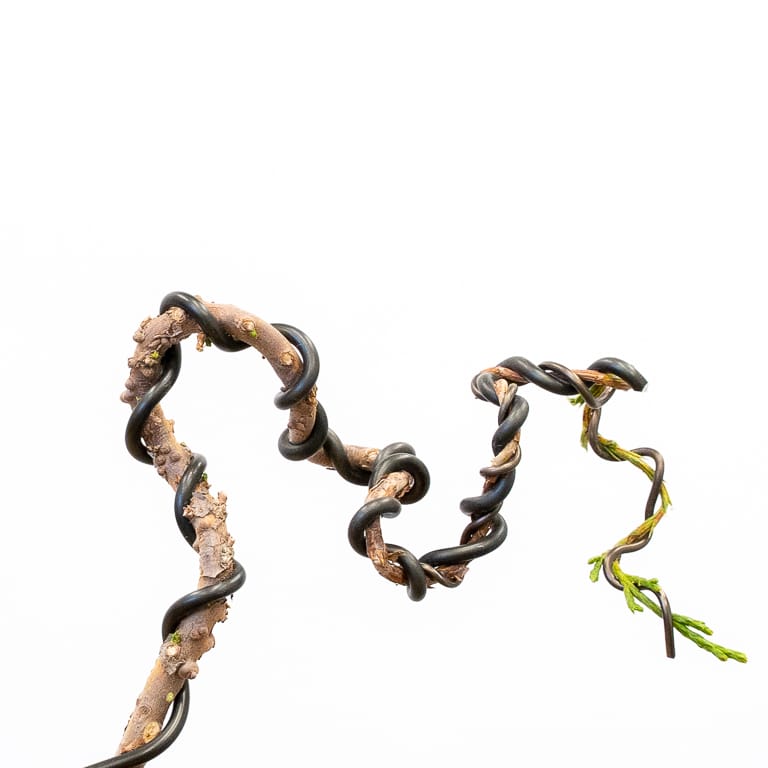
The trick, then, is to mix up the direction, the radius, and the length of the curves. Here are a few samples that exemplify both good and bad points.
Sample #1
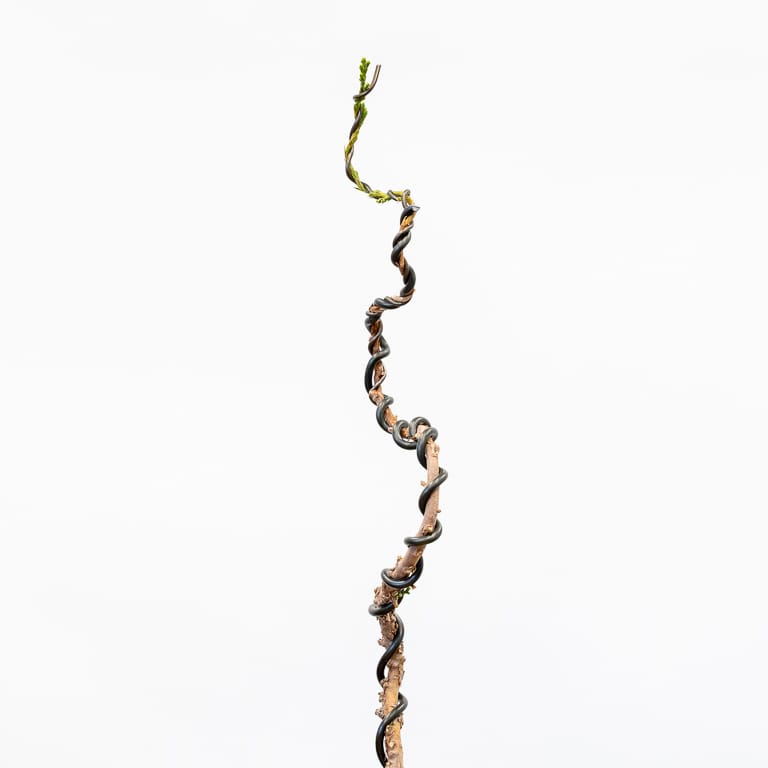
Sample #2
Sample #3
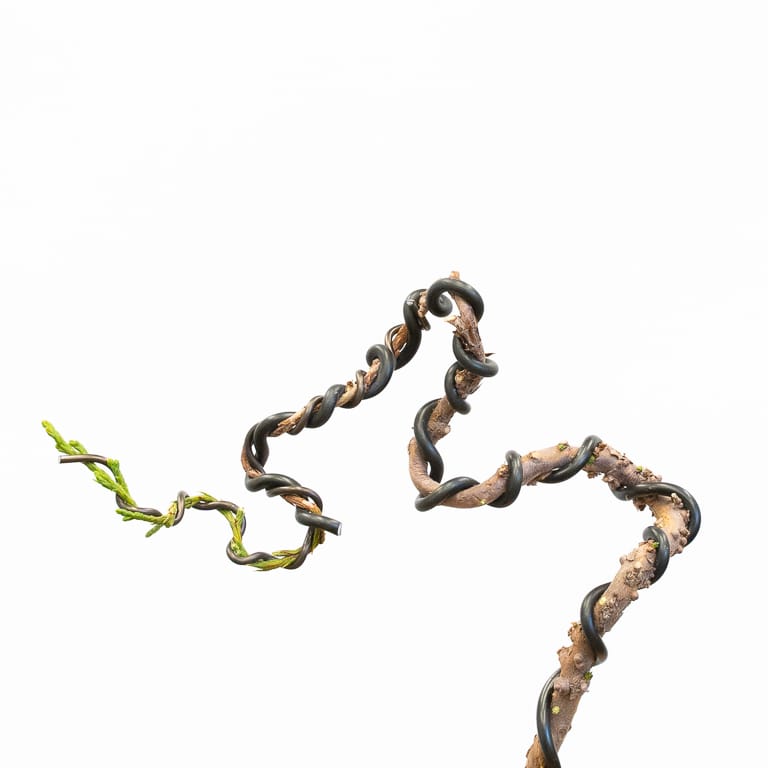
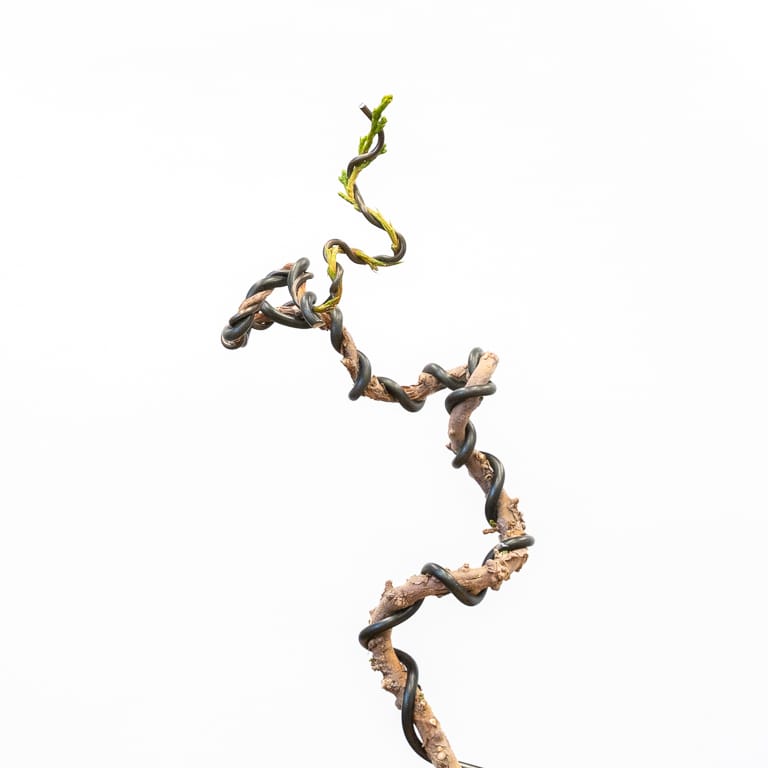
Sample #4
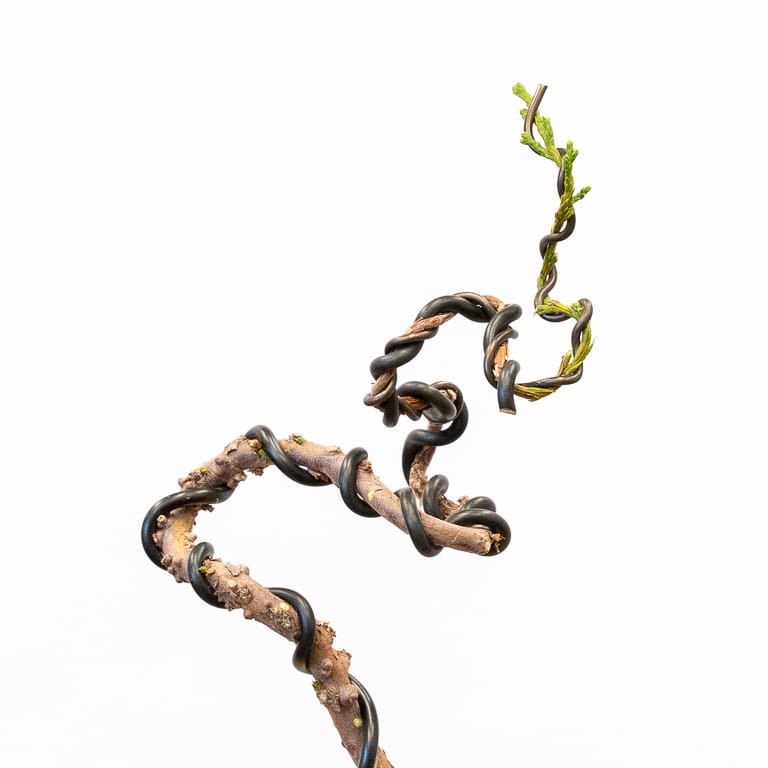
Sample #5

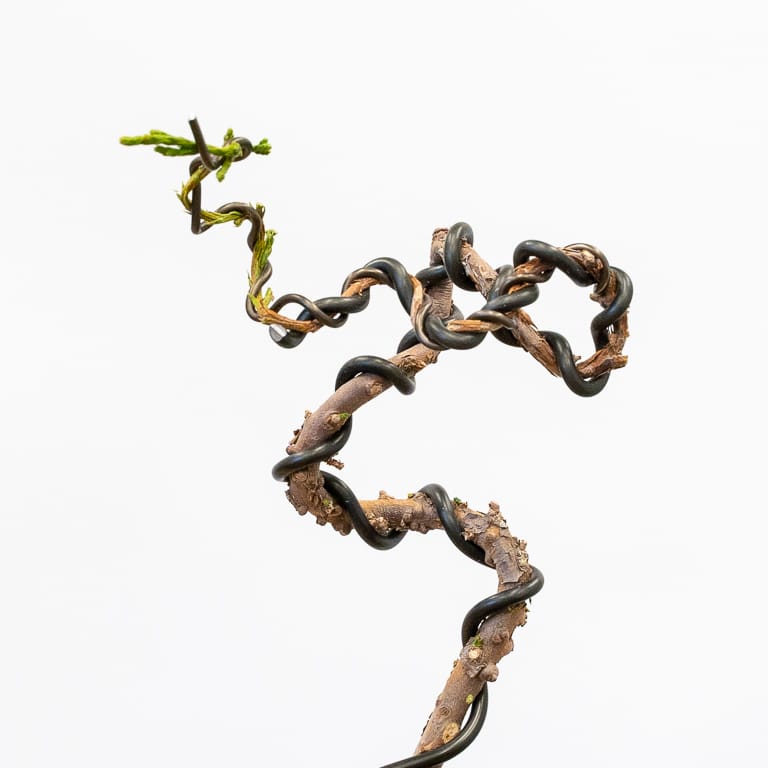
Sample #6
For a reminder about what a wired tree looks like with foliage, here’s sample #6 with its branches intact.

Sample #6 with foliage
There’s a lot more to say about creating young junipers so I’ll plan updates in future posts. In the meantime, let me know if you have questions or if you like or dislike the samples above.