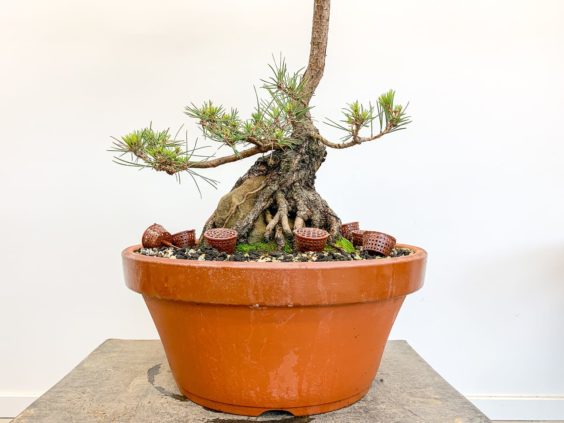
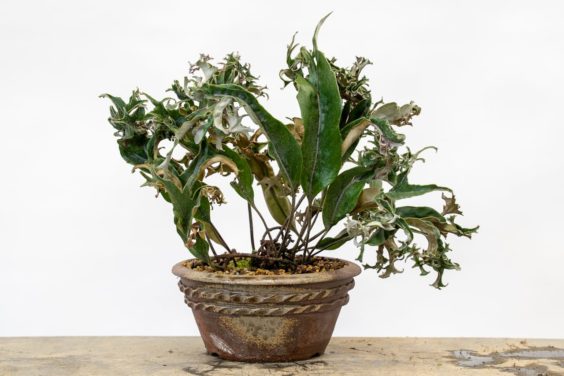
One of the more fun parts of developing exposed root pines is adding movement to the roots. If you use a columnar container for the roots, the roots will grow in the shape of the column.
![]()
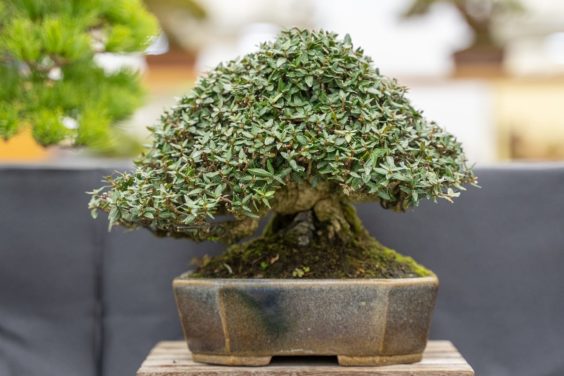
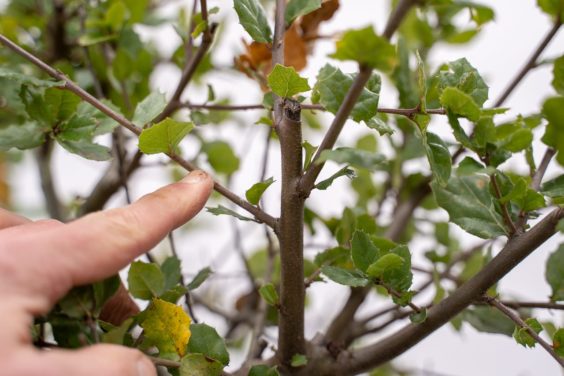
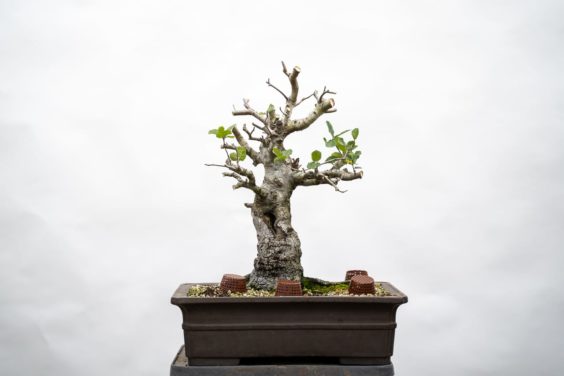
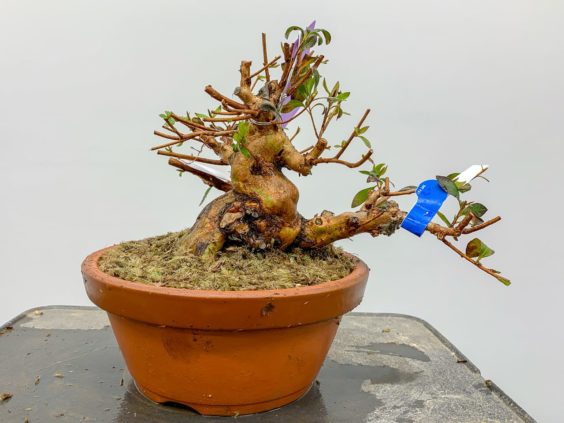
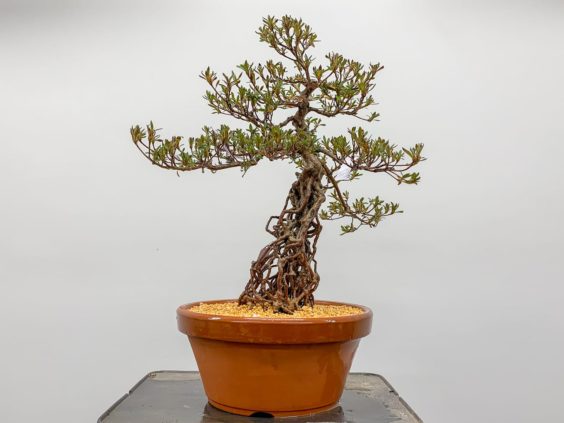
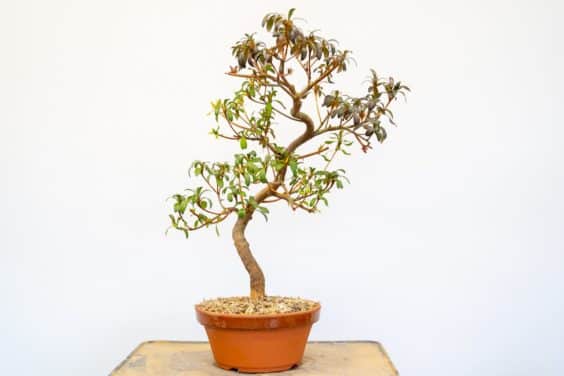
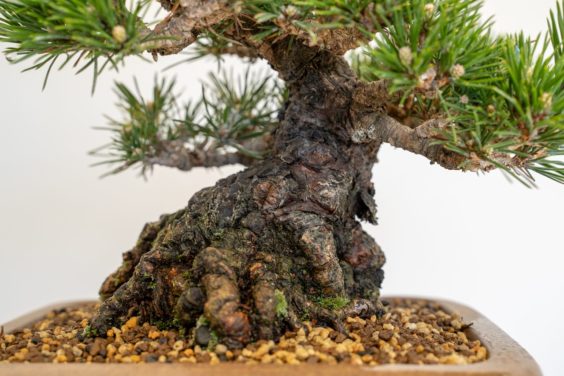
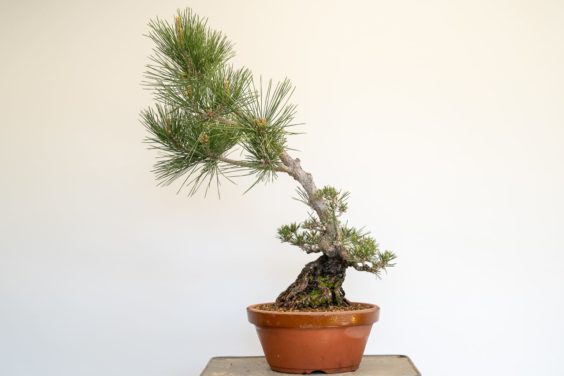
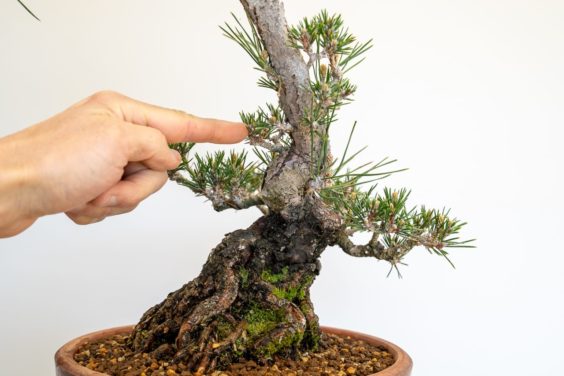
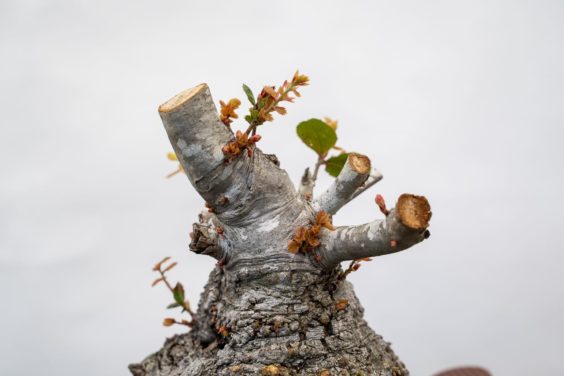
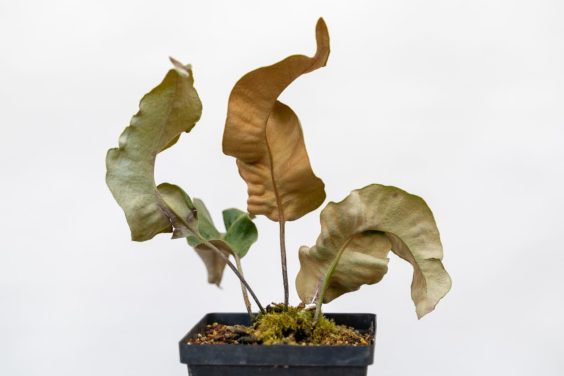
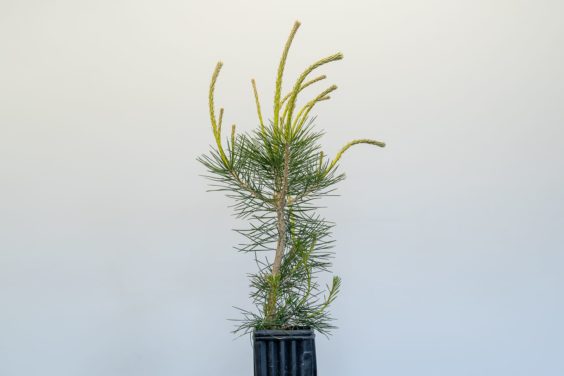
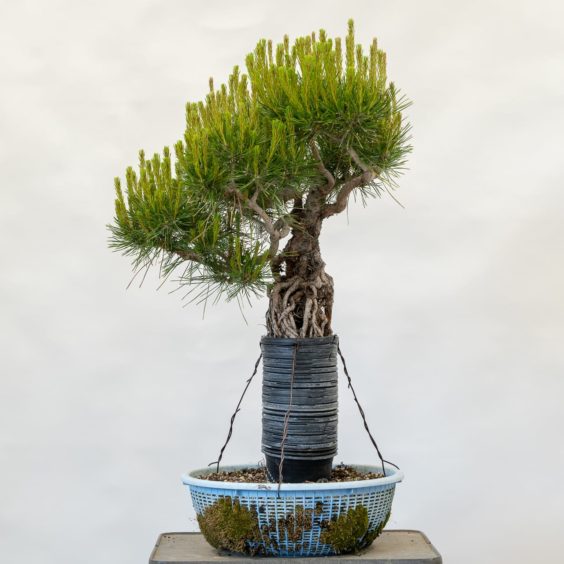
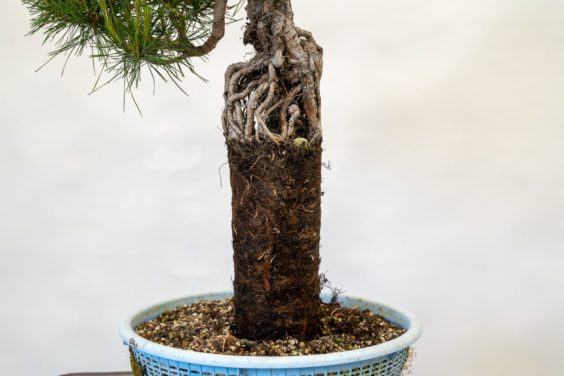
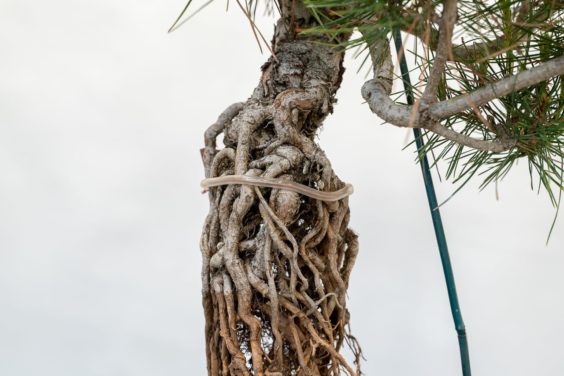
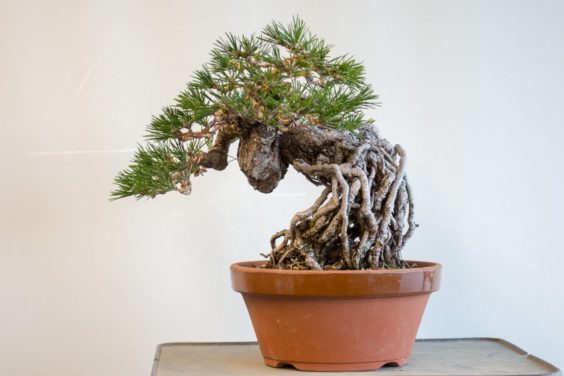
Exposed root red pine
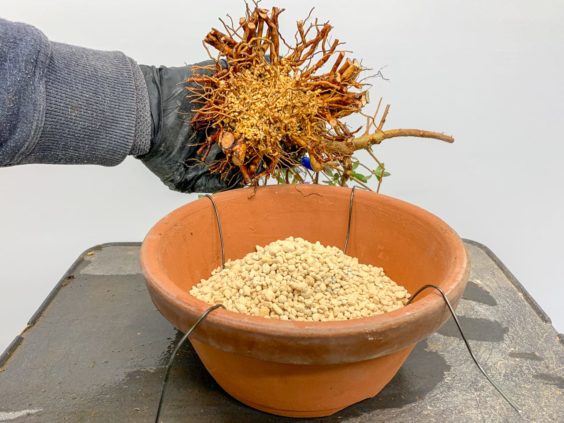
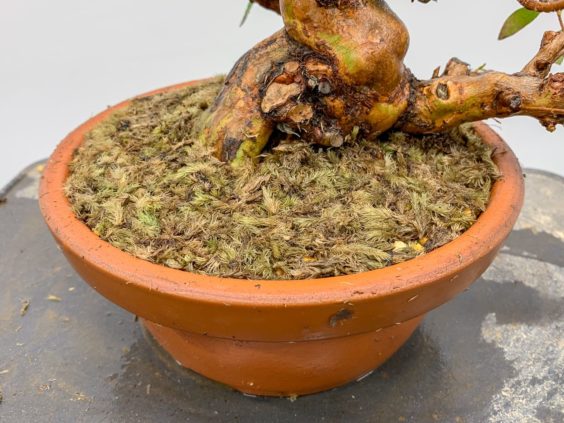
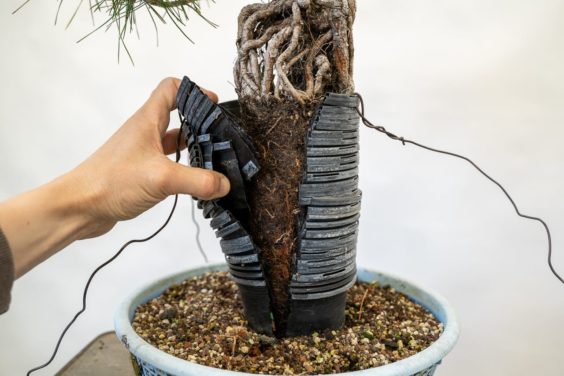
It’s easy to add character to the shape of the roots as long as they haven’t thickened too much. The first step is removing the container.
![]()
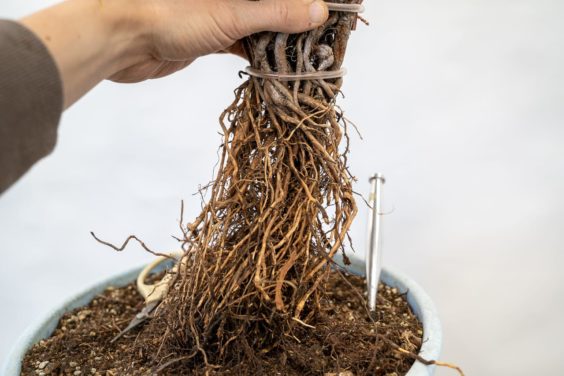
Removing the container holding the roots
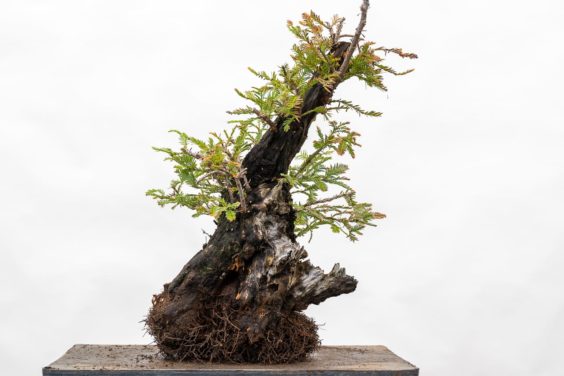
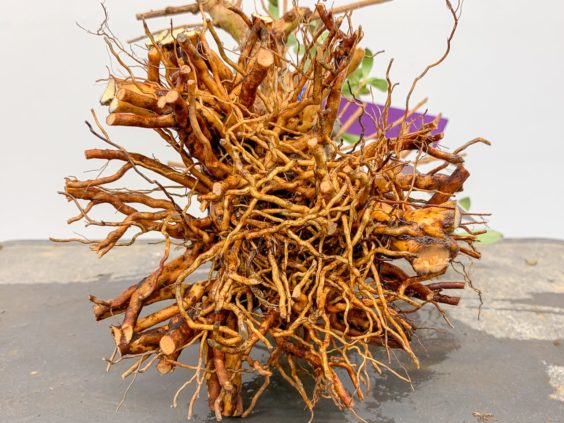
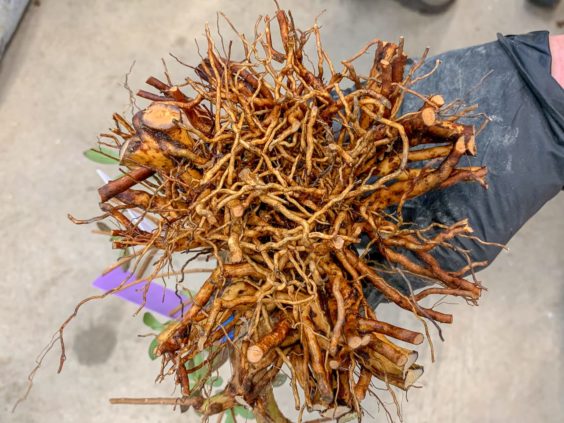
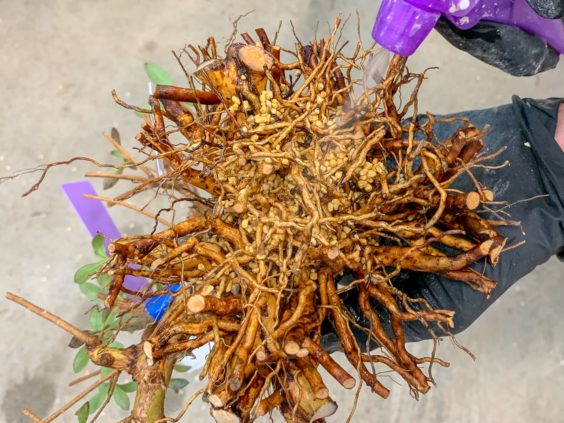
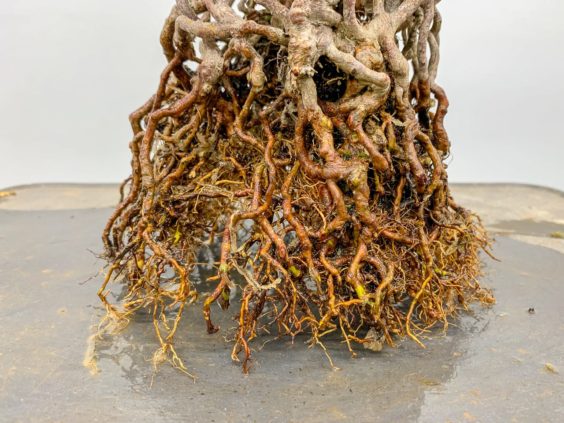
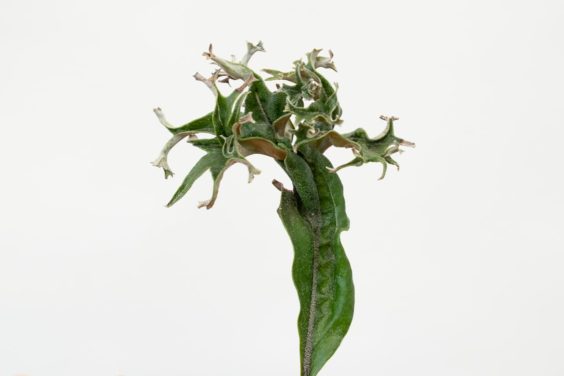
![]()
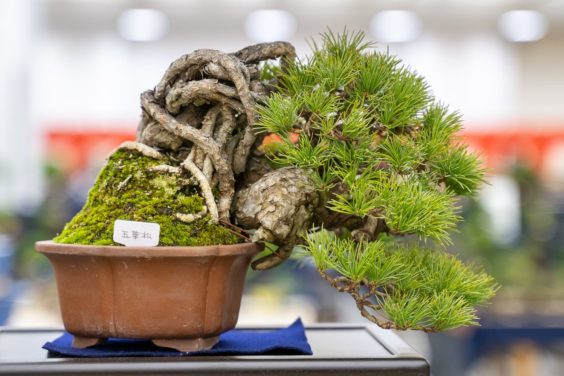
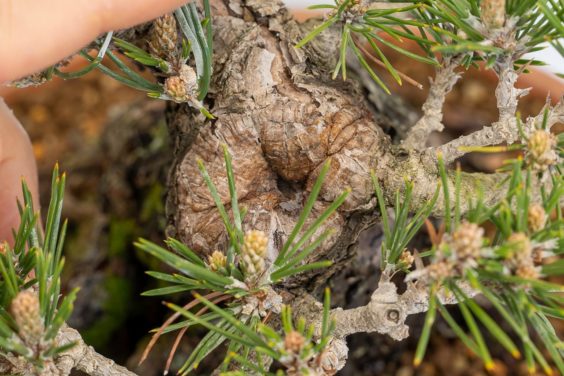
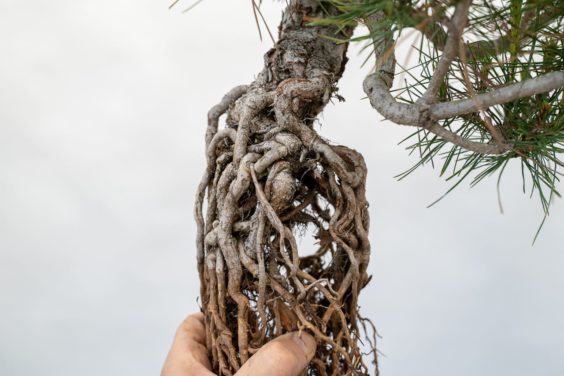
Column of roots
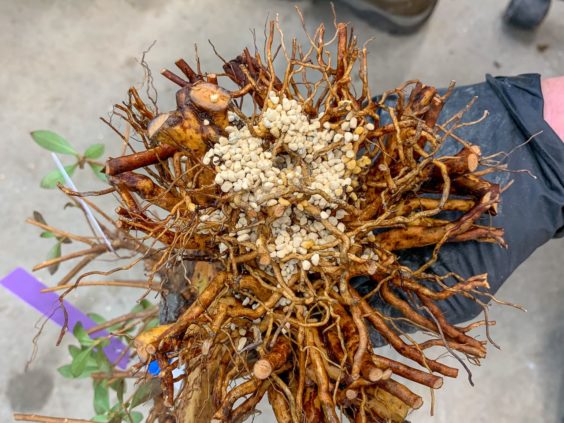
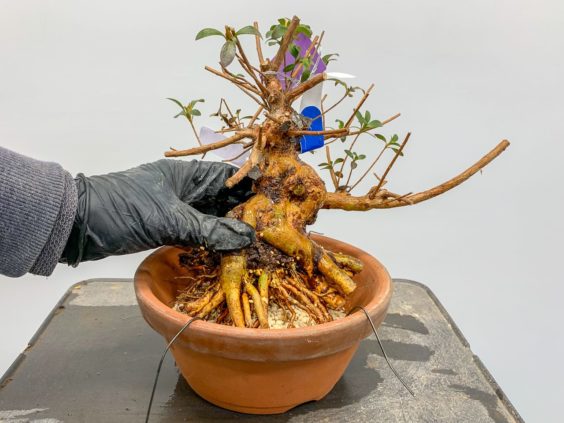
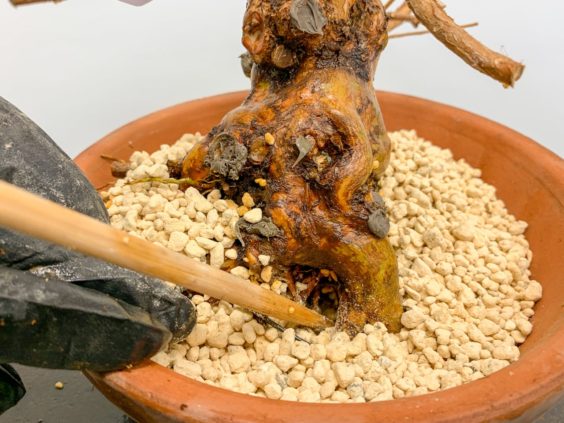
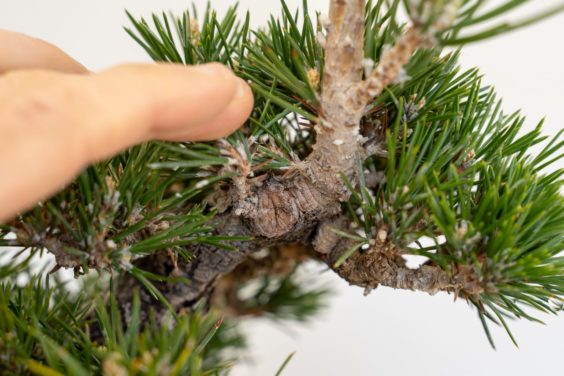
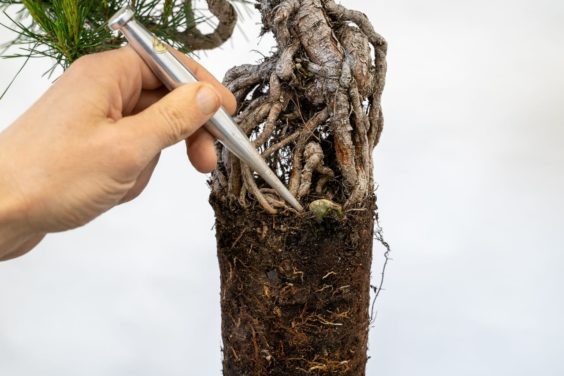
Before bending the roots, I like getting a better idea of what they actually look like. I use a pick to pluck out the particles of pumice around which the roots have been growing.
![]()
Removing pumice with a pick
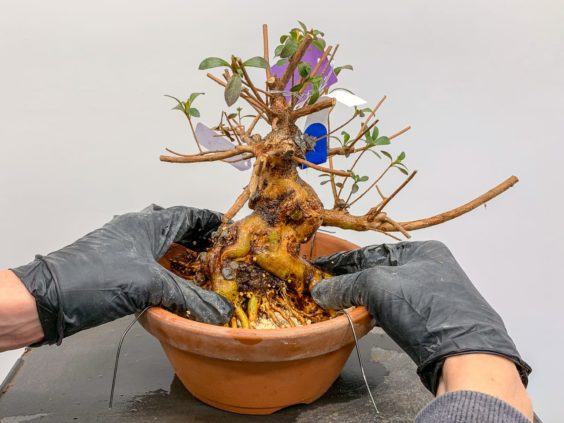
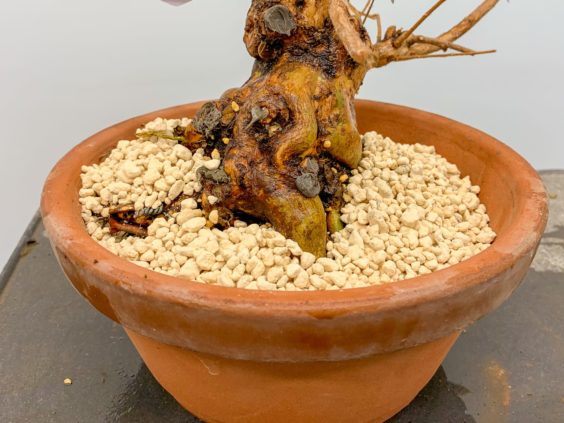
![]()
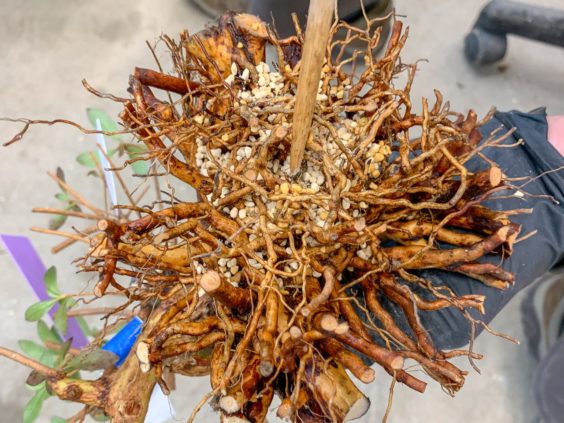
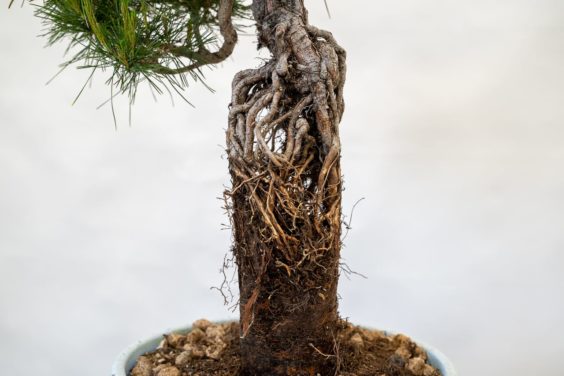
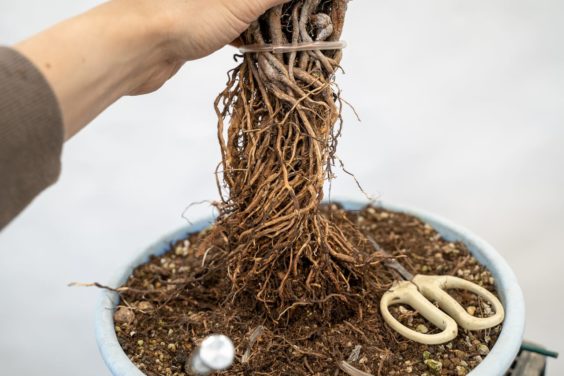
After removing some of the pumice
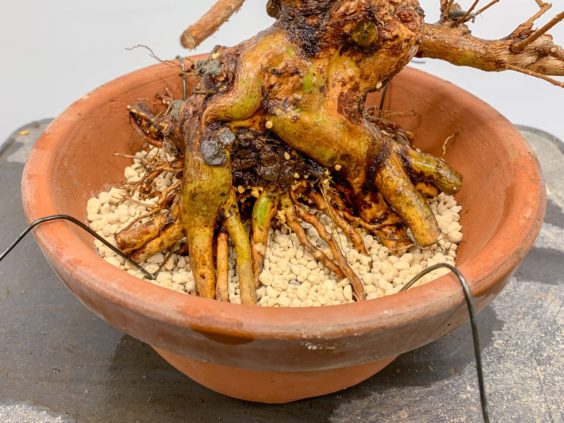
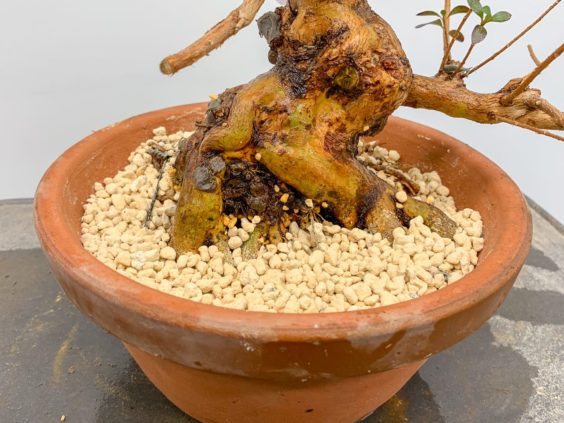
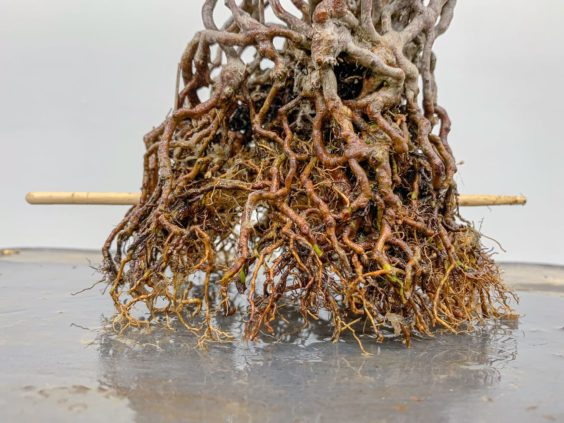
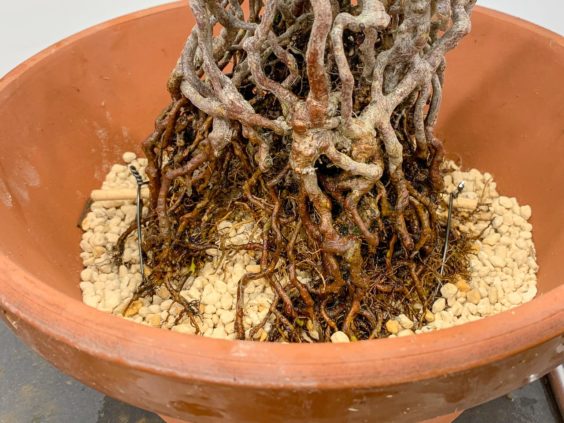
![]()
After cleaning out the pumice between the roots
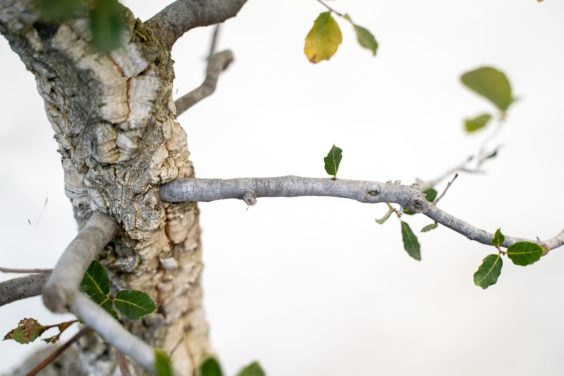
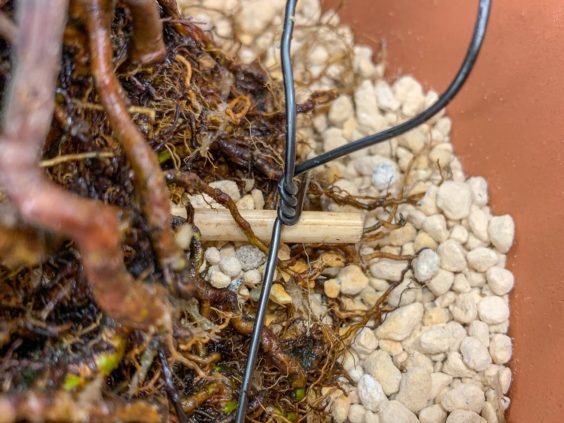
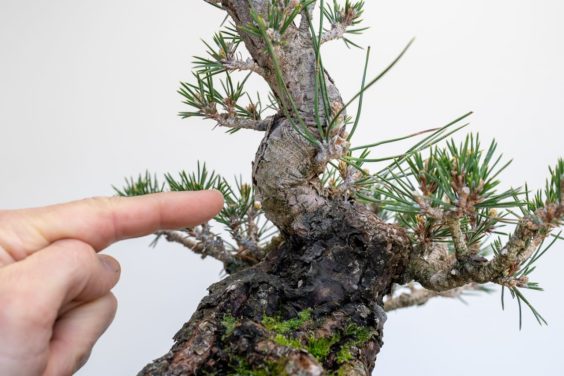
Although the number and distribution of roots is nice, the paths they follow can be improved. By bending some roots that form a ninety degree angle, I can create some taper near the top of the root mass.
![]()
Awkward bend on the right side of the root mass
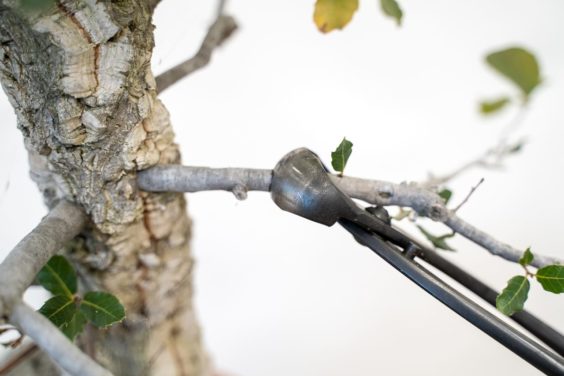
![]()
After reducing the awkward angle with wire
Another way to add interest is to twist the root mass.
![]()
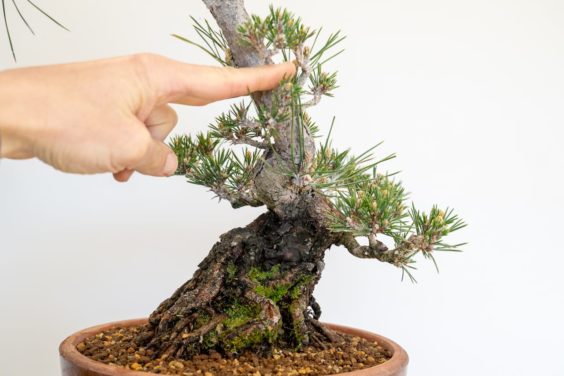
The roots are relatively straight
![]()
After twisting the roots counter-clockwise
At this stage of development, there are no right or wrong ways to go about improving the roots. The main goal is to add as much interest as possible.
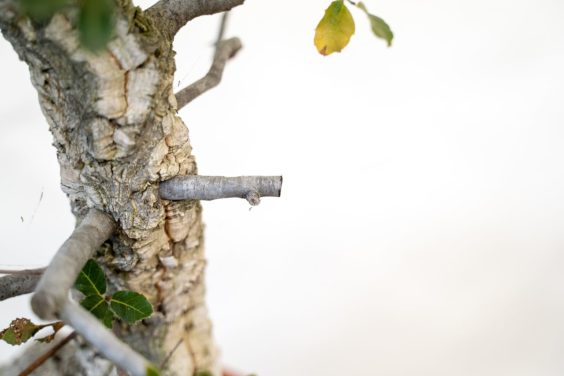
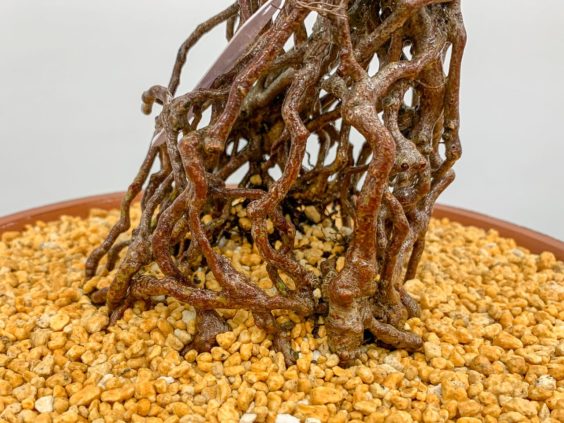
![]()
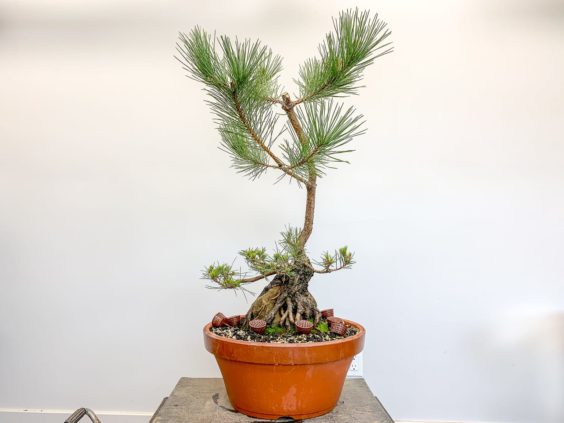
After making a few more adjustments
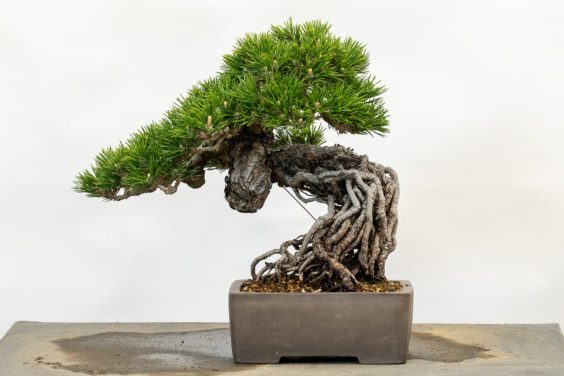
The resulting shape isn’t necessarily the final shape the roots will take as there will be opportunities to further bend the roots in the future. For now I want the roots to continue to thicken for another one to two years and then see what happens.
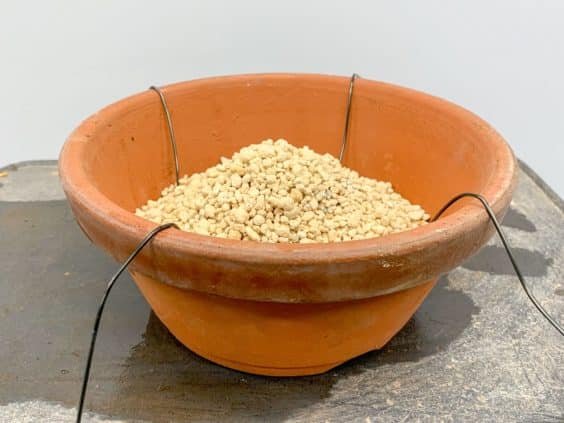
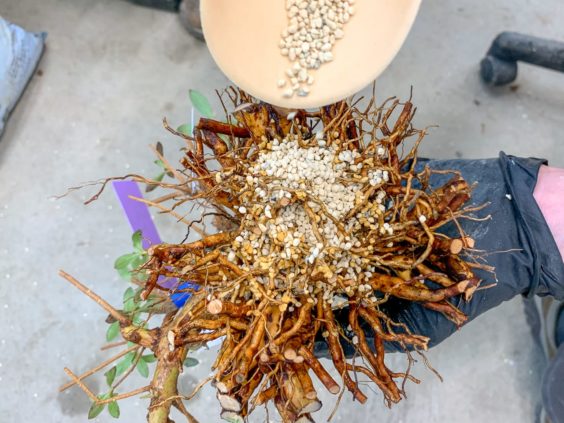
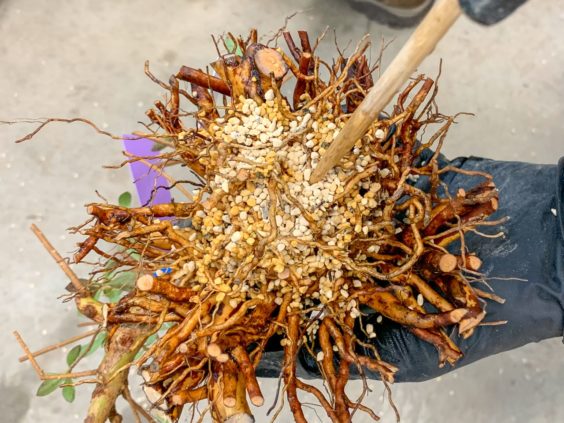
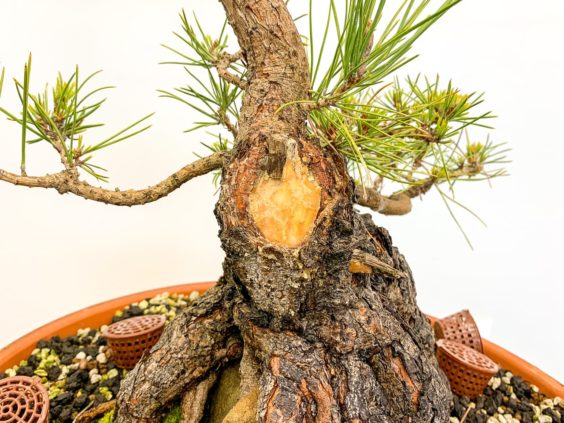
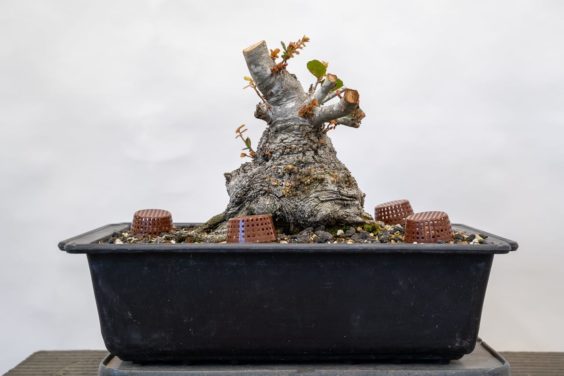
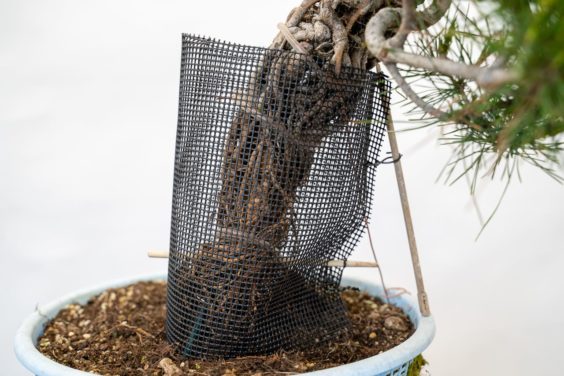
To protect some of the smaller roots that I exposed, I built a cylinder with drainage screen that will hold 5/16″ pumice. The particle size is too large to encourage new fine roots to develop but will be small enough to provide additional moisture and insulation for the more tender roots.
![]()
Drainage screen
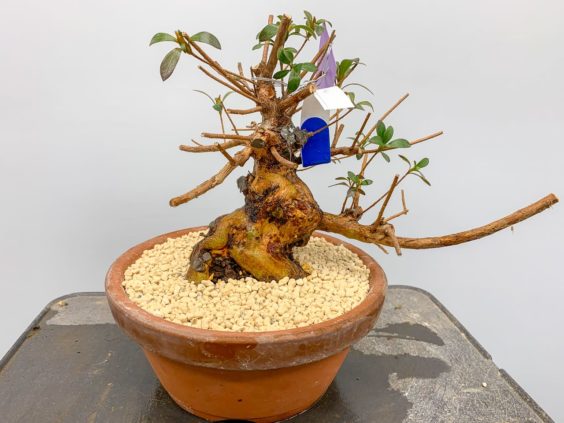
![]()
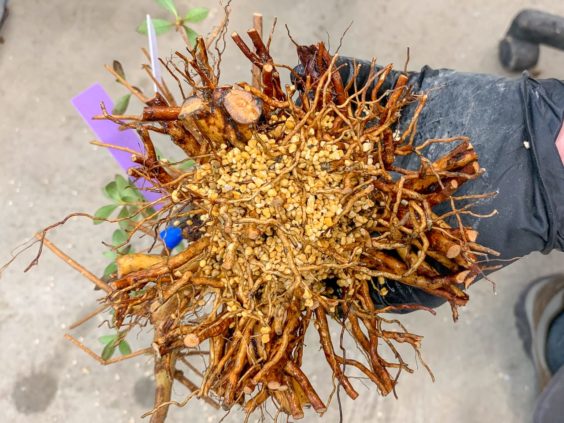
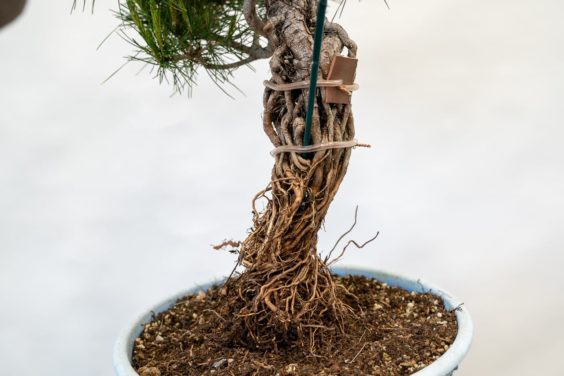
After adding pumice around the roots
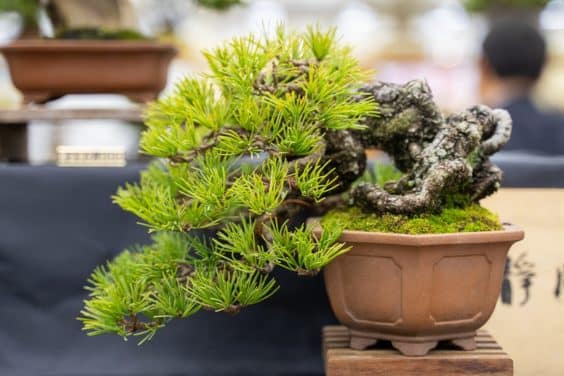
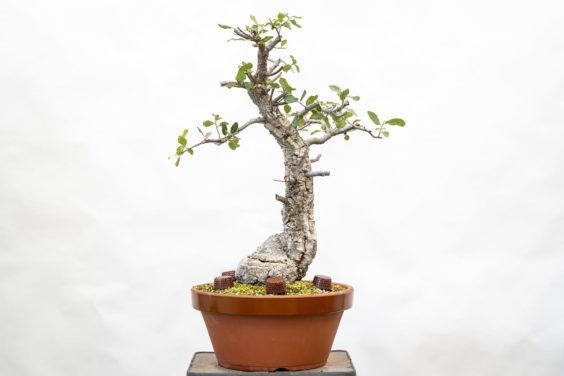
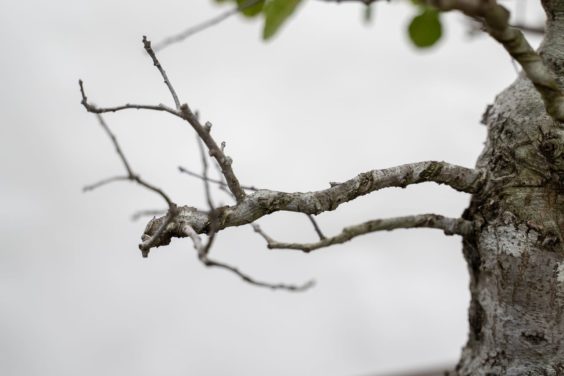
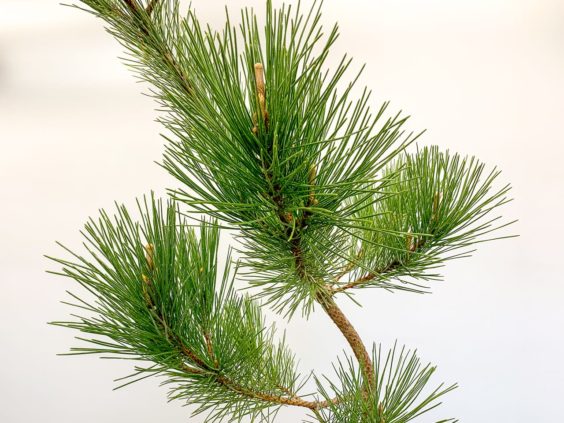
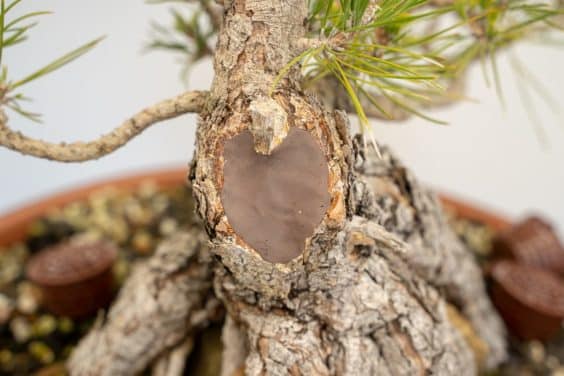
It’s obvious from the change in the angle that there is still a lot of work that needs to be done to the branches. It’s hard to know exactly how to set the branches until the final angle of the roots is set so I’ve been focusing on creating branch density as this will provide options for styling down the road.
I took similar approaches with a number of young exposed root pines this year. Here are some examples (thanks to Max for doing most of the work on these!)
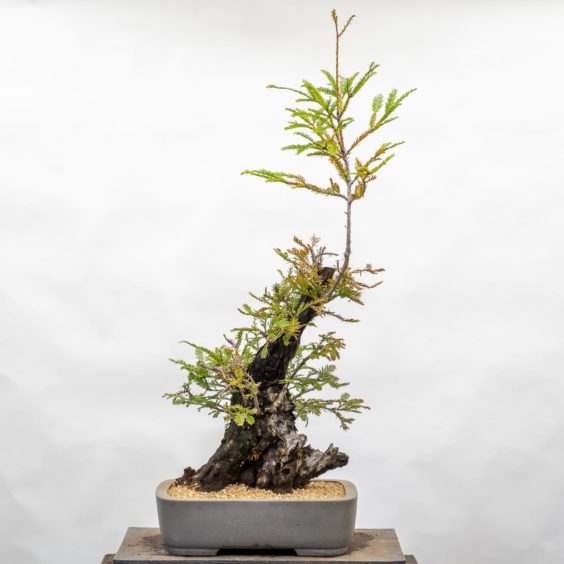
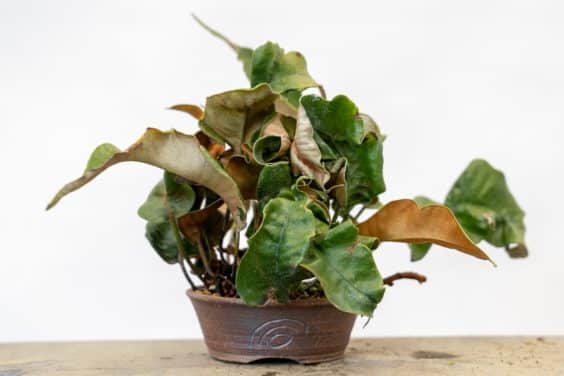
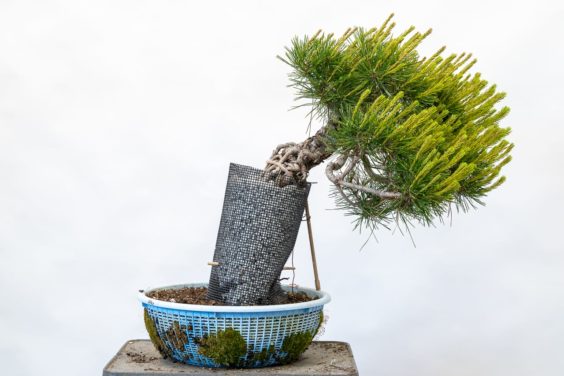
![]()
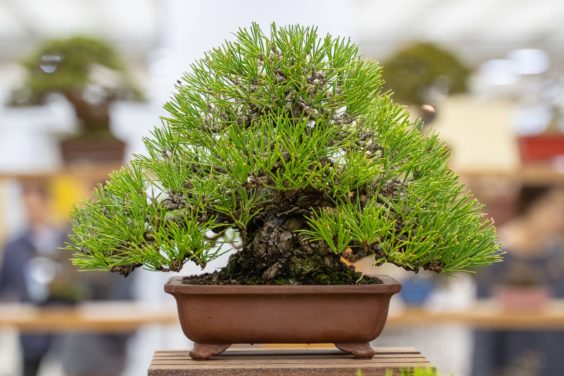
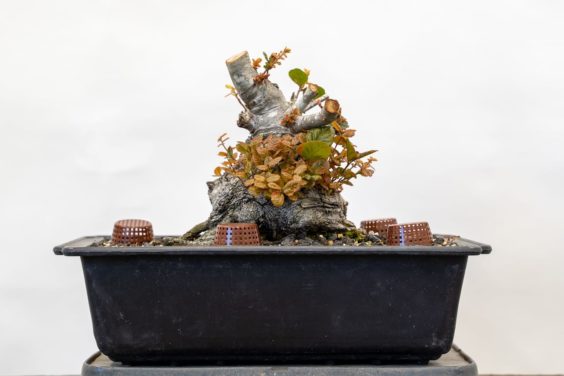
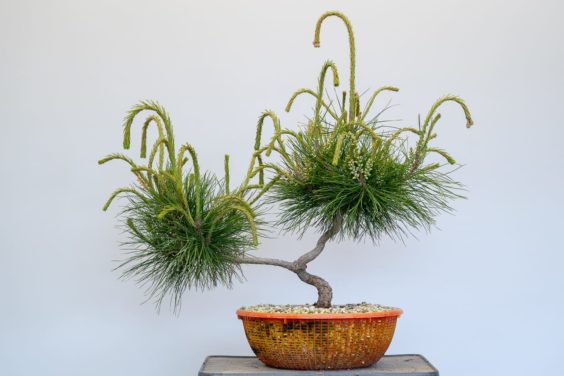
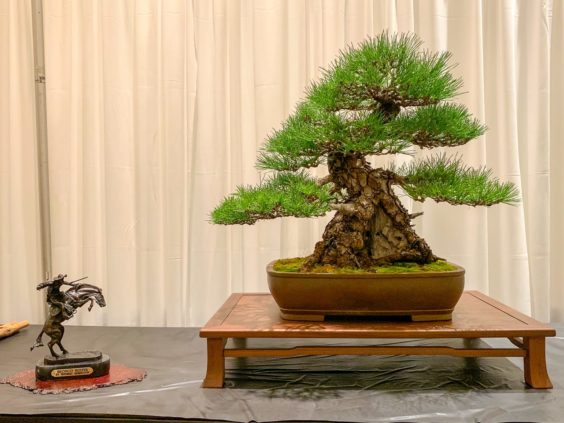
An exposed root black pine after twisting the roots
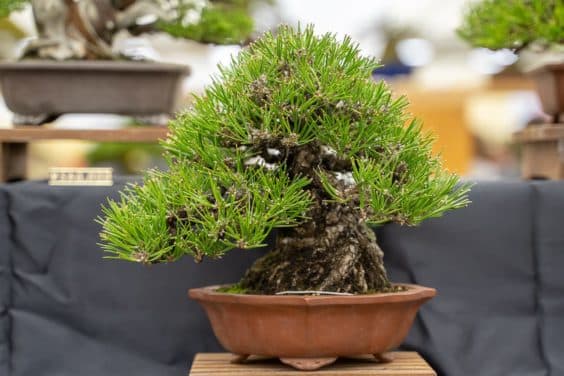
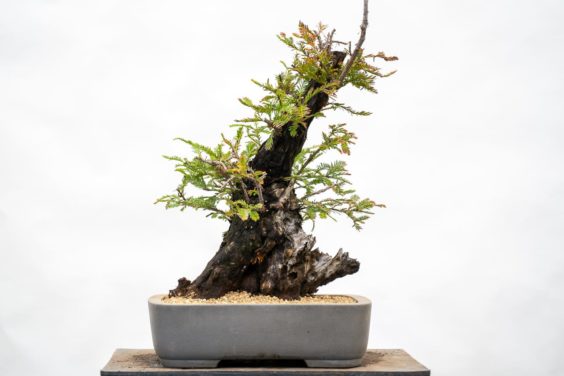
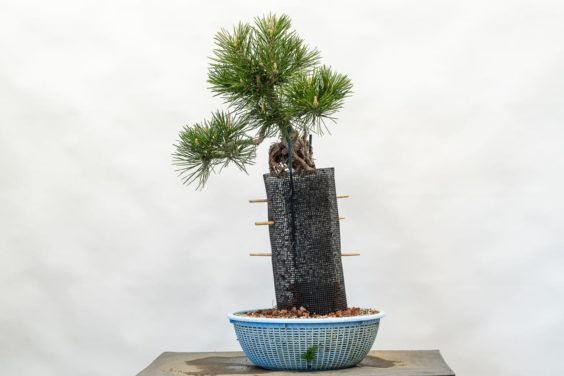
![]()
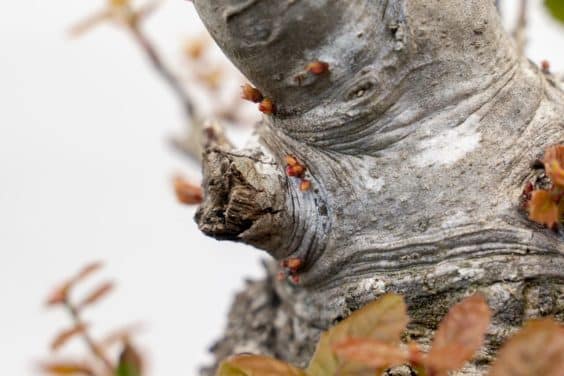
An exposed root black pine after rearranging the roots
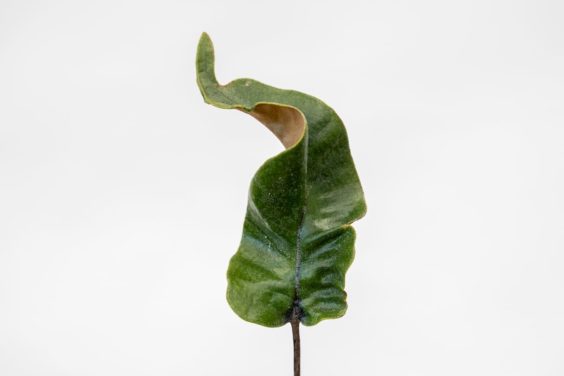
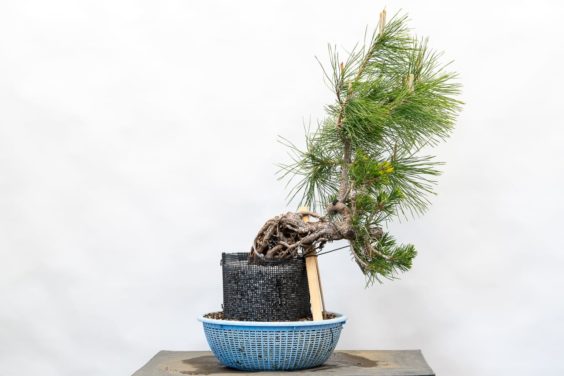
![]()
An exposed root black pine after bending the roots
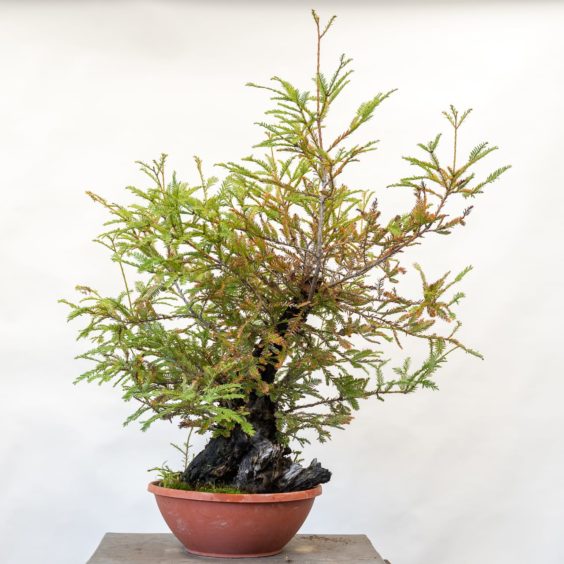
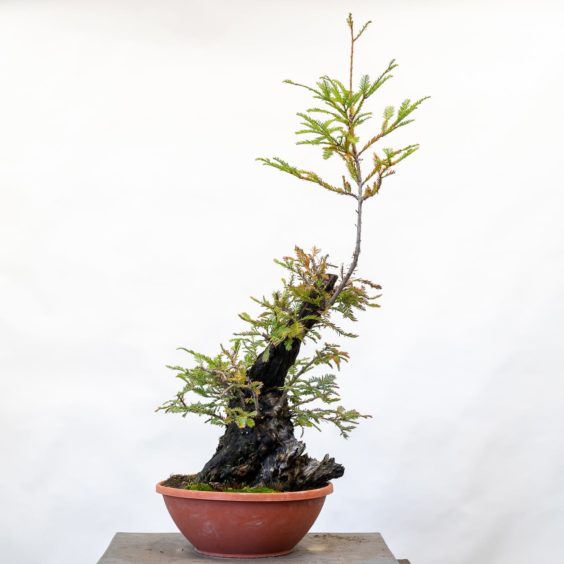
I plan to prune these trees in the next few months, but will let them grow freely for the time being to encourage the roots to thicken as much as possible.
Bonsai on the Bayou kicks off this week!
The Houston Bonsai Society and the American Bonsai Society will host Bonsai on the Bayou in Houston, Texas this Thursday through Sunday. The event will feature an exhibit, workshops, vendors area, raffles, live and silent auctions, and demonstrations from headliners Boon Manakitivipart, Ryan Neil, and Enrique Castaño de la Serna.
I’ll be vending at the event and leading a workshop on shohin red pine bonsai. Learn more or register online here.
In the meantime, check out Pete Parker’s introduction to bonsai on Houston’s KPRC 2.
Hope to see you there!
The post Refining the roots on an exposed root pine appeared first on Bonsai Tonight.