Common wisdom holds that the best time to repot bonsai is in early spring. This is good advice, but it’s not very specific. If I were to refine the statement, I’d suggest that a good time to repot bonsai is when they begin to wake from dormancy.
The idea is that different species respond to changes in the seasons on their own schedules. When we begin to see signs of new growth in winter or spring, it’s a good indication that it’s time to repot.
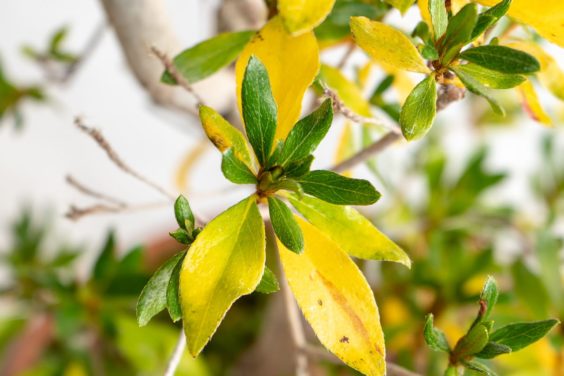
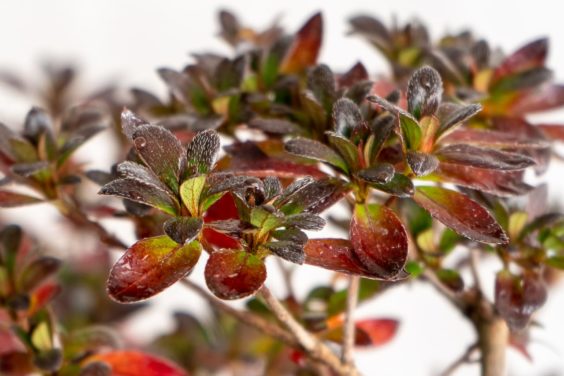
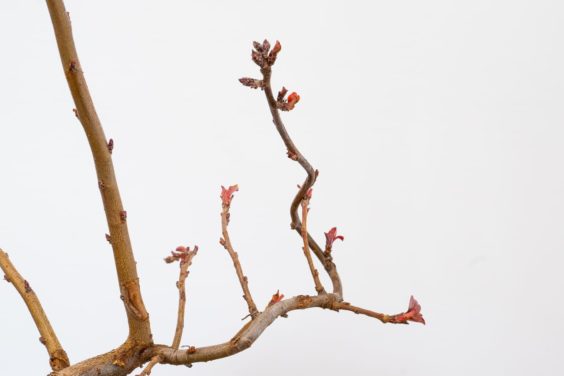
Winter, if it can be called that, is mild in the San Francisco Bay Area which means that many temperate species start growing early. By early, I mean that they send out new growth toward the end of December.
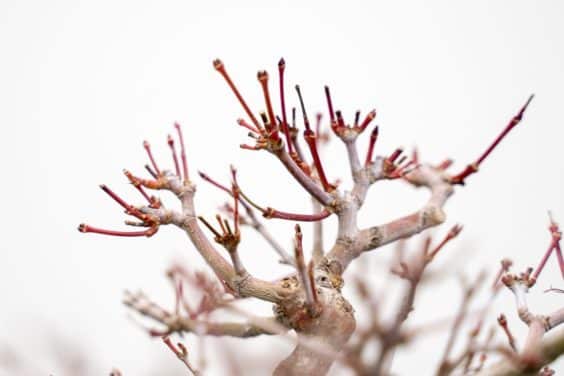
![]()
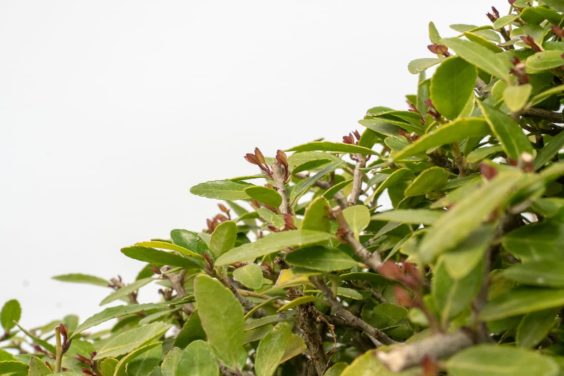
December 30, 2018 – new bud emerging on a Chinese quince
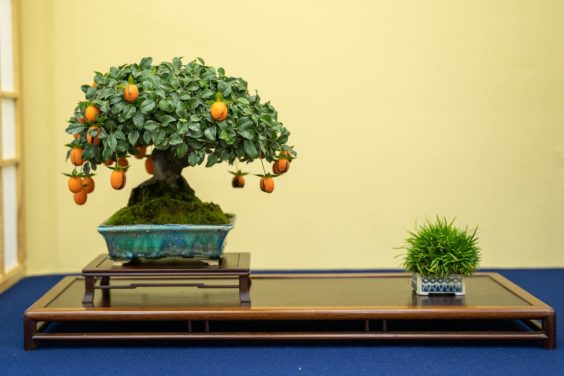
Some trees, like coast redwoods, grow year-round in my garden. When this is the case, I try to repot when the days are the shortest and temperatures are cool – the closest the trees will come to being dormant.
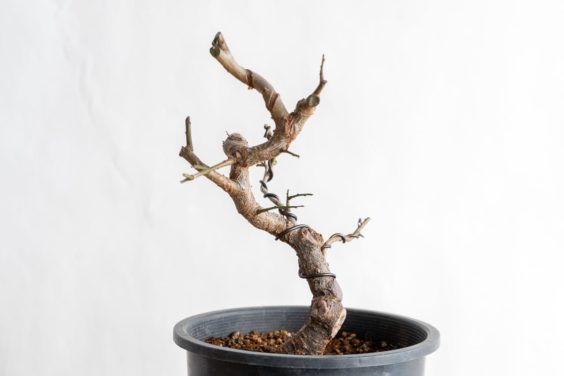
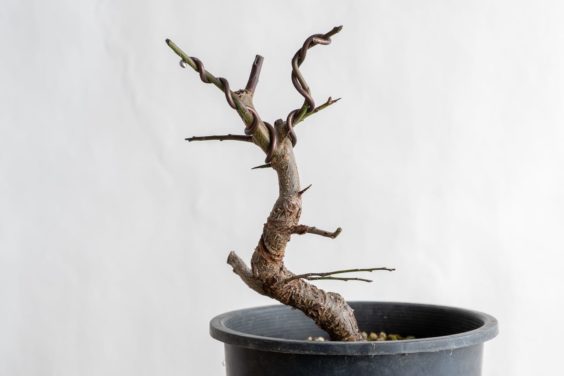
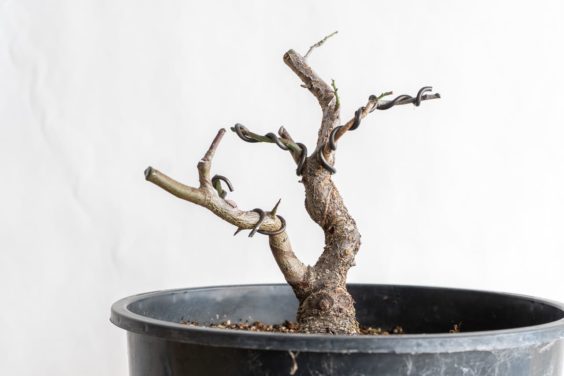
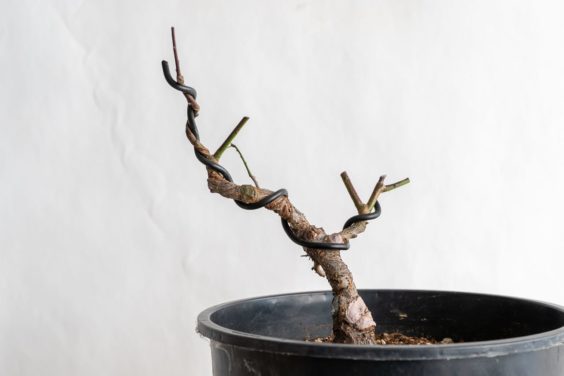
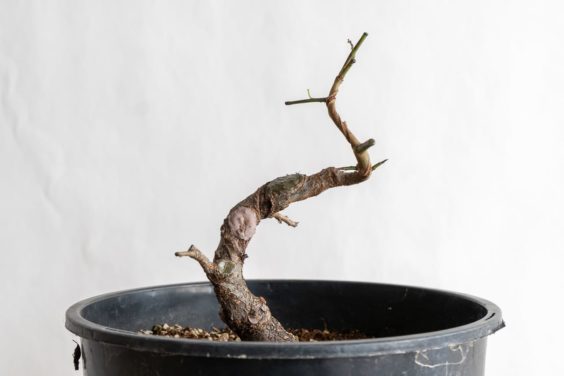
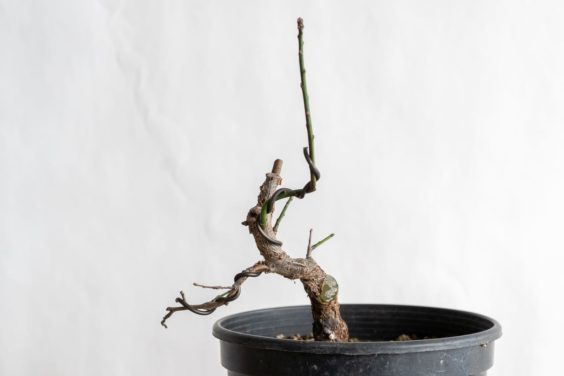
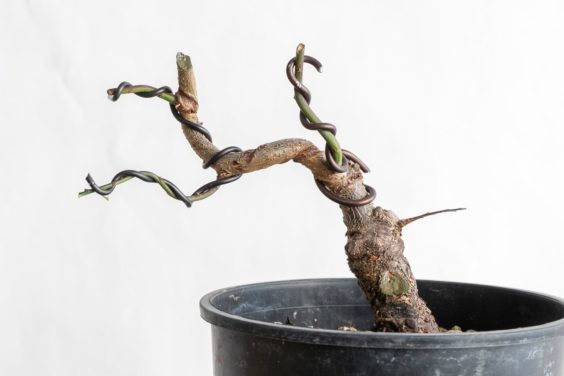
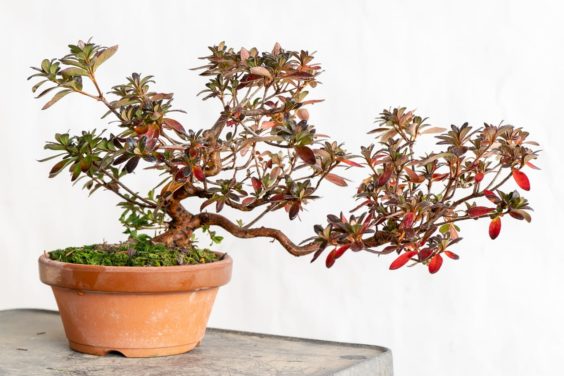
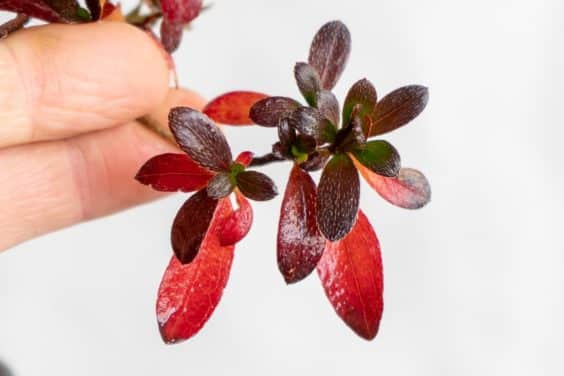
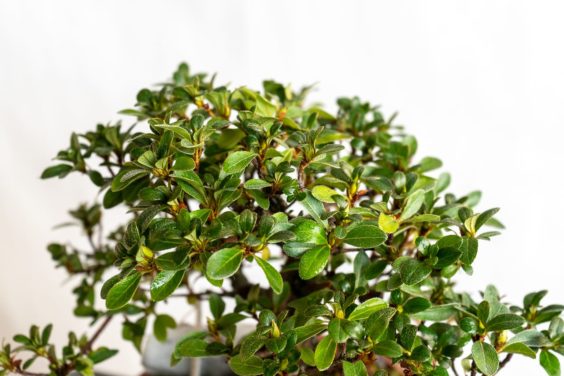
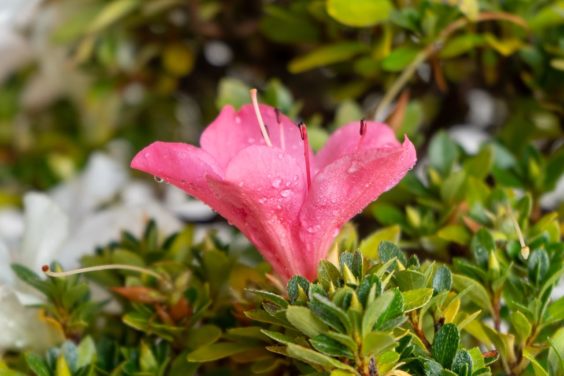
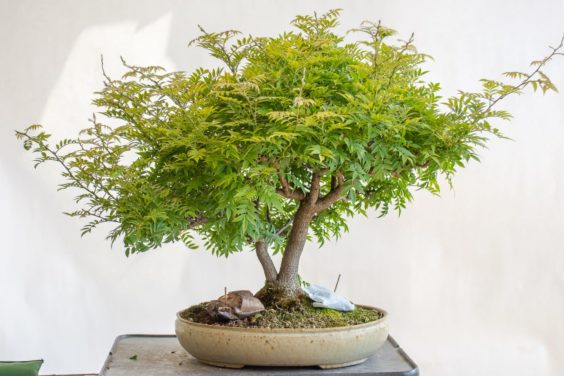
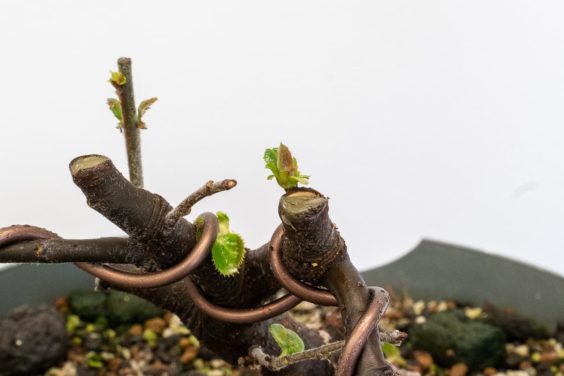
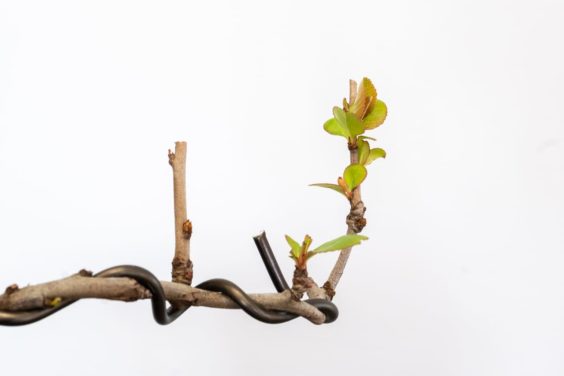
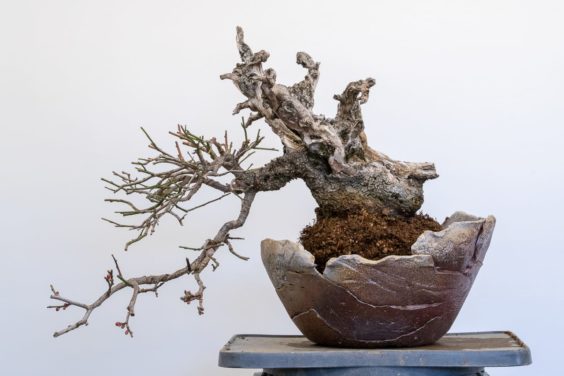
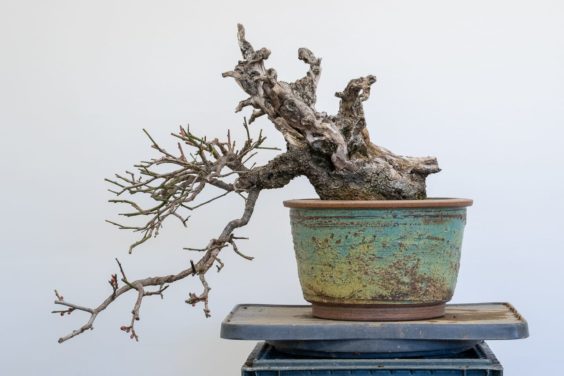
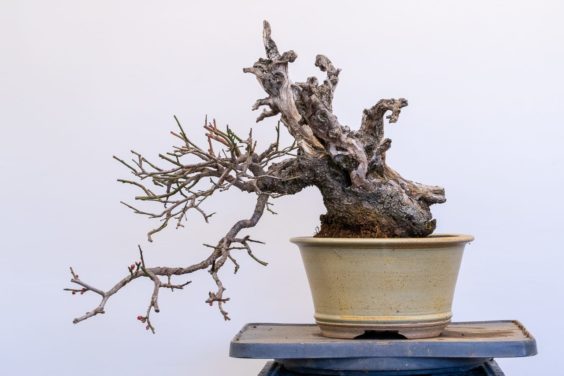
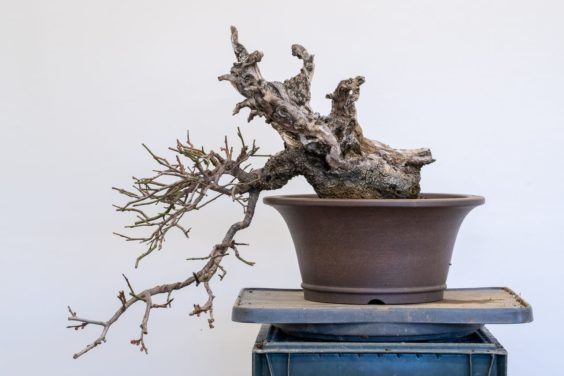
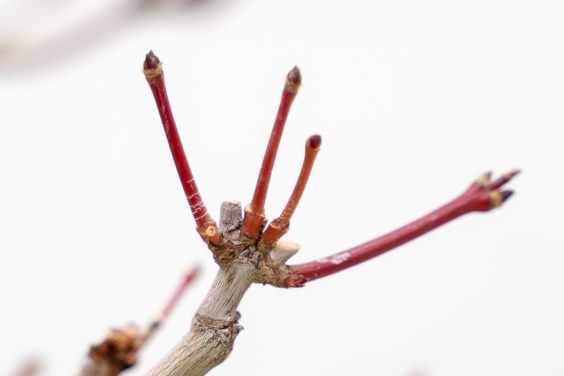
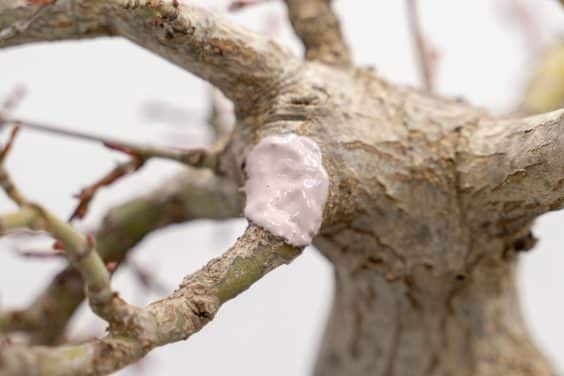
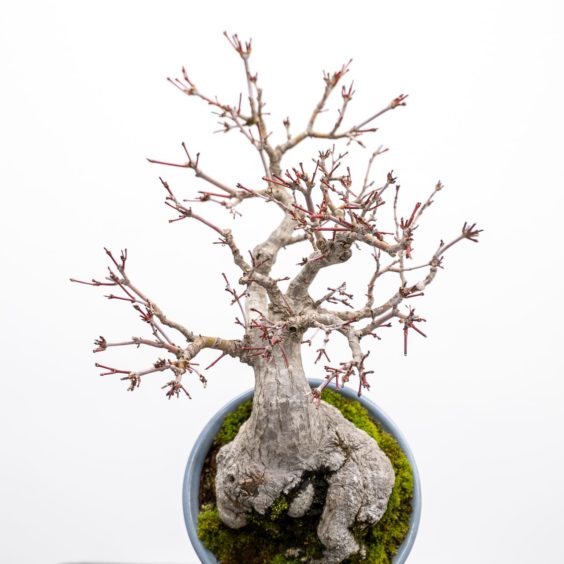
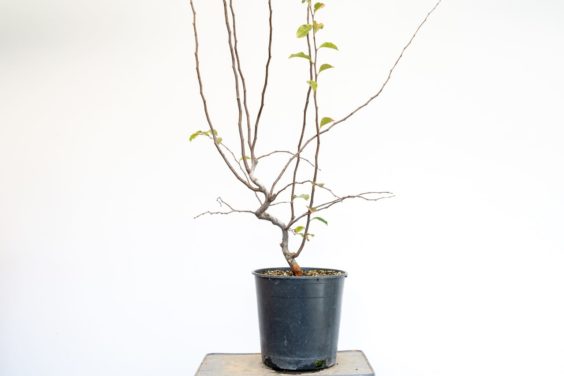
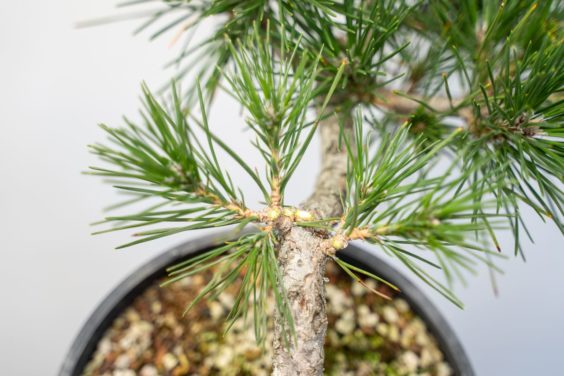
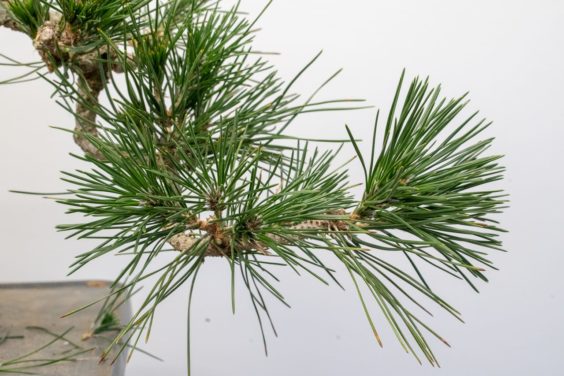
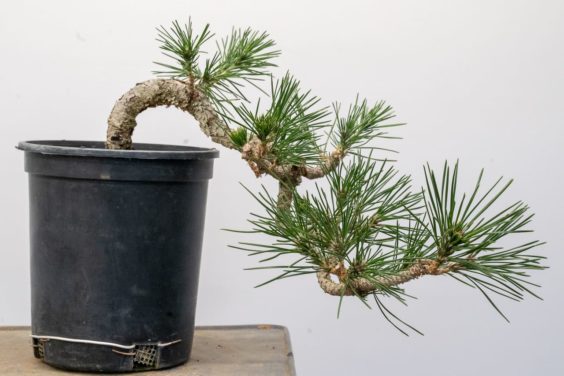
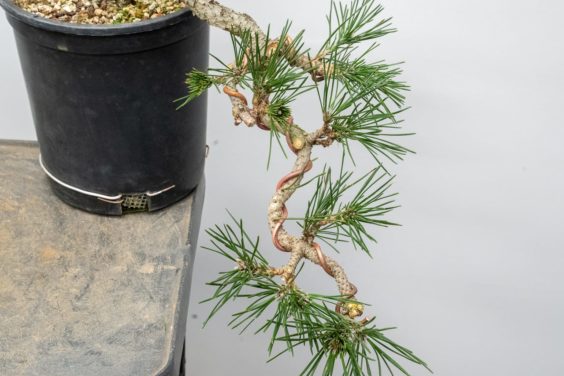
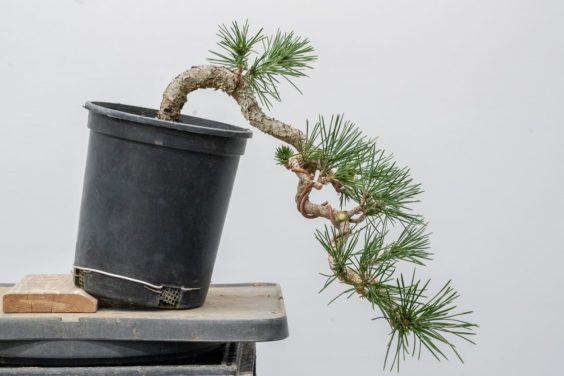
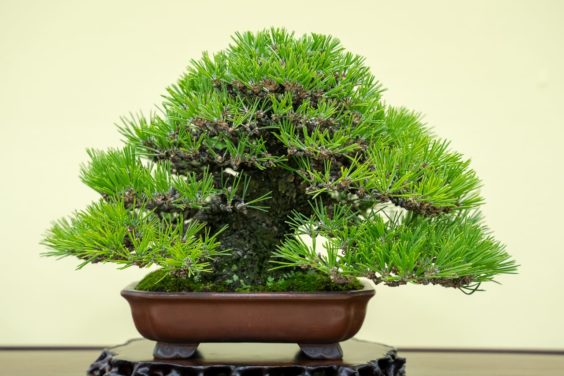
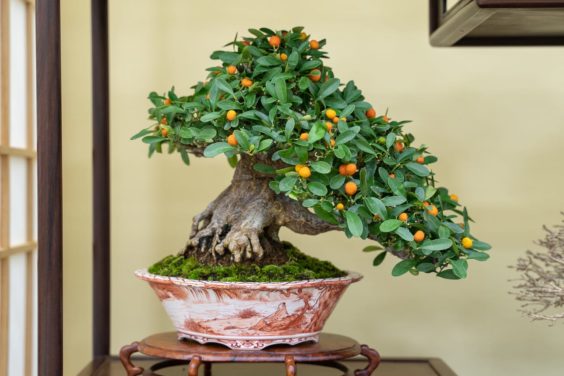
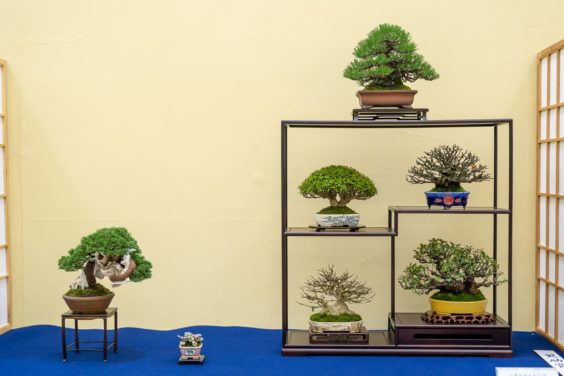
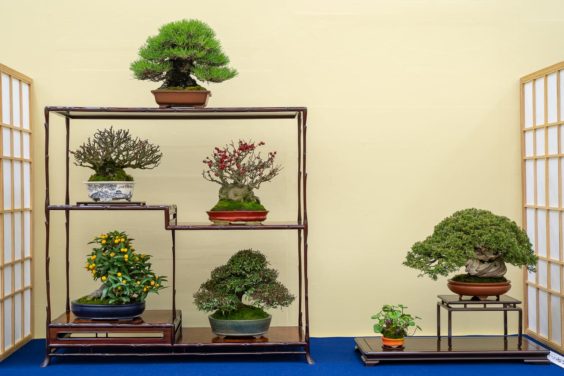
For other species, I take note of when new shoots appear and try to repot species by species as the trees wake up. Typically, that means I need to start repotting in December. This year, the Chinese quince, Japanese flowering quince, crabapple, plum, and Yaupon holly in my garden all started to grow before January 1st.
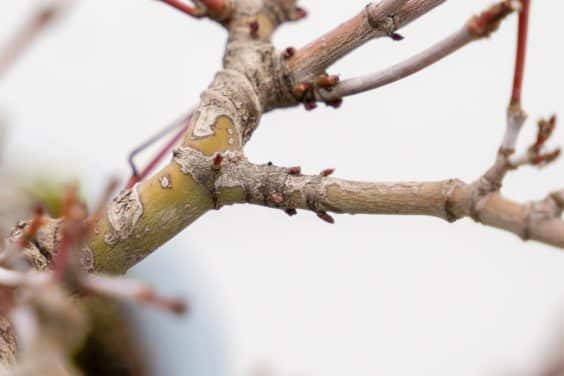
![]()
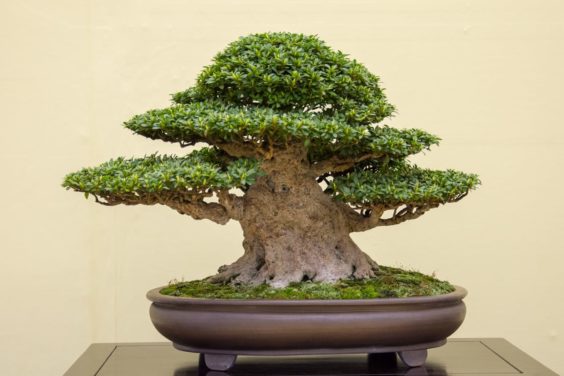
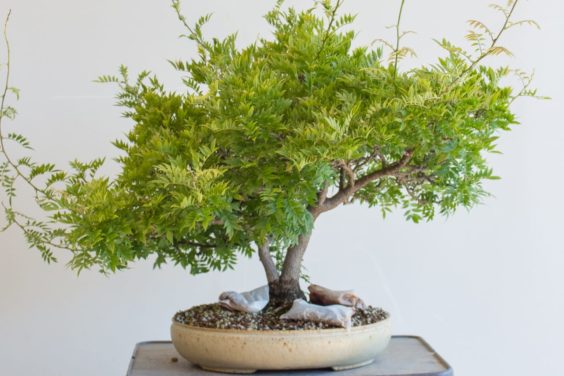
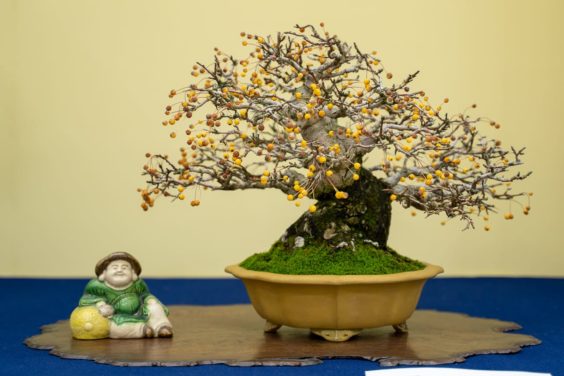
Chinese Quince
![]()
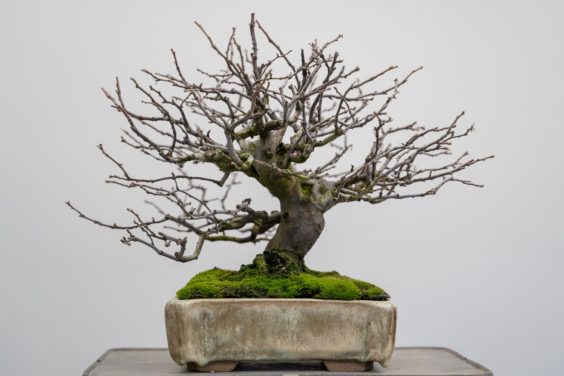
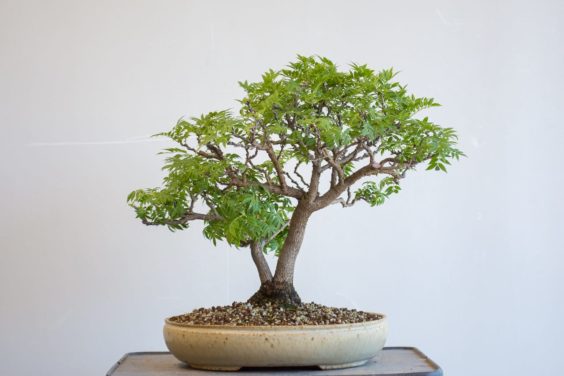
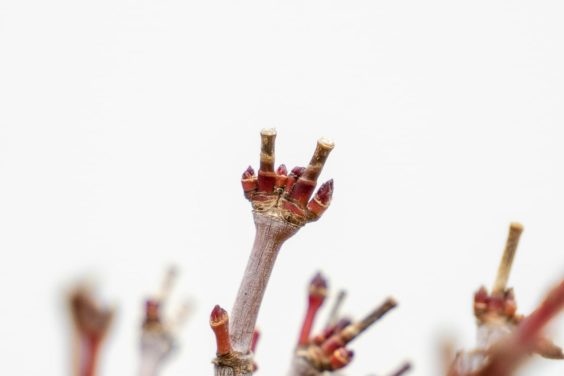
Crabapple
![]()
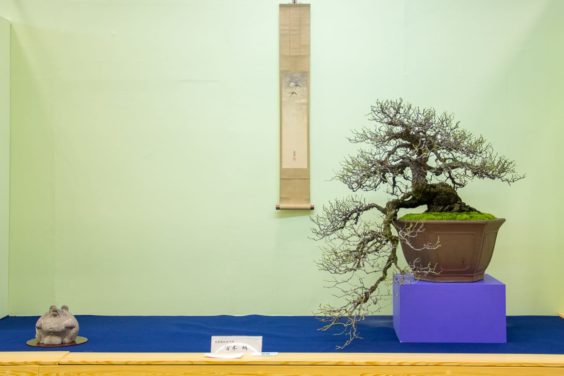
Japanese flowering quince
![]()
Plum
![]()
Yaupon holly
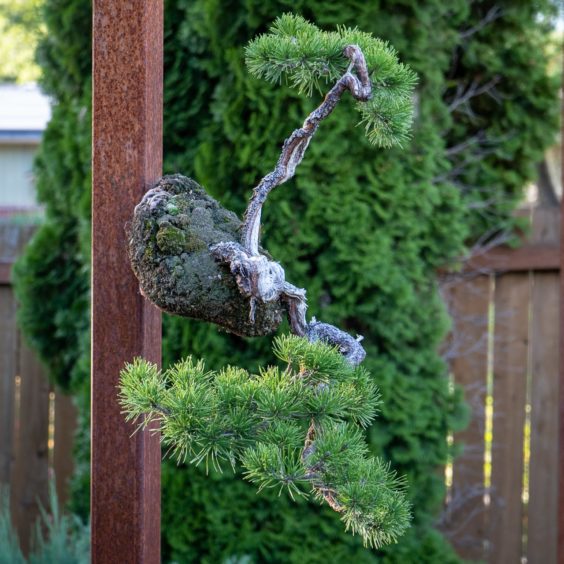
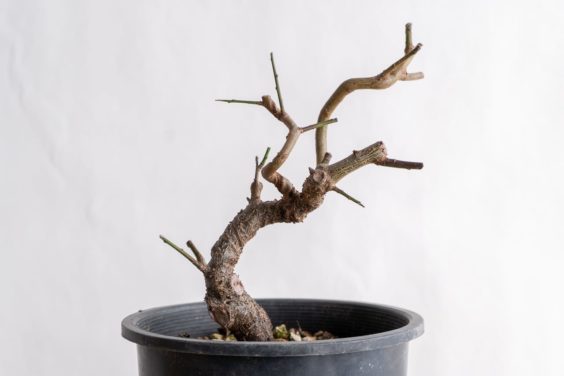
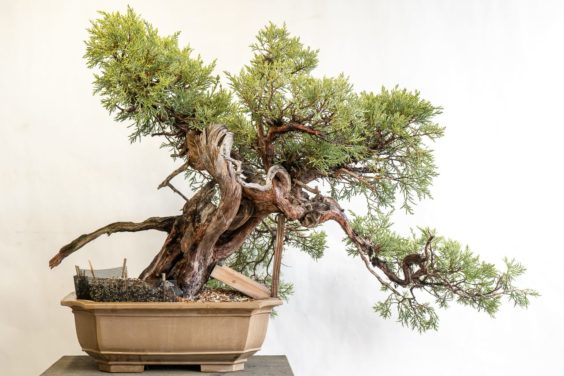
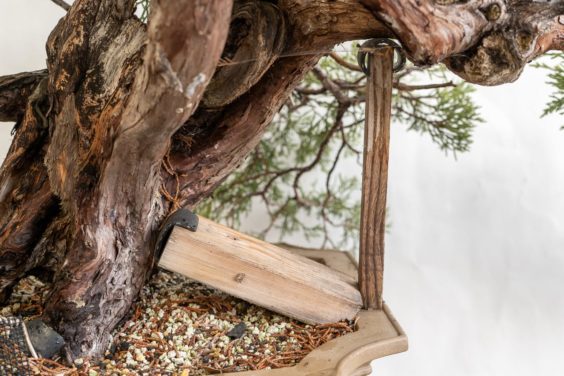
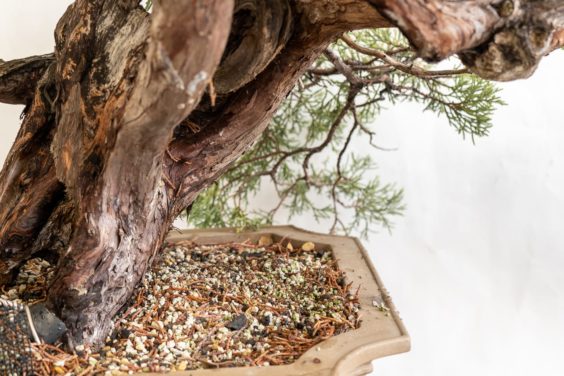
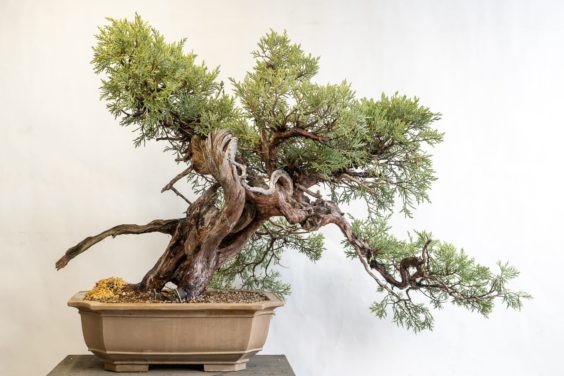
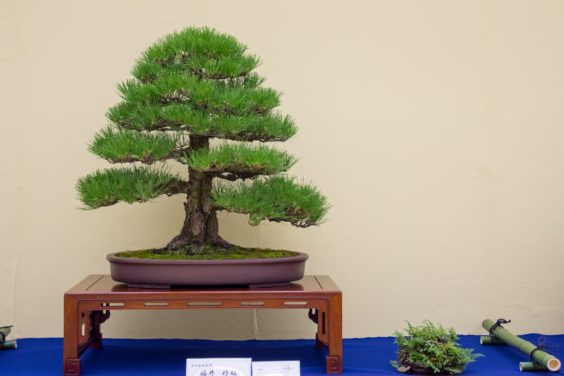
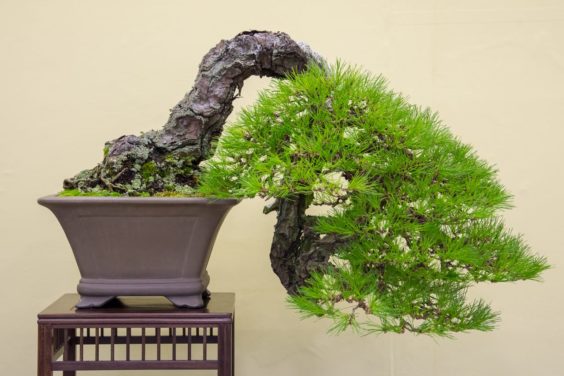
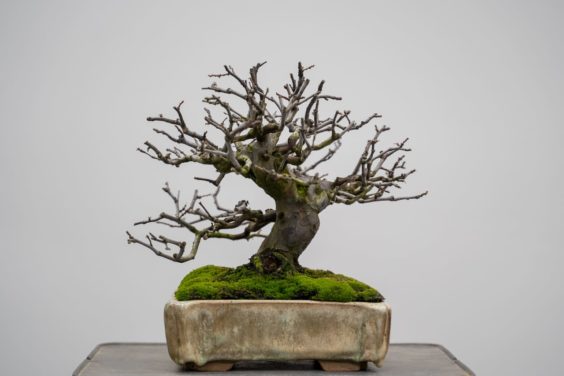
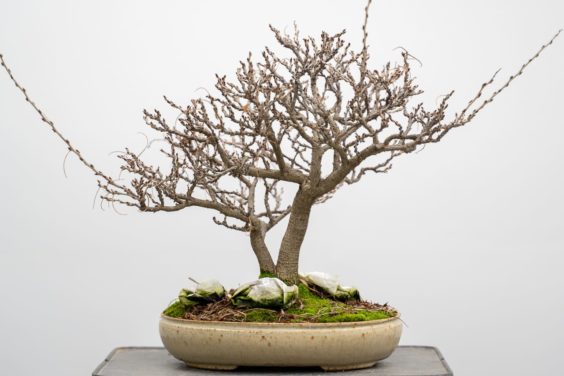
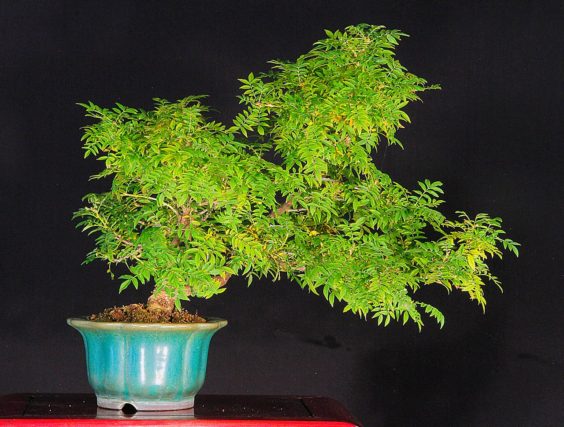
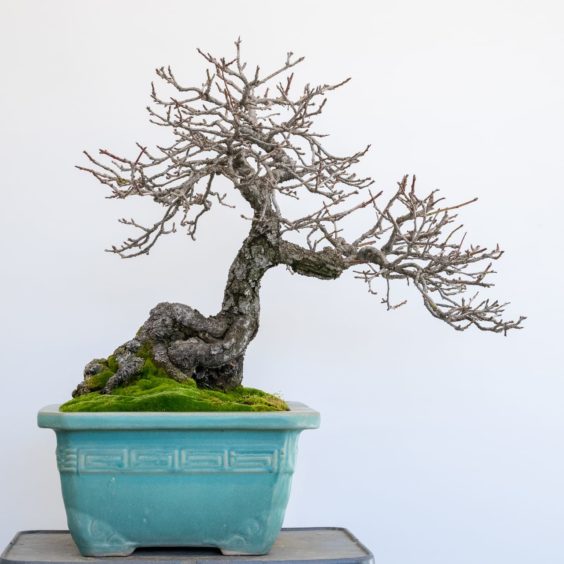
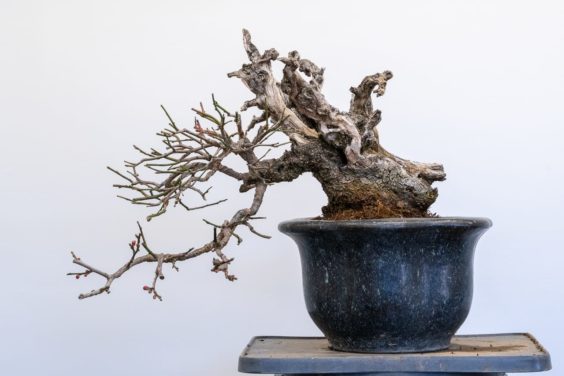
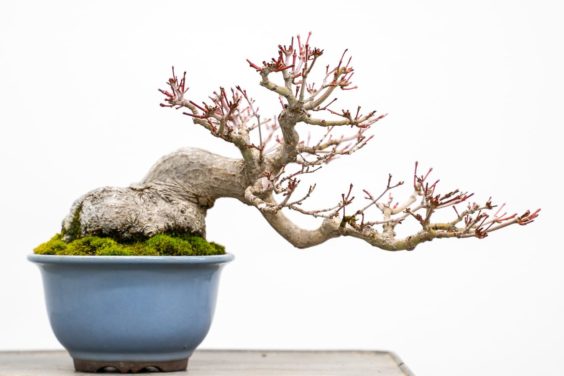
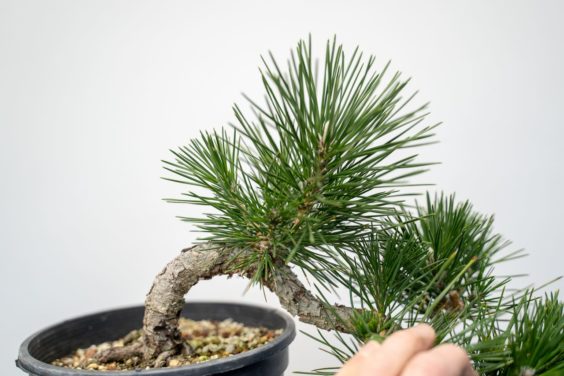
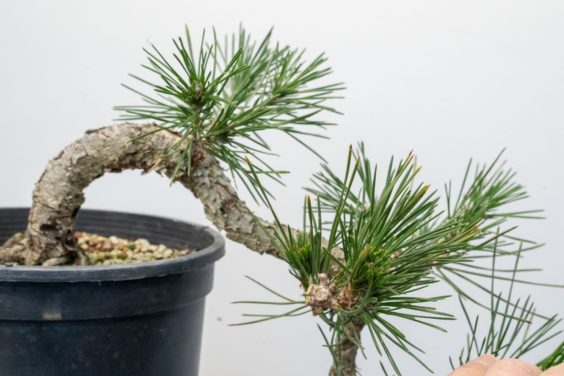
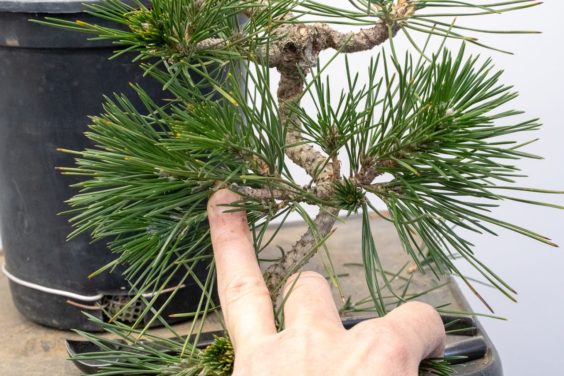
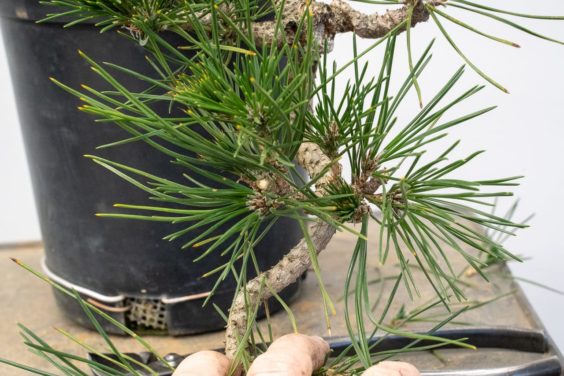
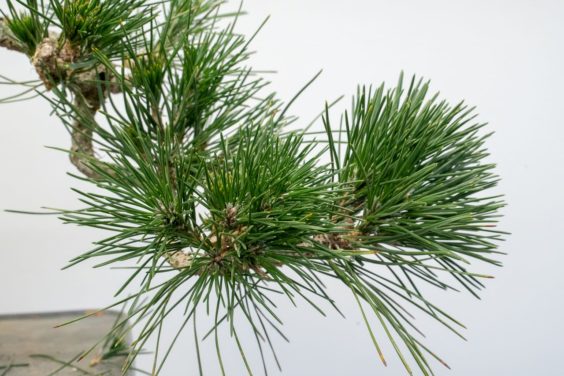
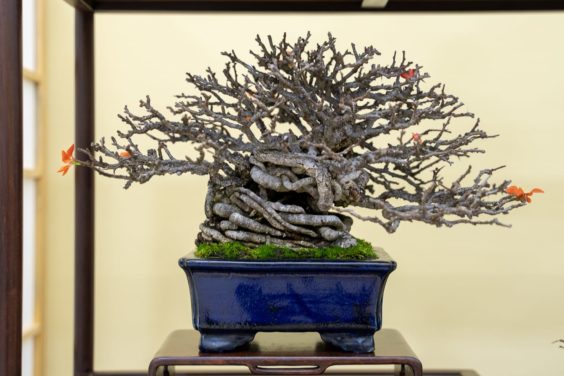
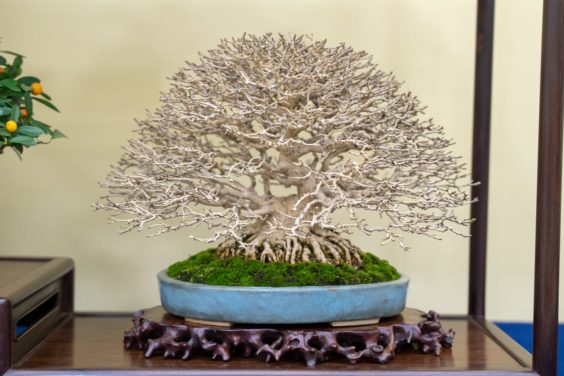
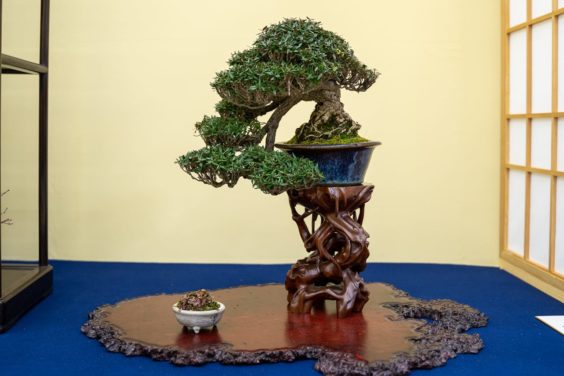
My oldest plum opens early every year so I typically repot it first.
![]()
Plum sp. 15″, Japanese pot
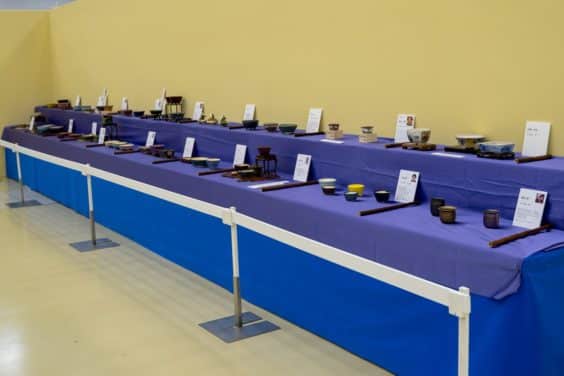
I expect to be repotting different species through February and into March, if all goes well, but not too much later than that.
Some basic repotting notes:
- If you live where winter is cold (snow and ice!) you may find that the repotting window is very short as temperatures can warm quickly in spring triggering rapid growth
- If you expect hard freezes (temperatures below 28 degrees F) after repotting, shelter your trees to prevent damage to recently cut roots
- Most temperate species can handle mild freezes after repotting and can remain outdoors when temperatures are in the low 30s
Do note that trees can break dormancy at different times in different years. Changes in the weather or to a tree’s health can affect when new shoots first appear, so some attention is required to make sure trees are repotted at the right time. And if you miss the window by a bit, no problem. The sooner you can repot after a tree starts growing, the better.
About This Series
The idea for this series is to provide starting points to help you figure out what’s best for your trees. Published information can be a great starting point, but it doesn’t always apply to the trees in our gardens. If you have ideas for topics, feel free to post them below.
The post Teach Yourself Bonsai #1: When do I repot my bonsai? appeared first on Bonsai Tonight.