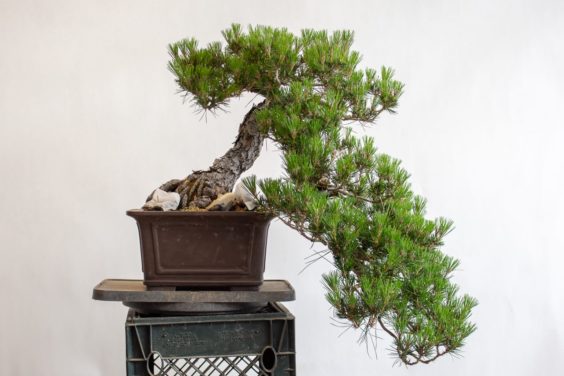
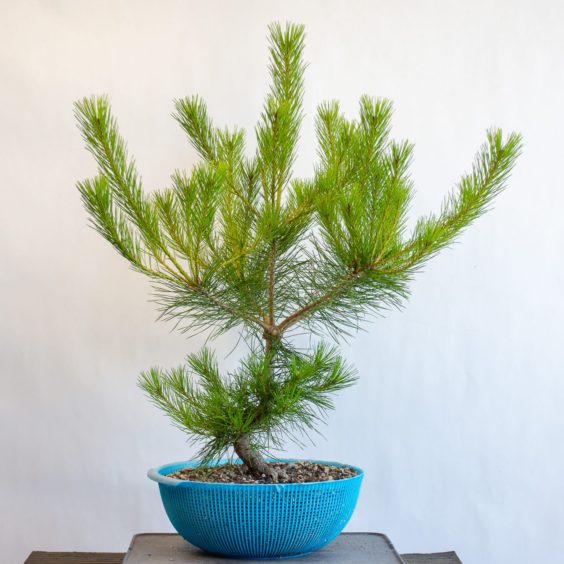
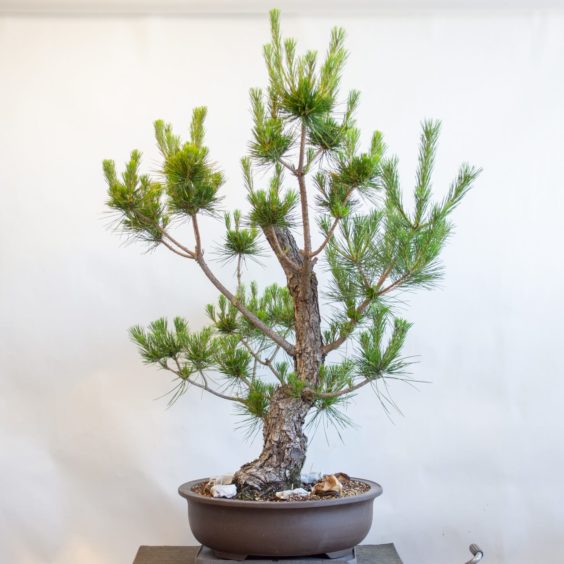
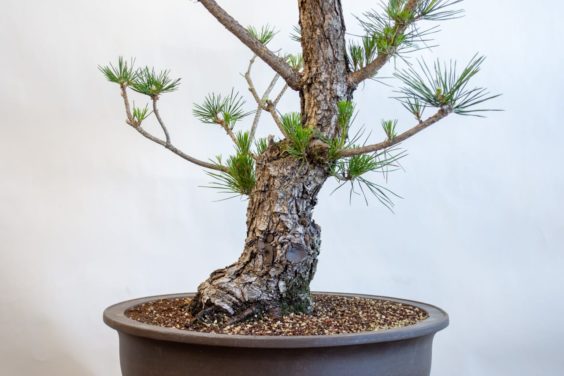
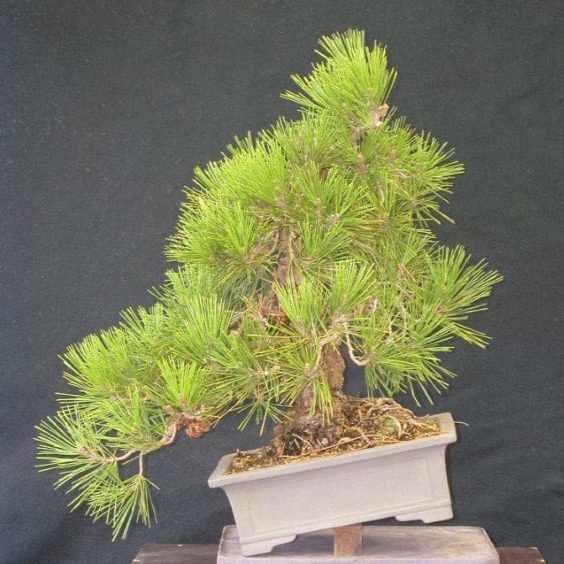
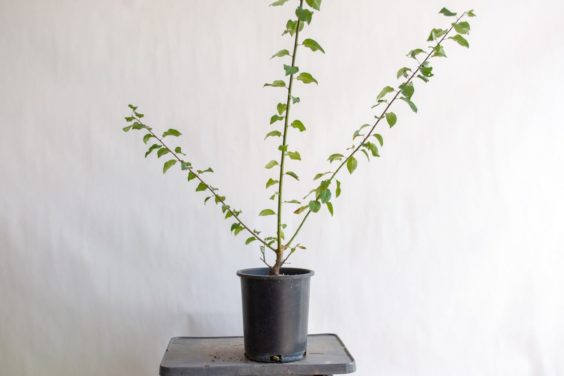
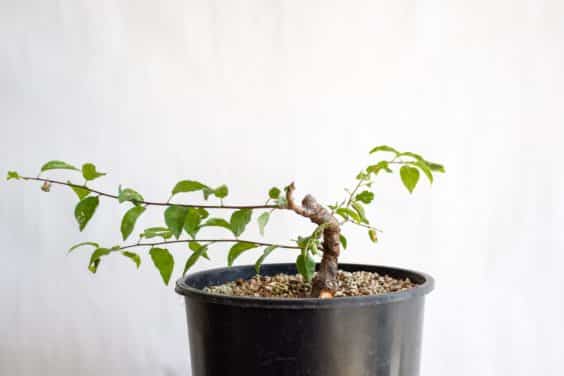
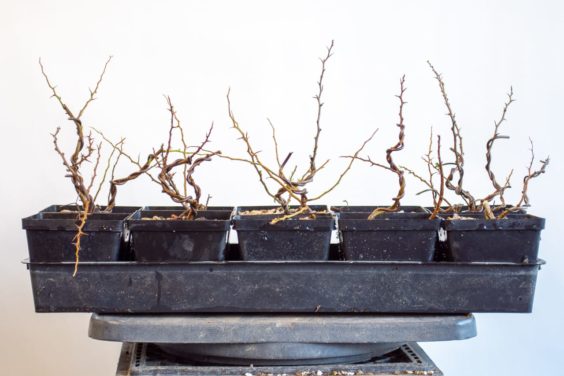
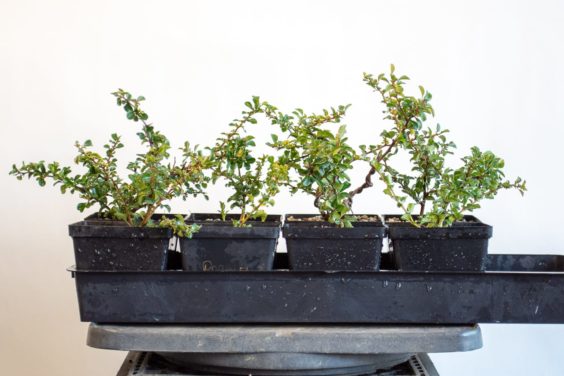
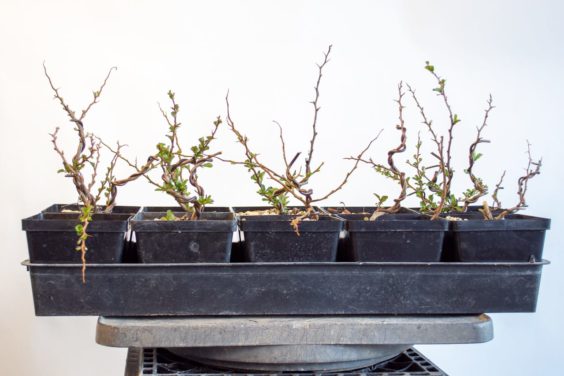
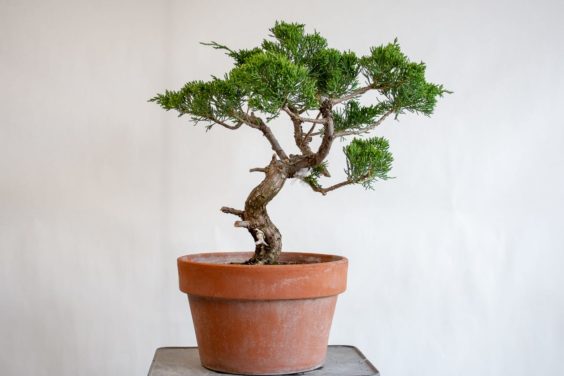
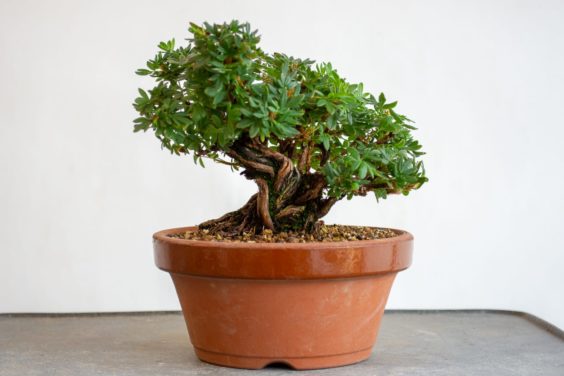
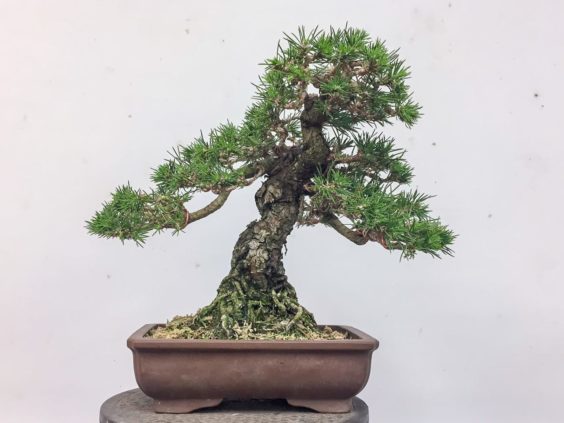
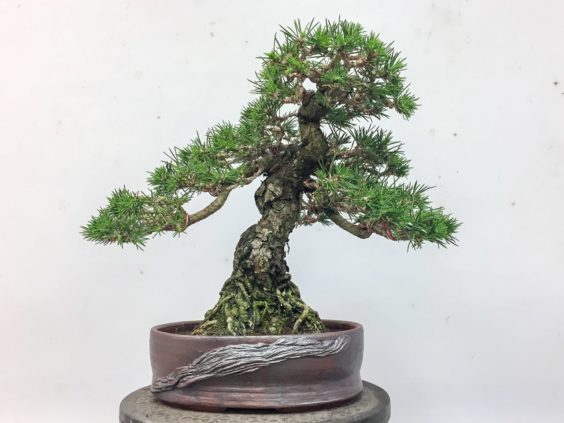
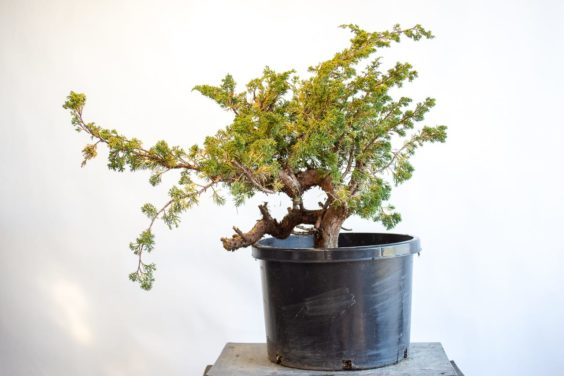
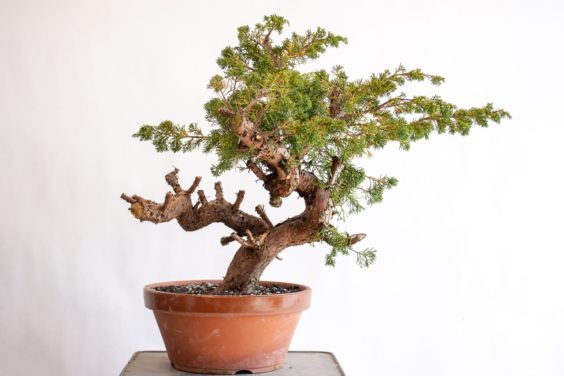
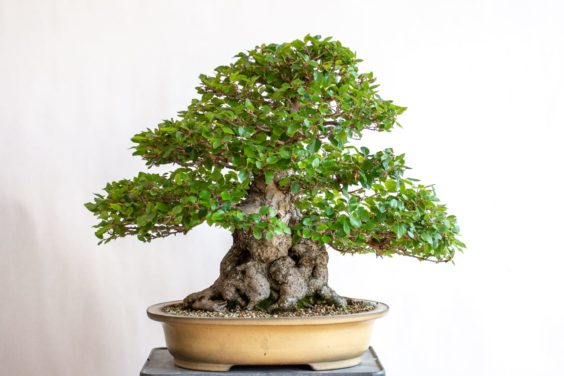
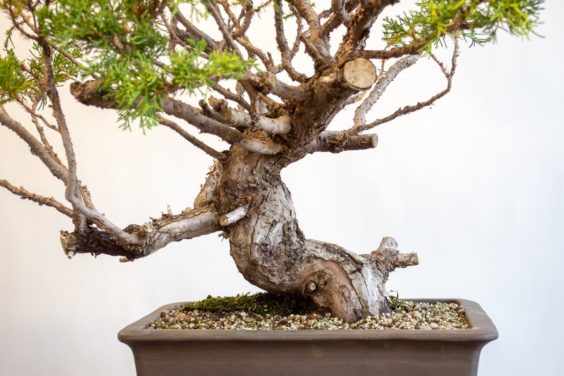
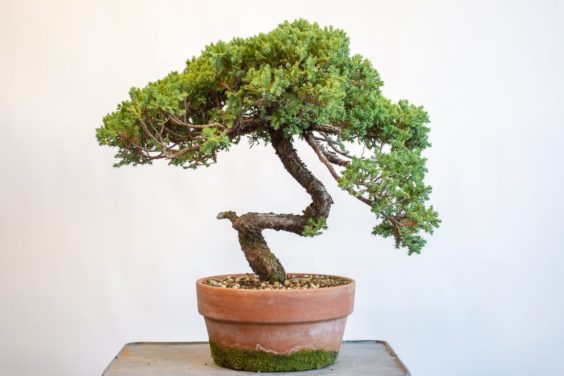
I acquired a number of field-grown shimpaku junipers earlier this year. Most are growing well.
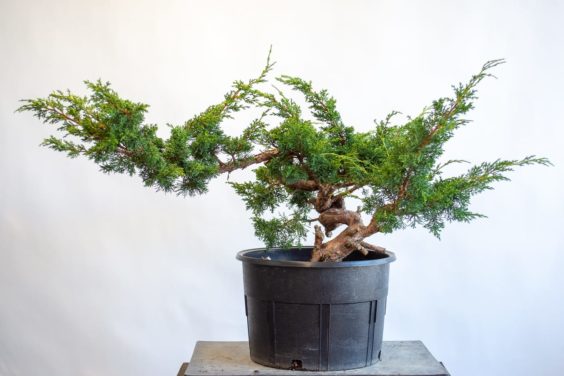
![]()
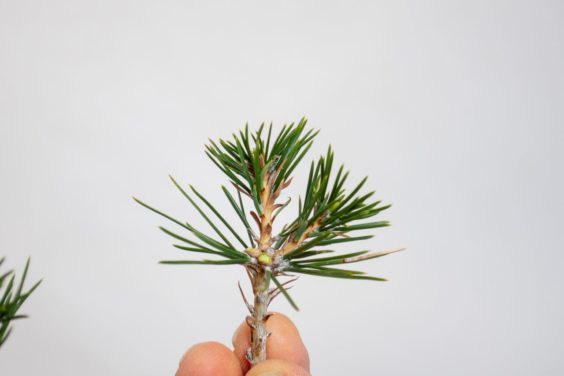
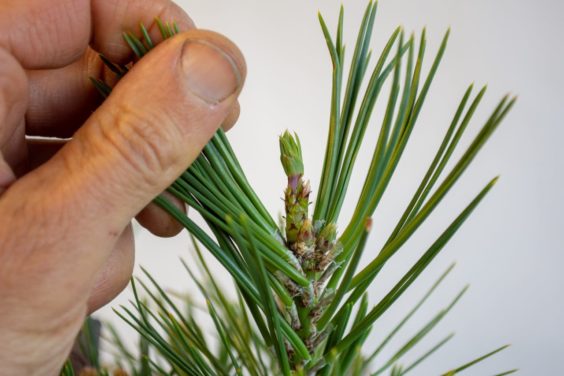
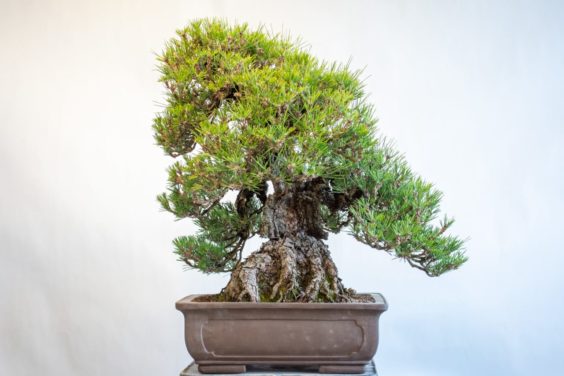
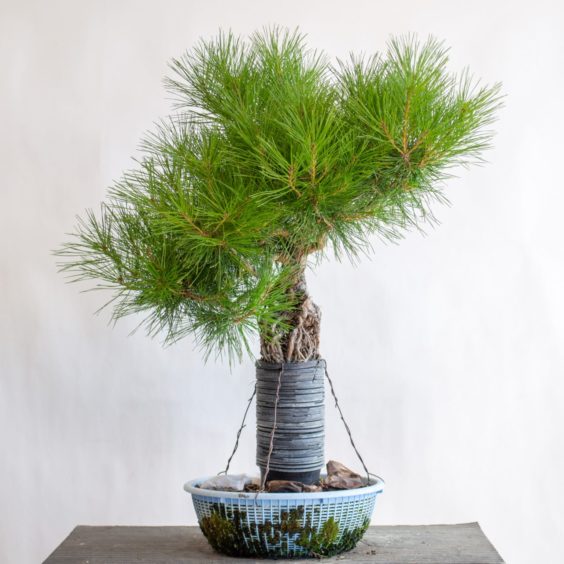
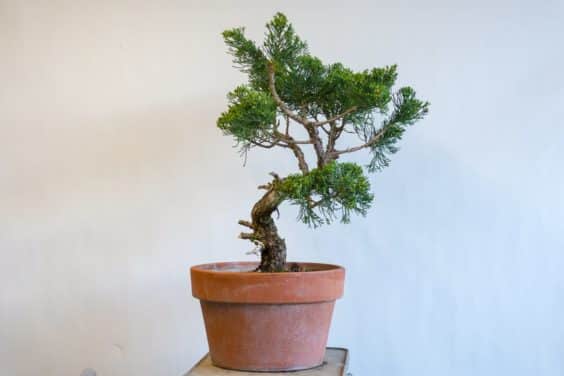
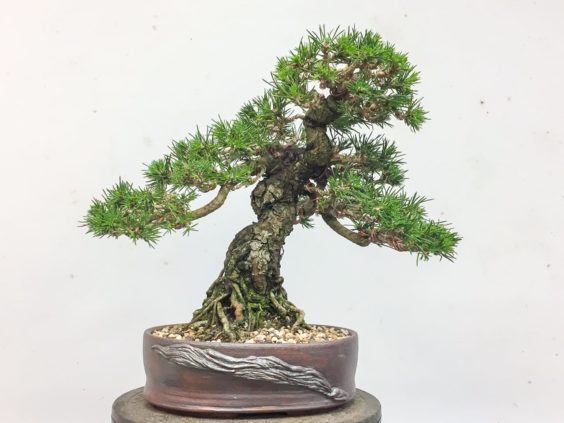
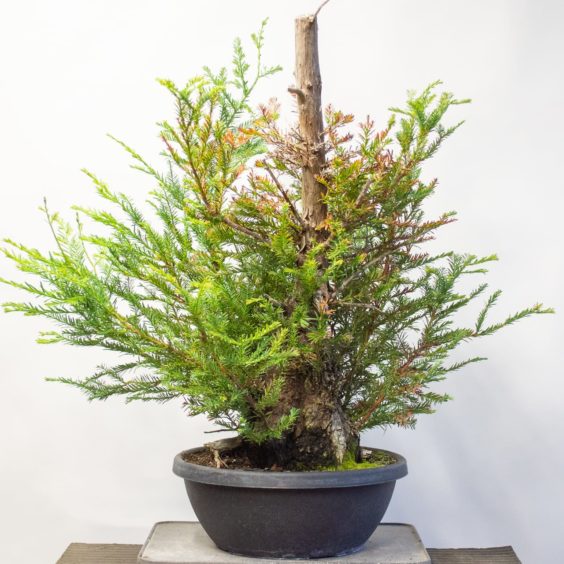
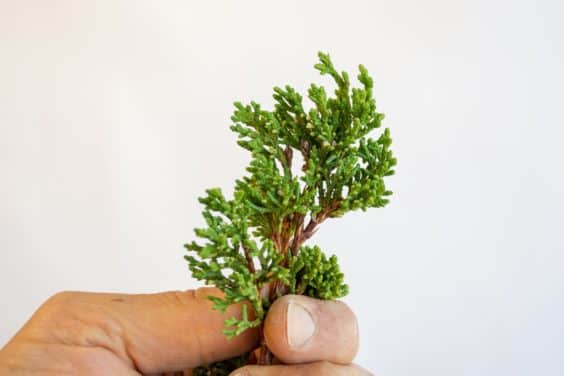
Healthy juniper
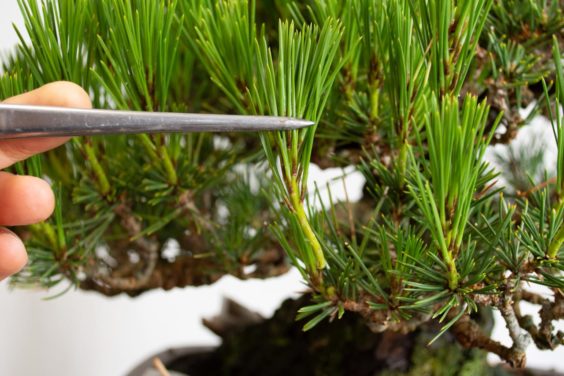
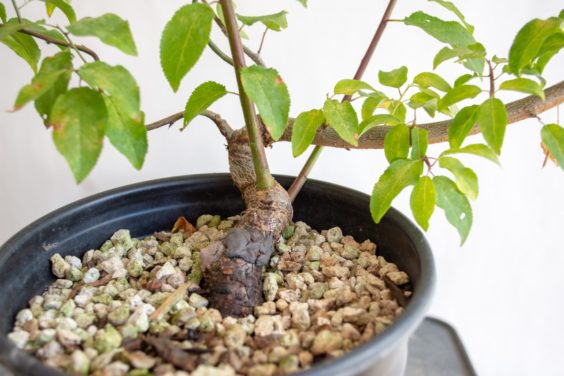
The best signs of health, in this case, are the green color and the handful of elongating shoots at the ends of the upper branches.
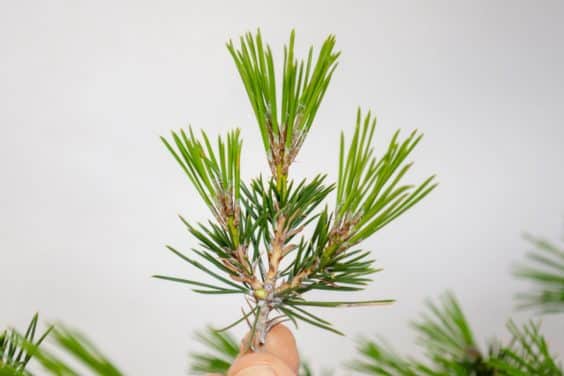
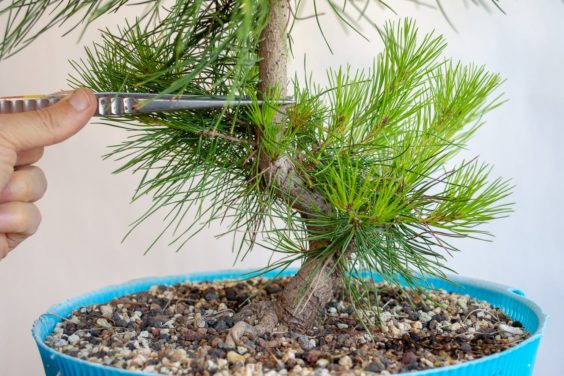
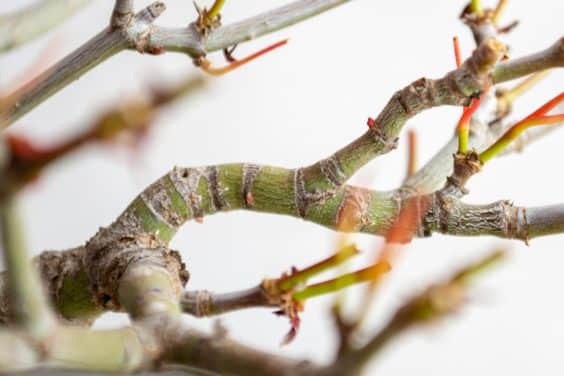
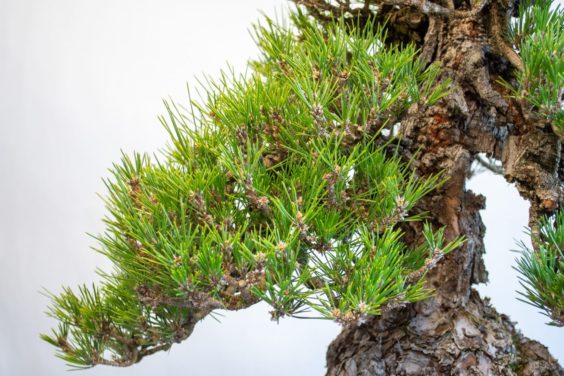
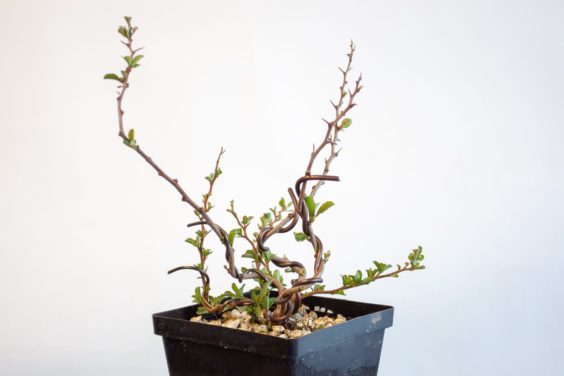
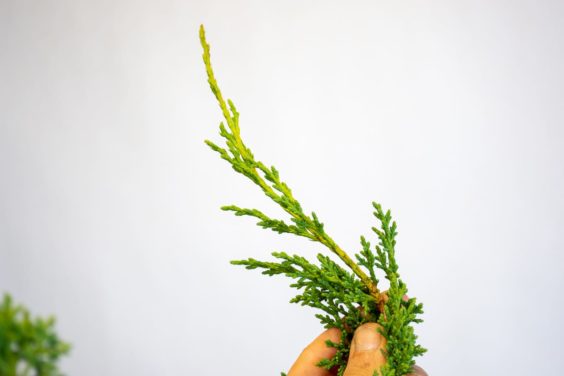
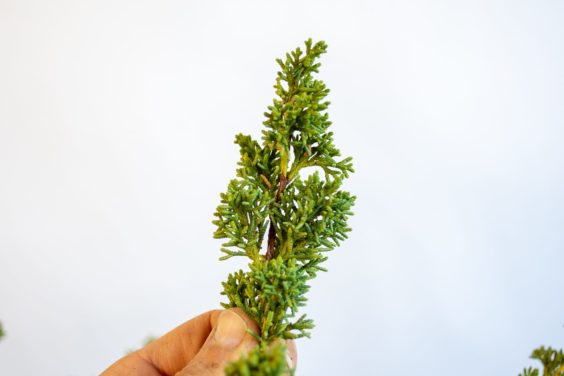
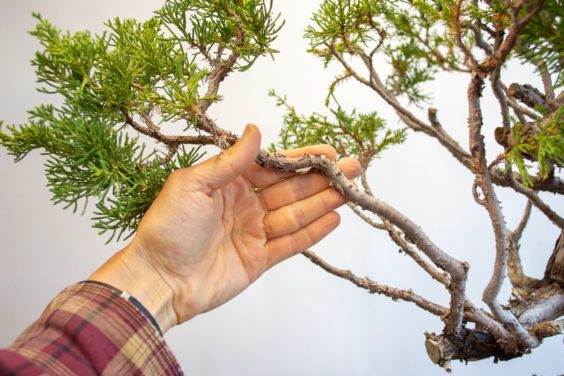
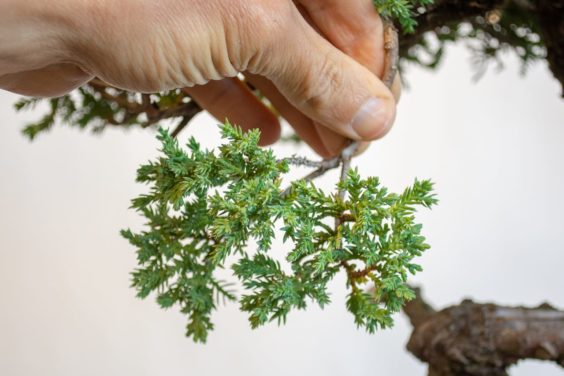
![]()
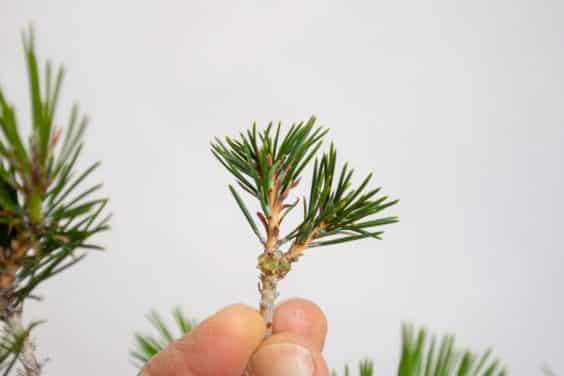
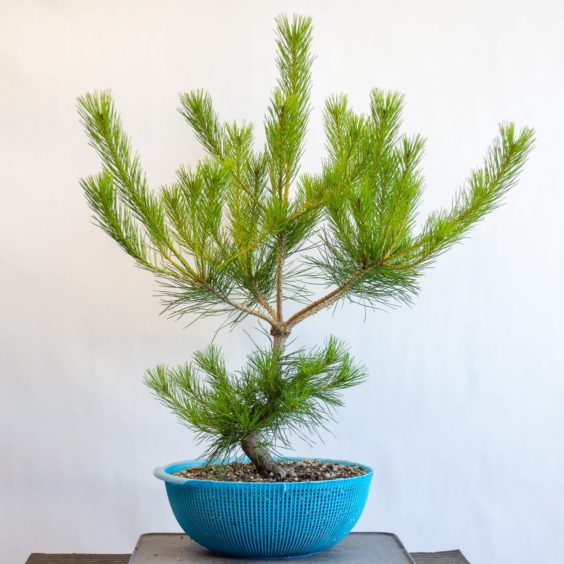
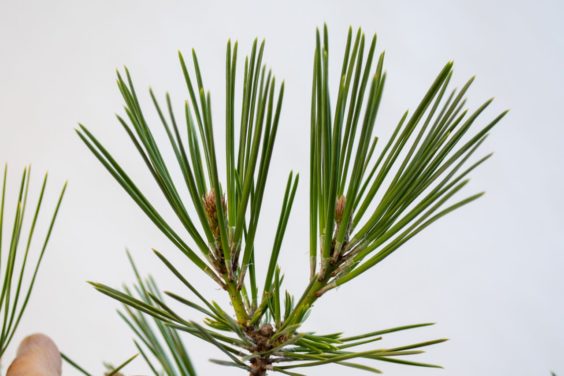
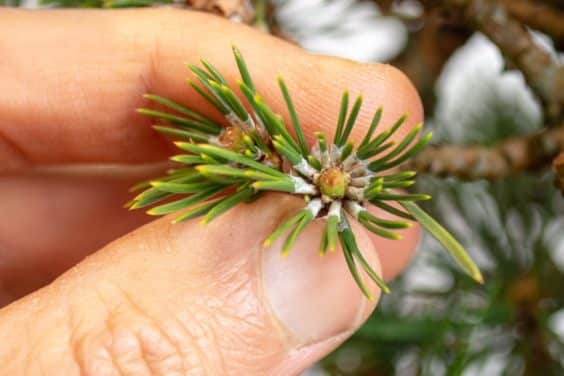
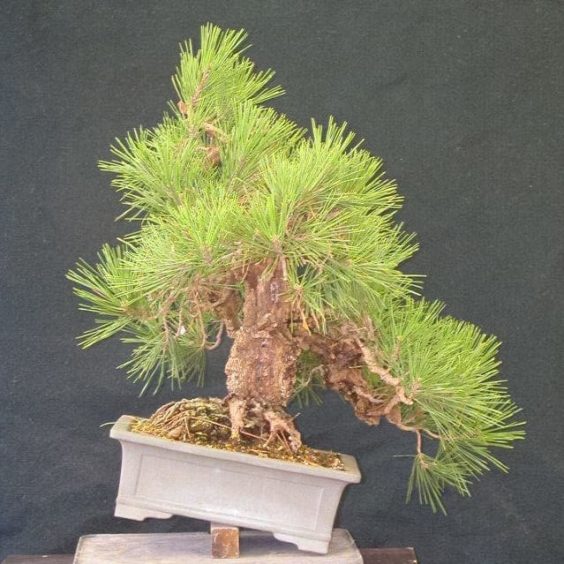
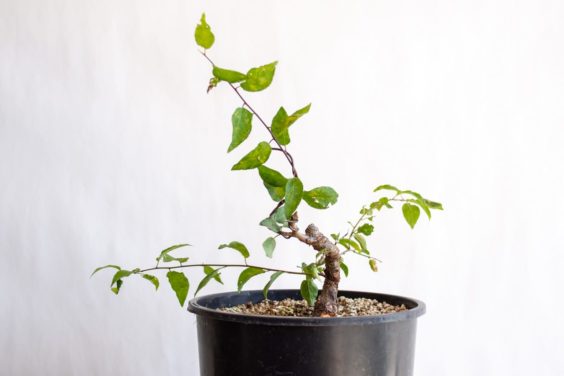
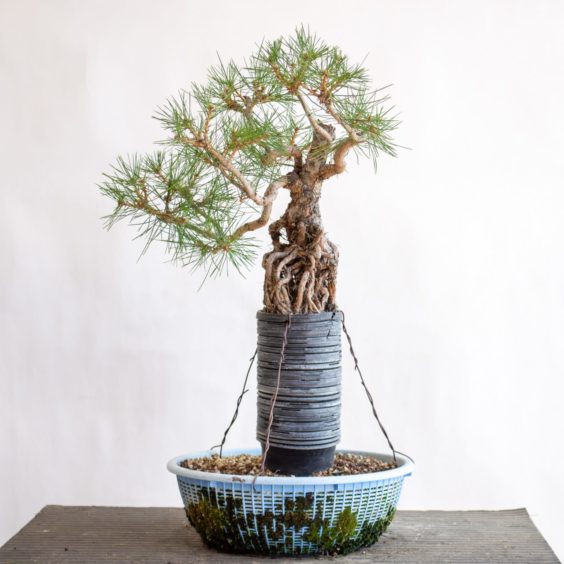
Vigorous shoot
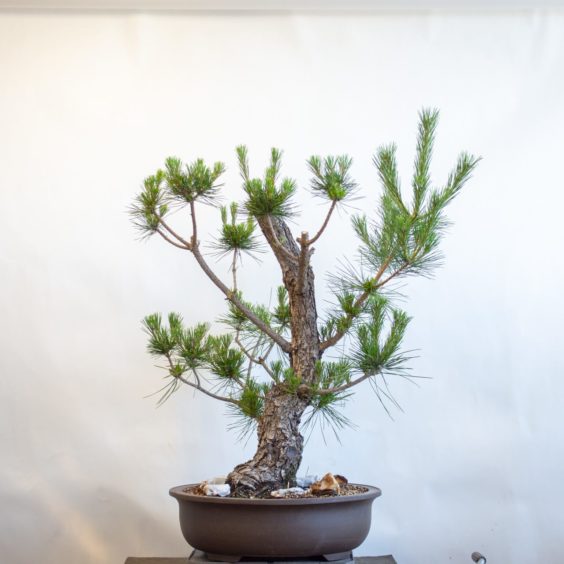
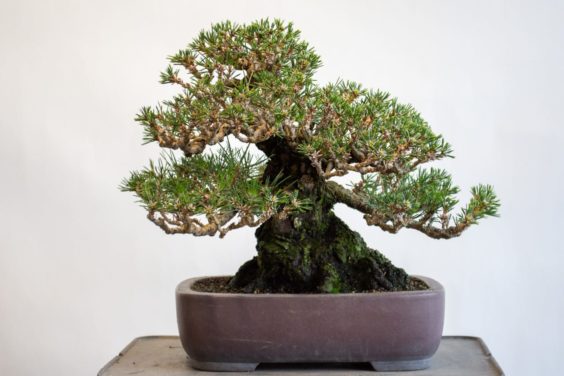
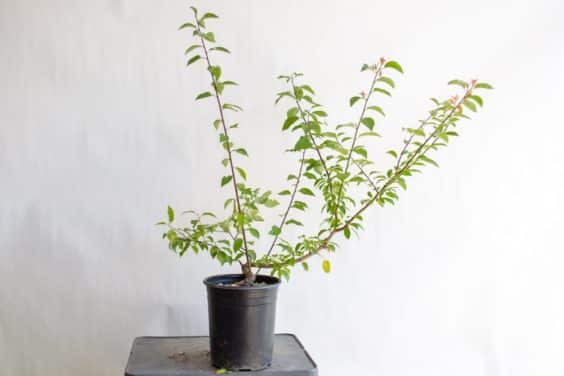
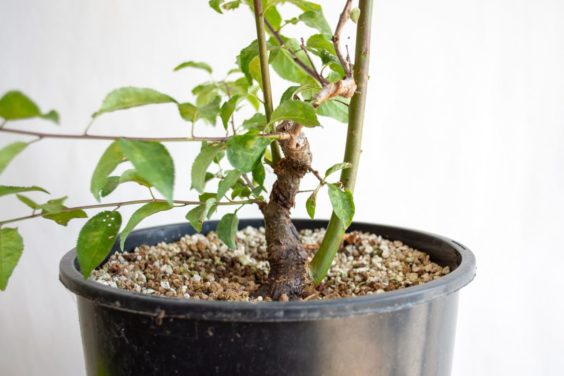
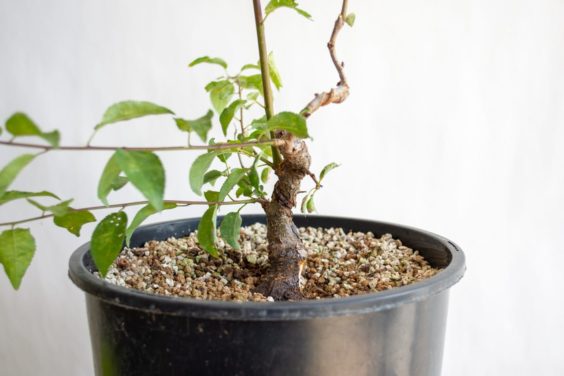
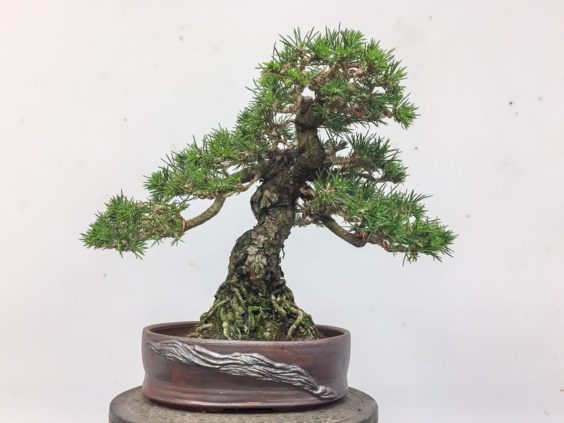
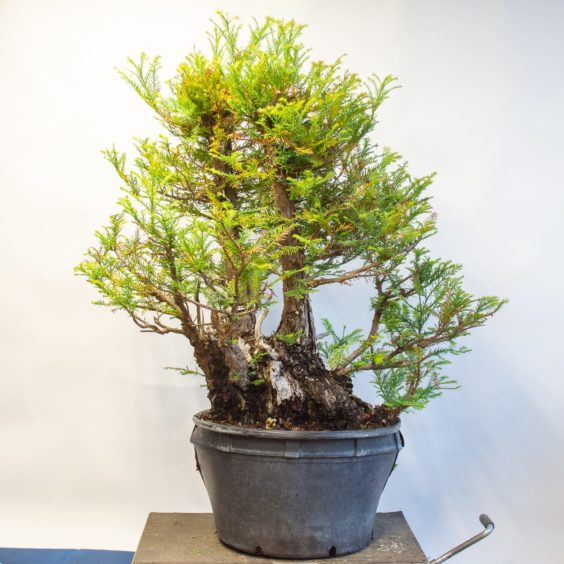
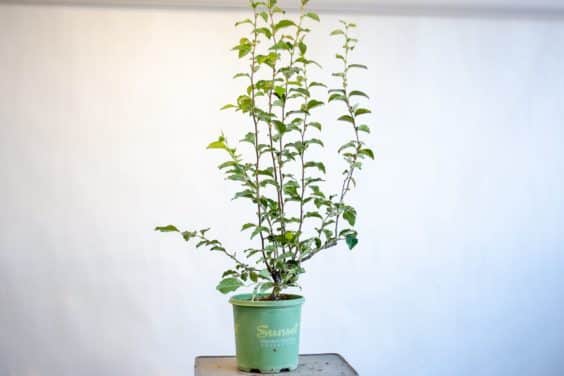
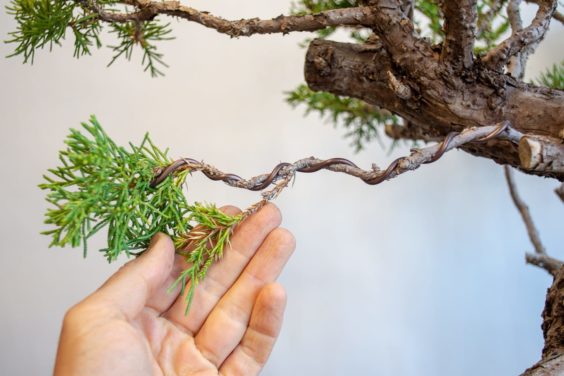
Here’s another healthy juniper that produced a lot of growth this spring.
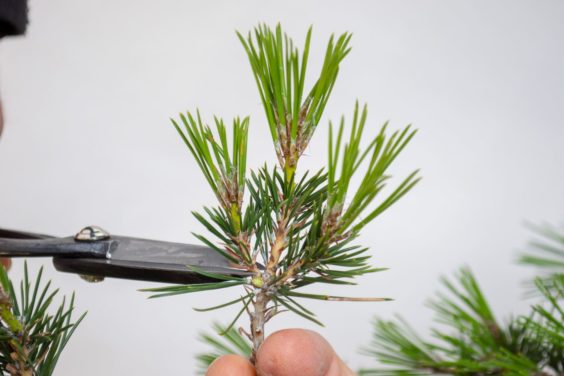
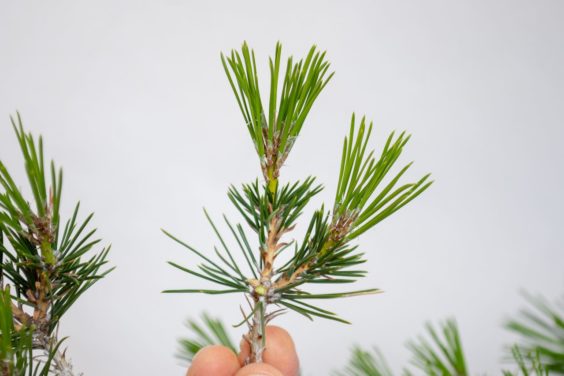
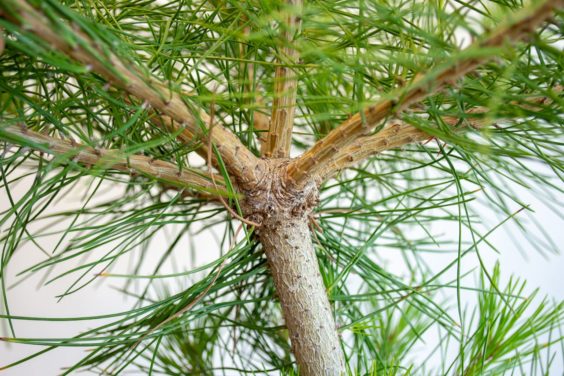
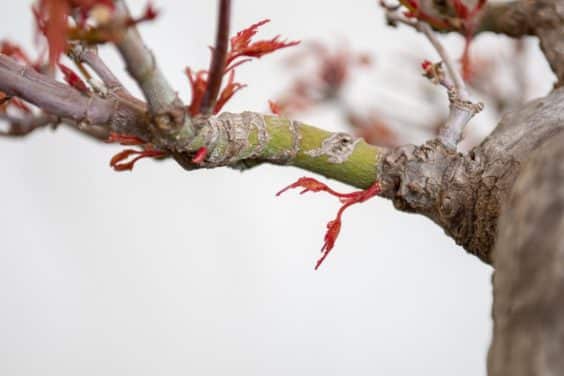
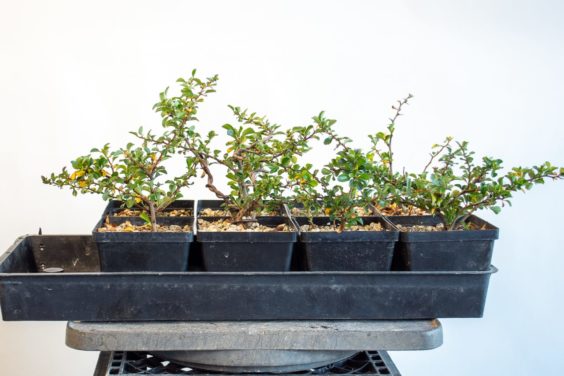
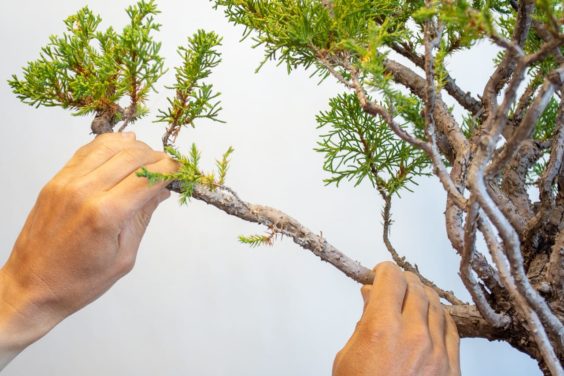
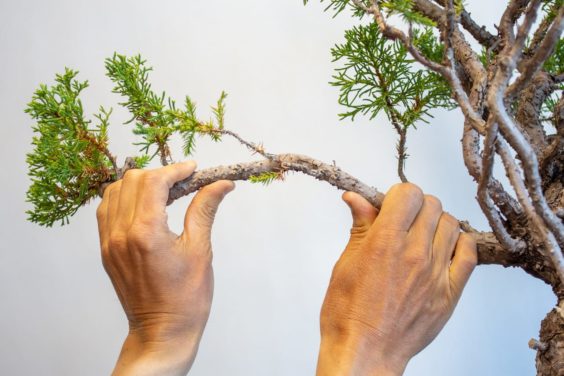
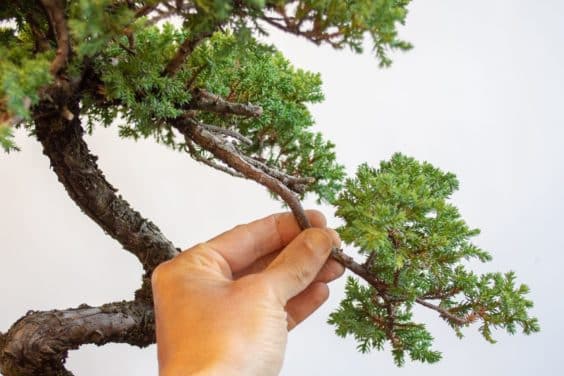
![]()
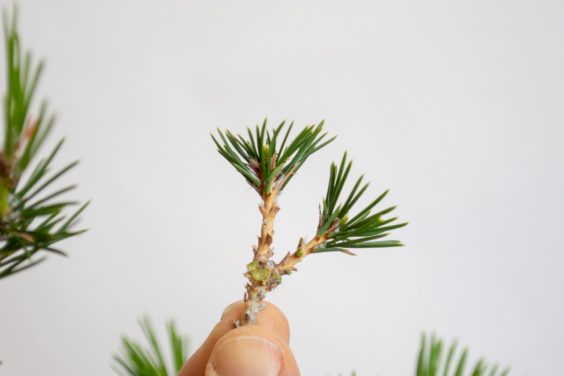
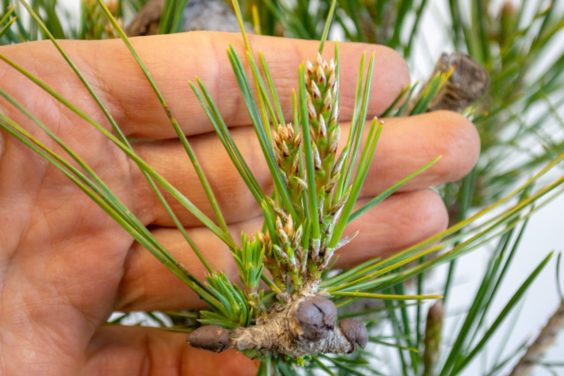
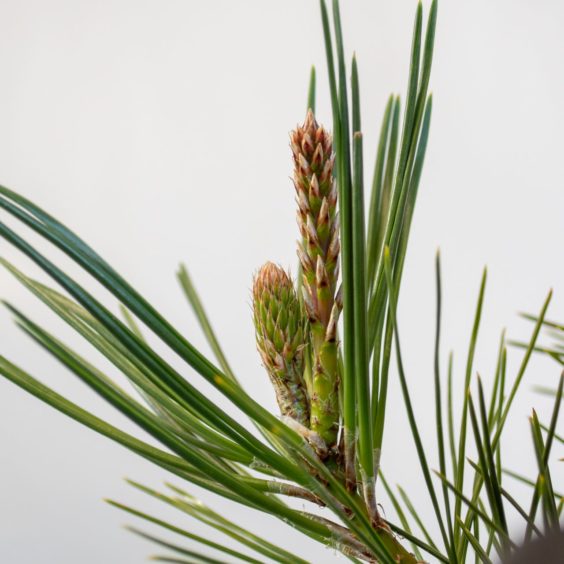
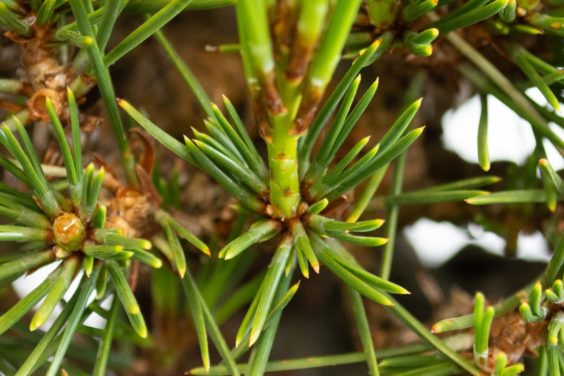
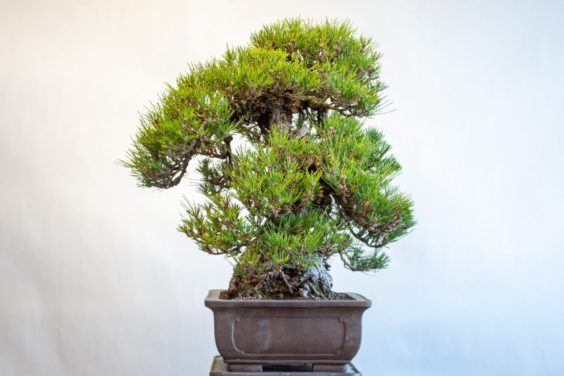
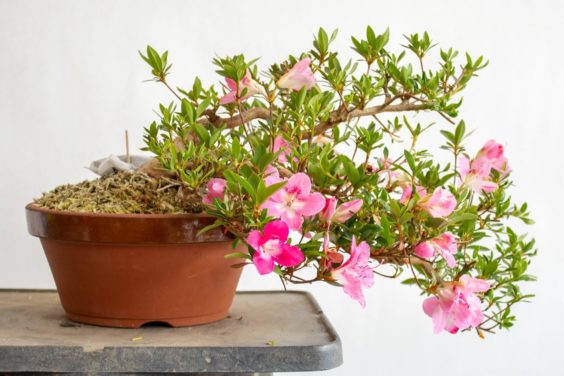
Juniper with elongating shoots
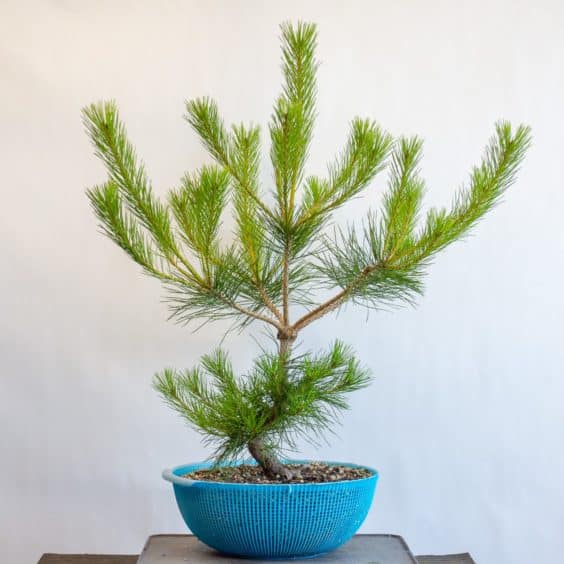
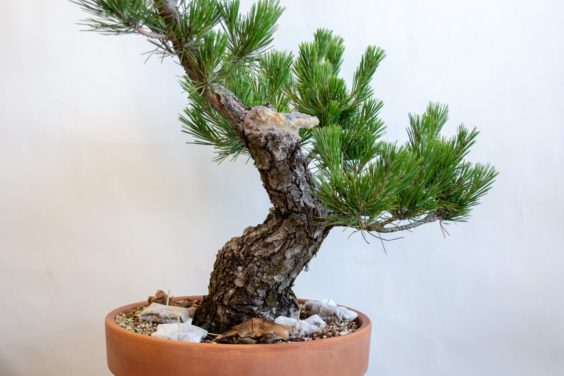
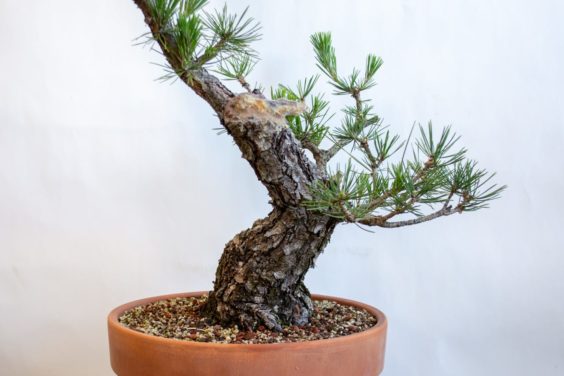
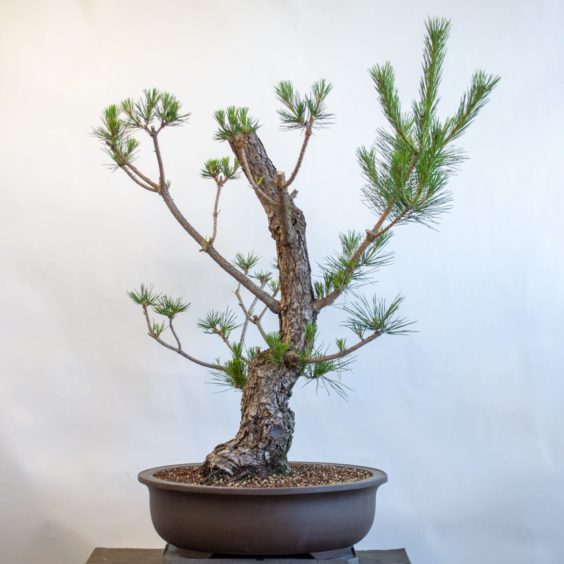
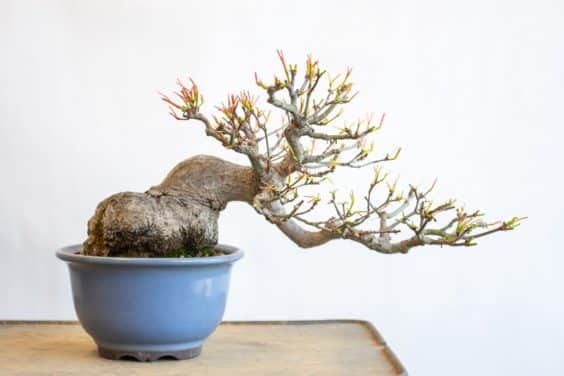
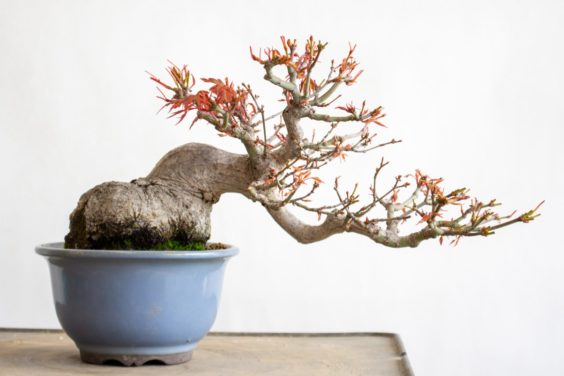
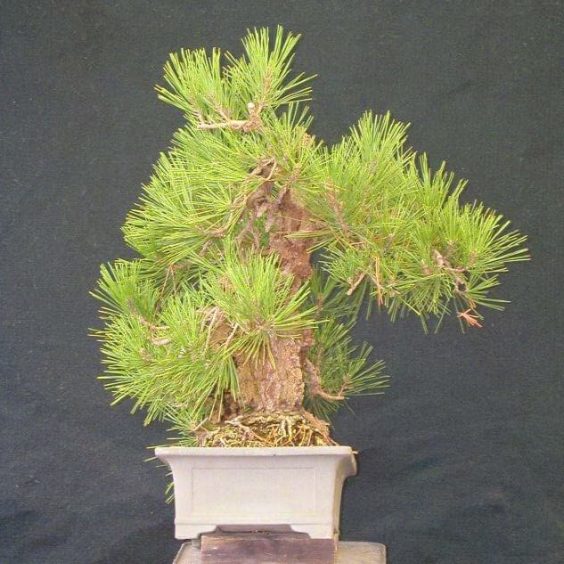
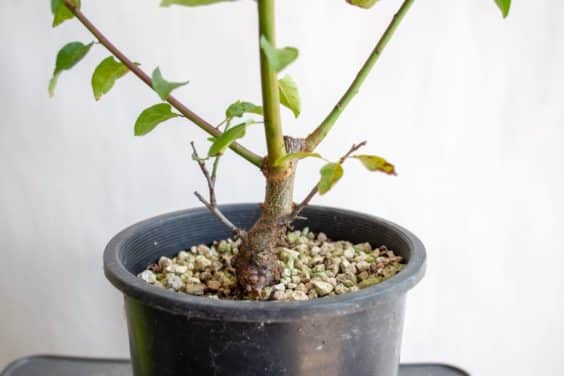
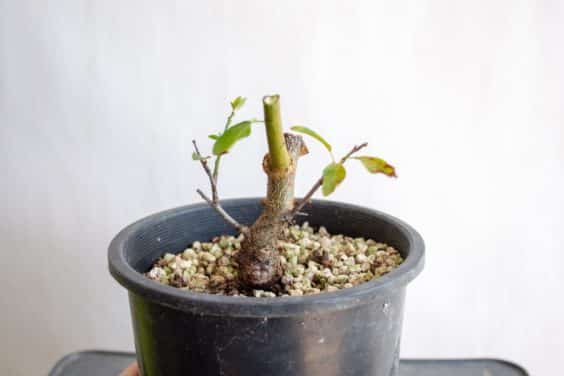
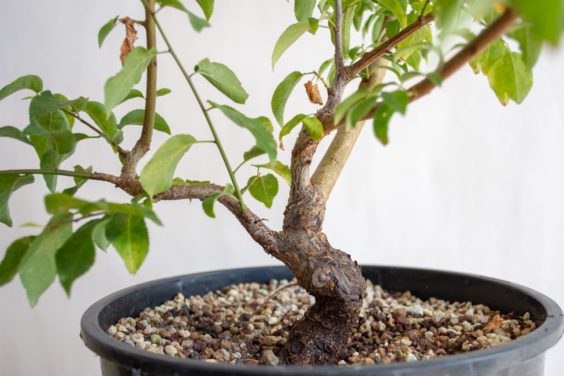
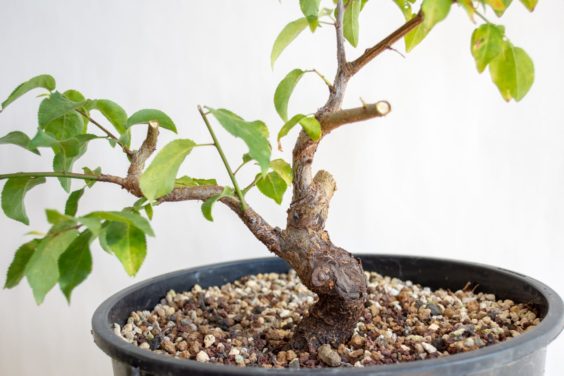
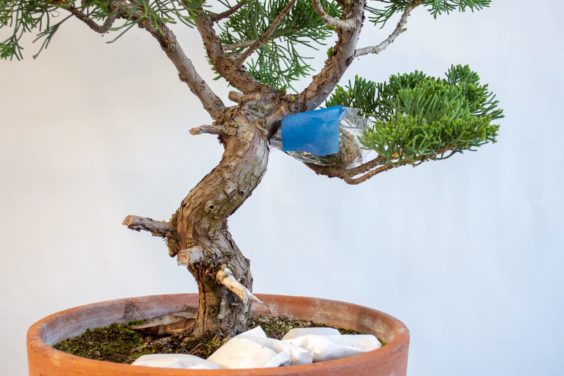
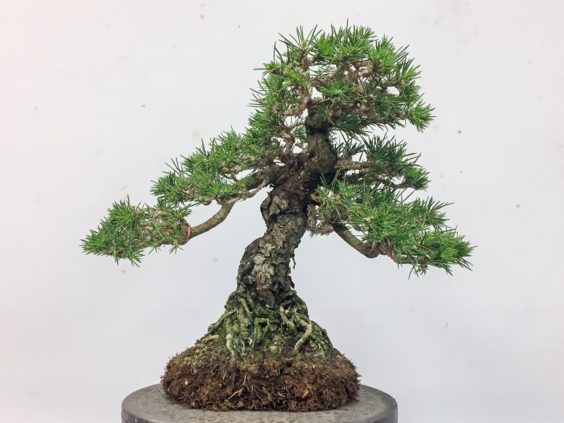
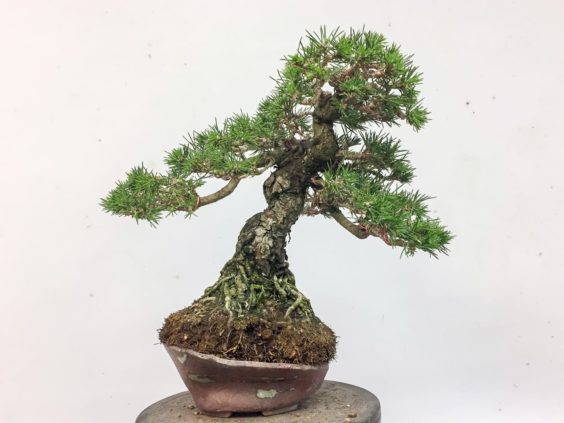
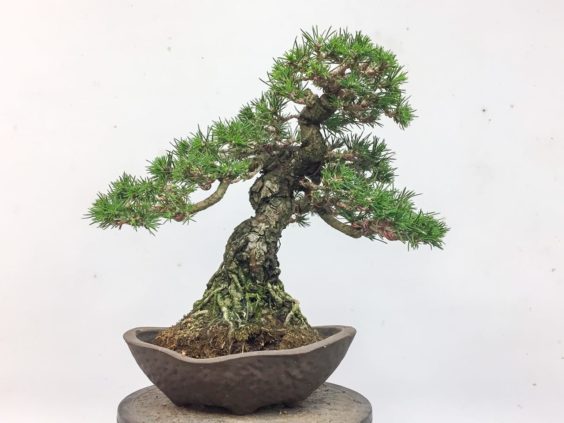
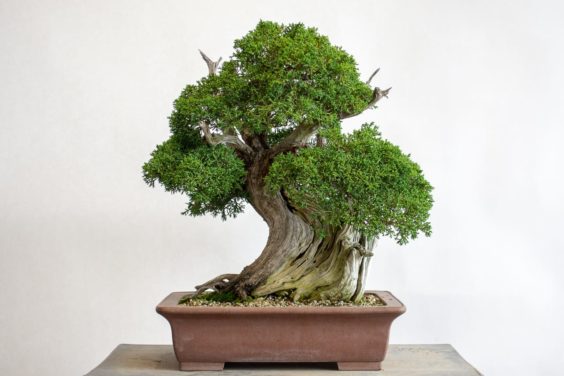
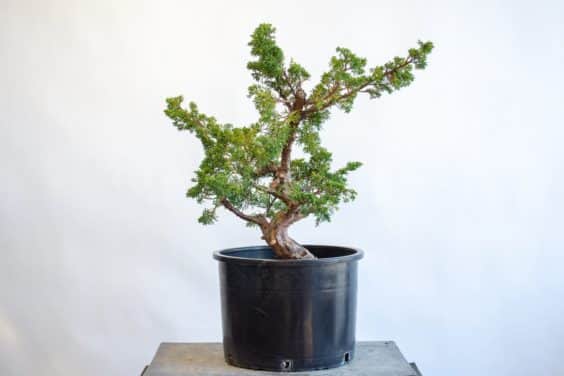
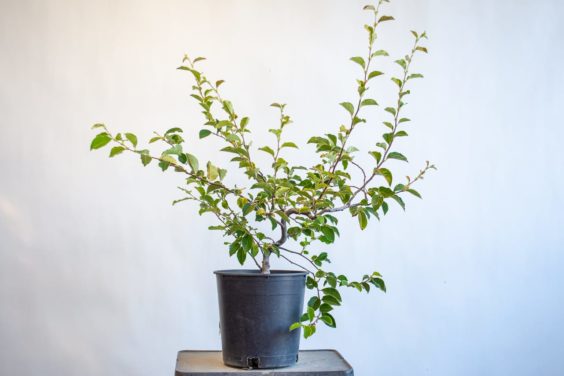
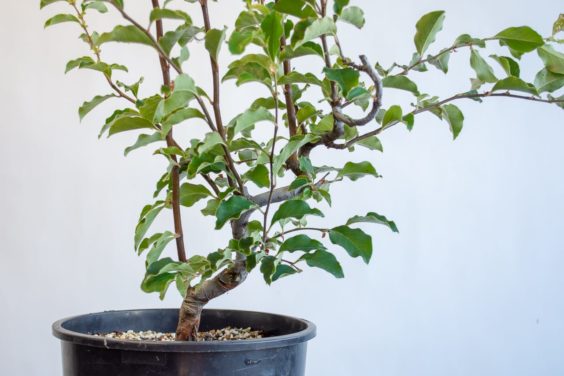
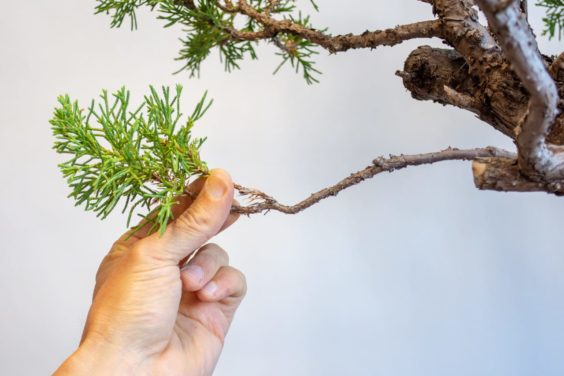
Some of the other trees in the group aren’t doing as well. The juniper below is healthy and green but it hasn’t grown much this year.
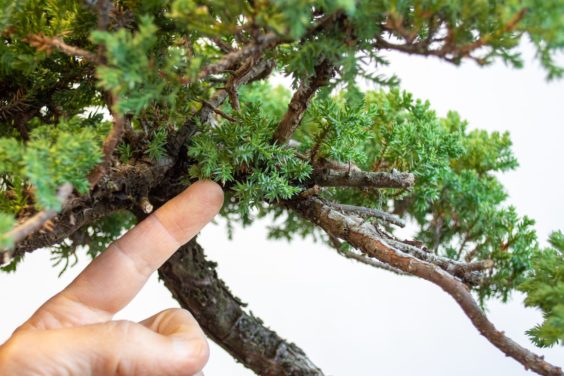
![]()
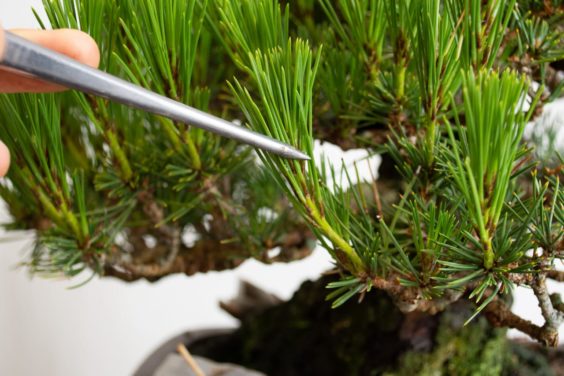
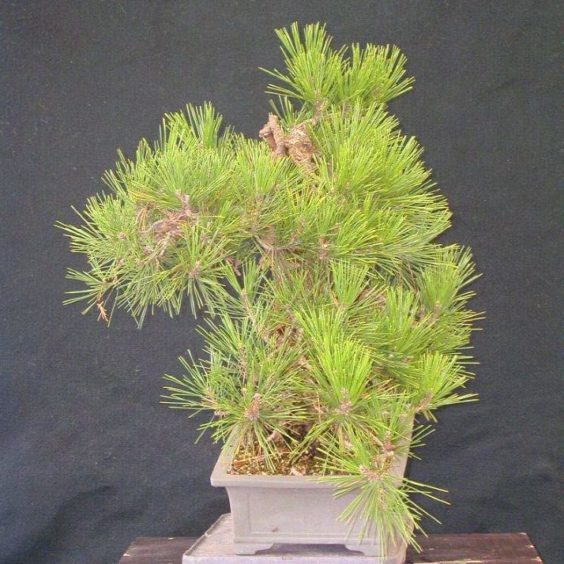
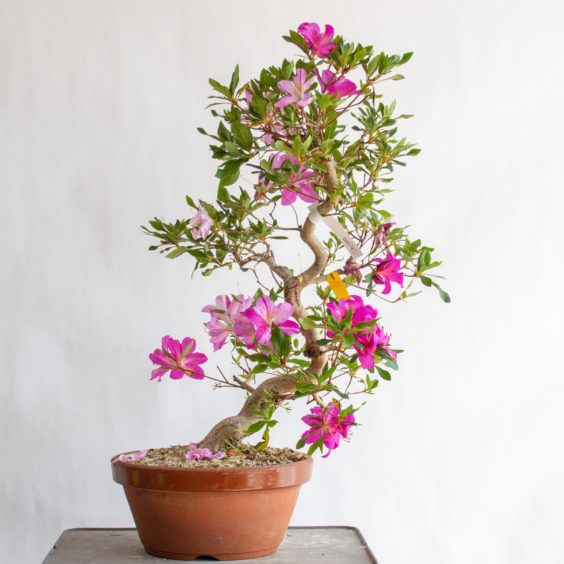
Healthy, but relatively weak juniper
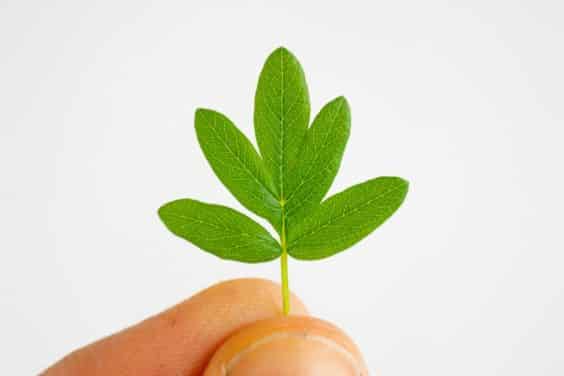
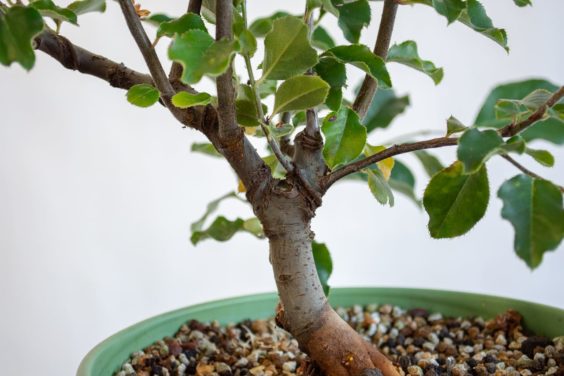
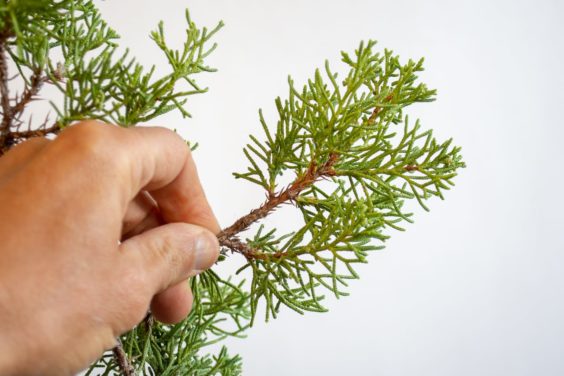
![]()
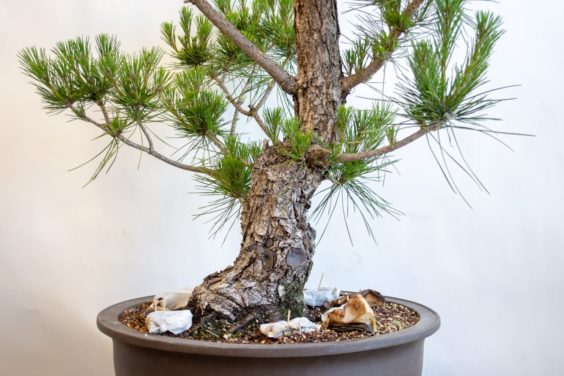
Foliage detail
I’m not overly concerned about the health of this tree, but I am watching the watering carefully. I check the soil daily and rarely water more than once per week.
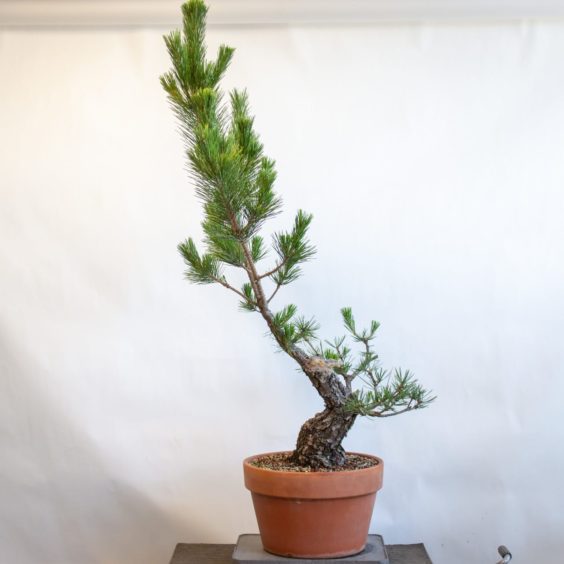
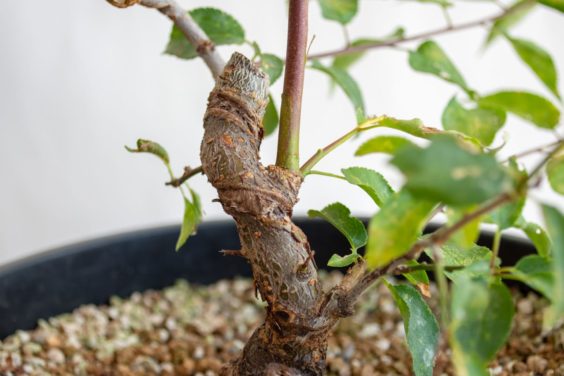
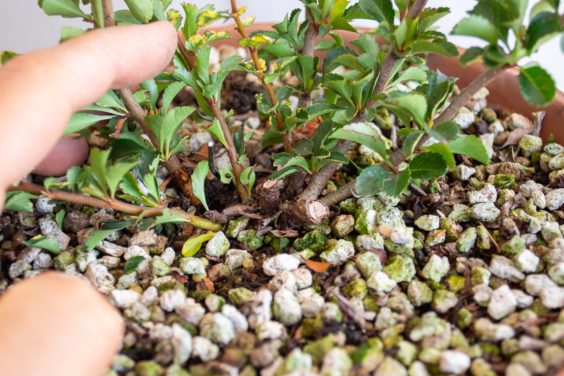
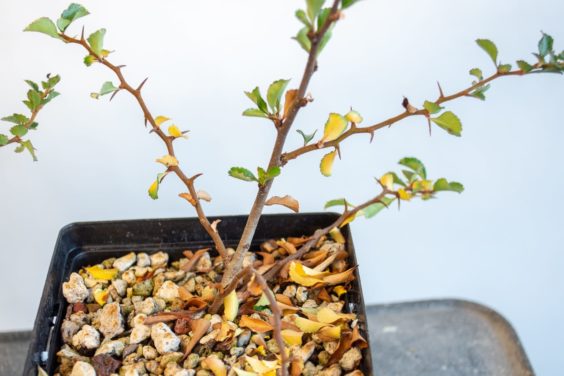
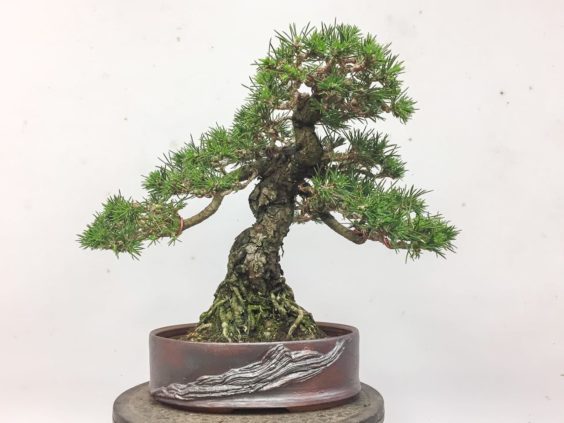
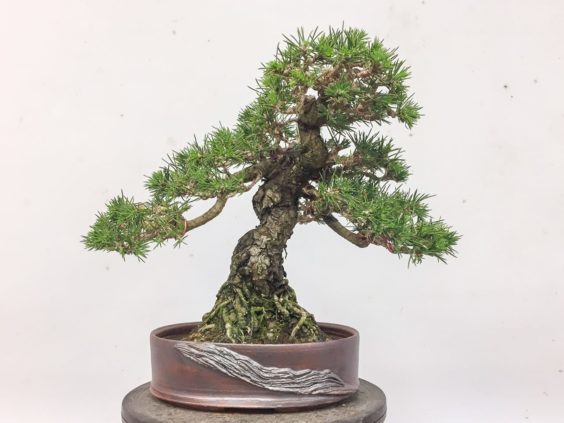
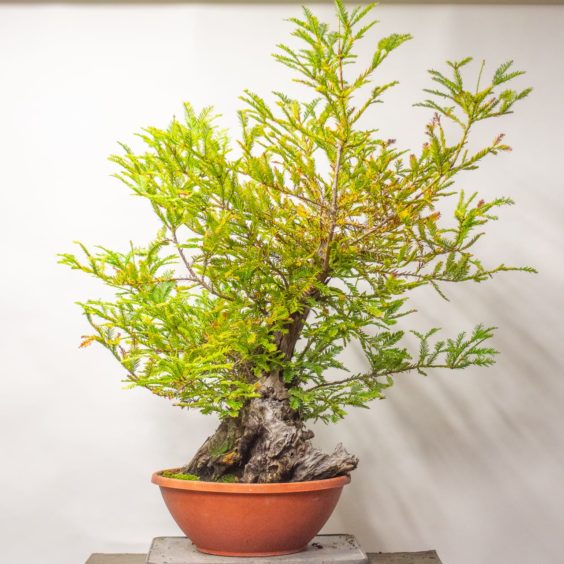
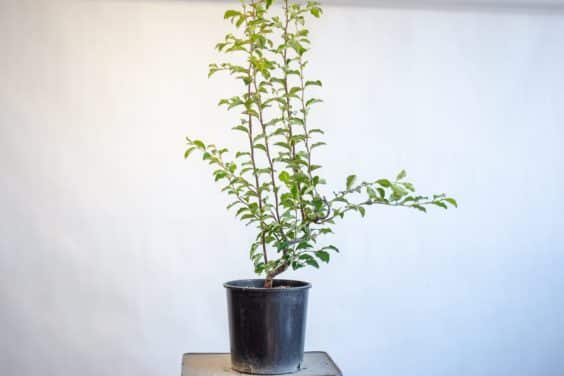
All but one of the trees in this group look like the junipers above. A few weeks ago, this last juniper turned yellow.
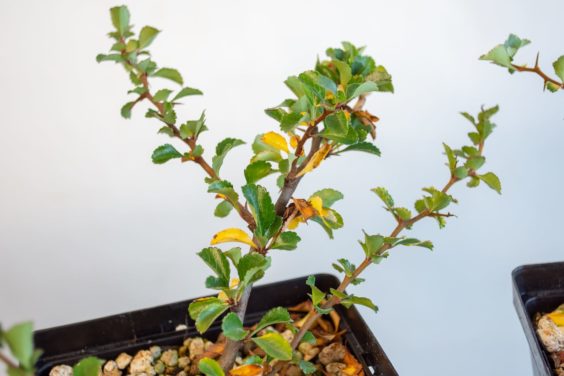
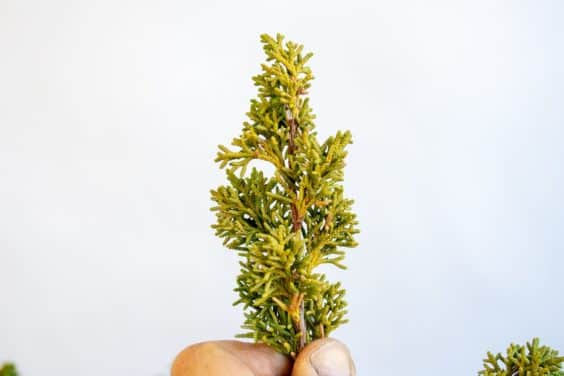
![]()
Yellow juniper
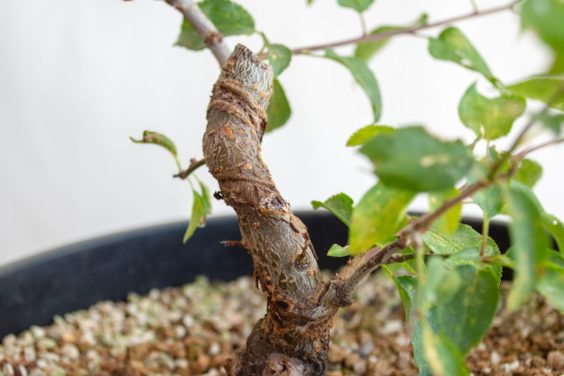
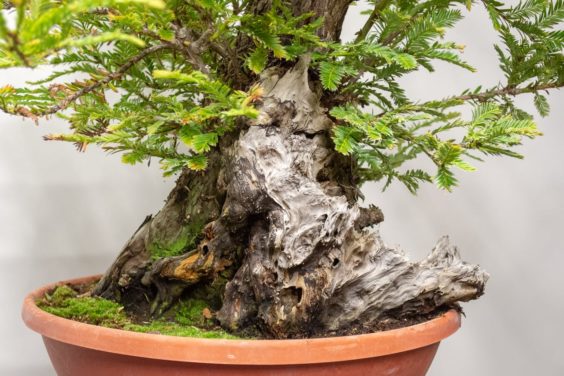
Upon closer inspection, I noticed that the upper surface of the foliage was yellow while the same branches were green when seen from below.
![]()
Yellow foliage above
![]()
Green foliage below
When I see signs of stress like this, my first guess is that something is wrong in the soil. The tree hadn’t grown at all this year but it retained its color into June. I’d been mostly misting the foliage for the past two months as the rootball almost never dried out, but was more surprised by this than concerned. When the foliage turned yellow, I began to worry.
I moved the tree under shade cloth and continued watering the foliage but not the soil. The tree, however, continued to decline.
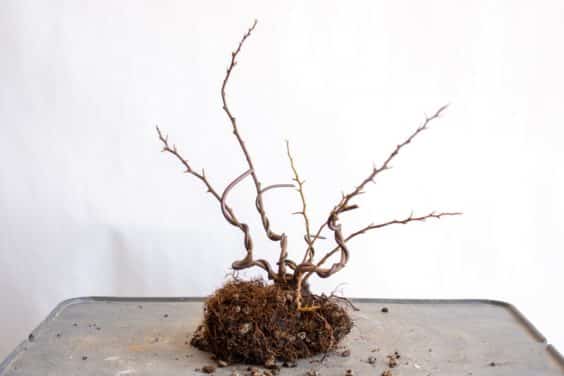
At this point, I figured the tree was lost. Curious about the state of the roots, I decided to take a closer look and see if I could learn what happened.
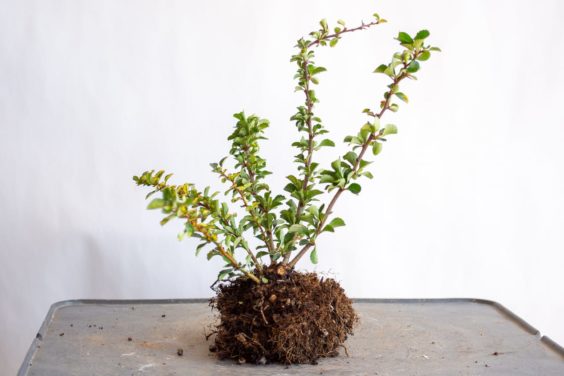
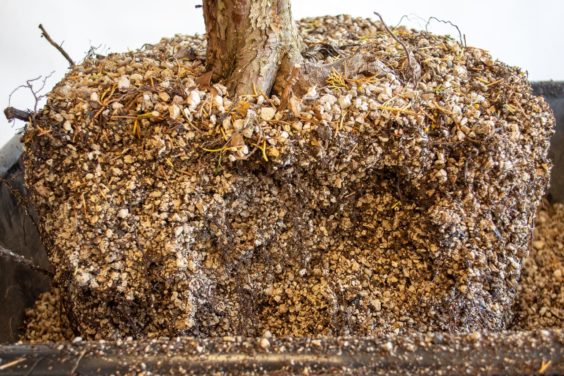
When I took the tree out of the pot, a bunch of soil fell away without prompting. This was a bad sign – there were no healthy roots on the outside of the rootball.
![]()
Not-quite-intact rootball
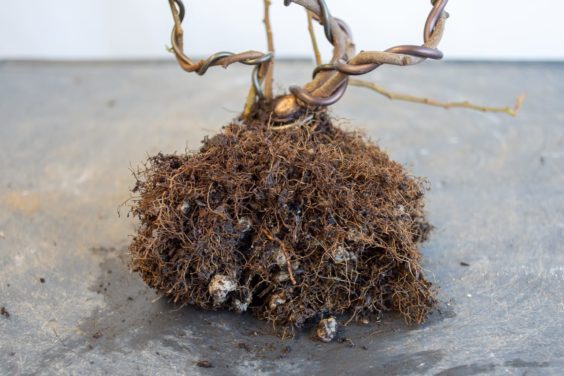
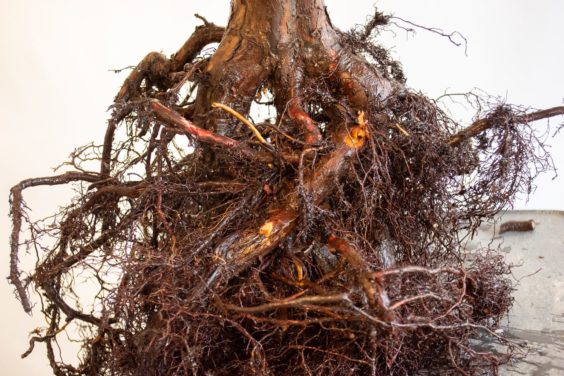
I picked away at the pumice and later the field soil at the center of the rootball. There wasn’t much cause for optimism.
![]()
After bare-rooting
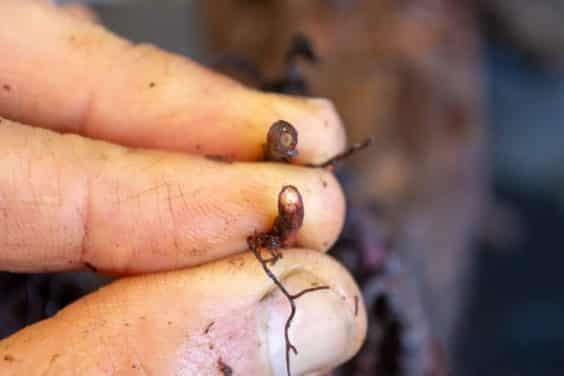
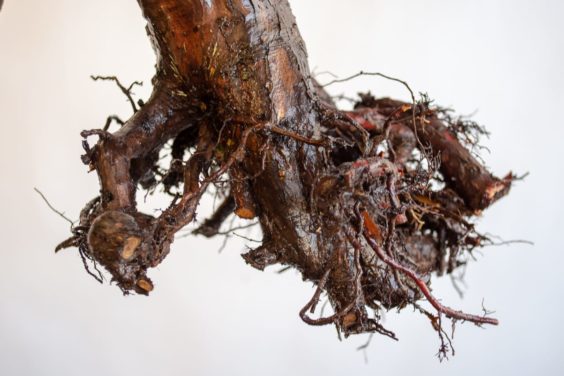
I started reducing the dead roots to see if I could find any signs of life. And after removing the bulk of the roots, I found a single sign of life. Here is the healthy root pictured with a dead root of similar size for comparison.
![]()
Dead root (above) and live root (below)
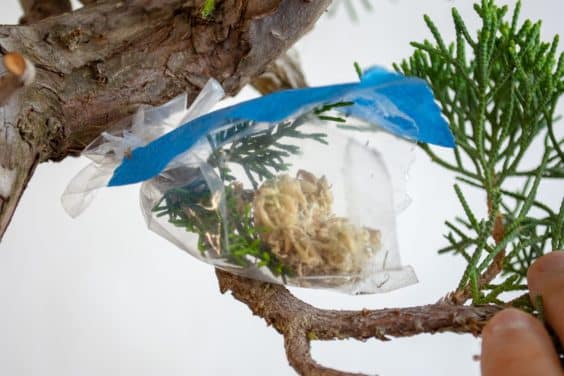
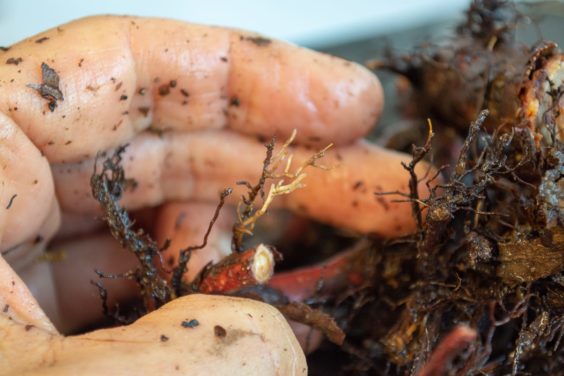
I looked even more closely around the rootball and eventually found a small cluster of feeder roots.
![]()
Fine roots
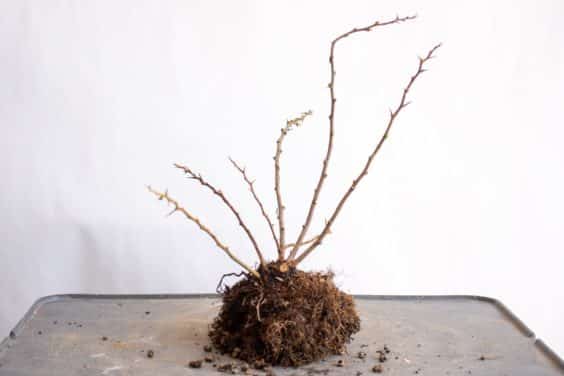
Of course, one healthy but corse root and a few fine roots didn’t exactly get my hopes up. All of the other roots had dried up and begun to rot.
![]()
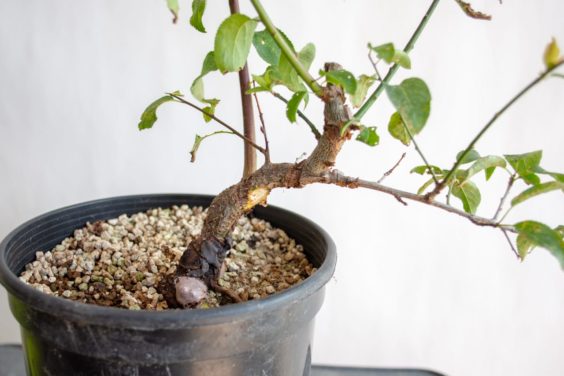
After trimming the dead roots
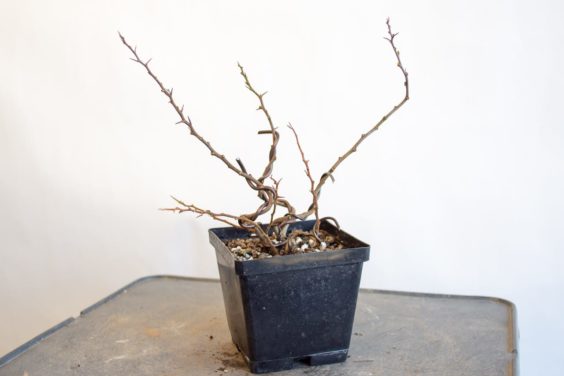
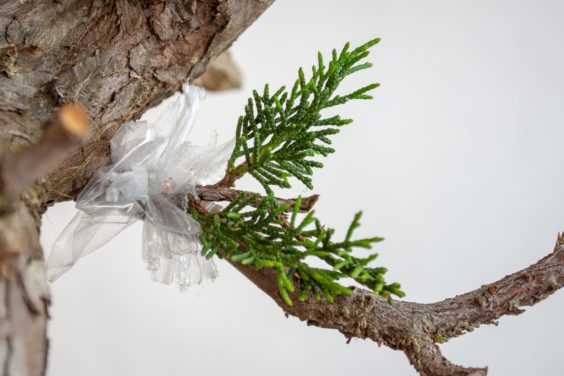
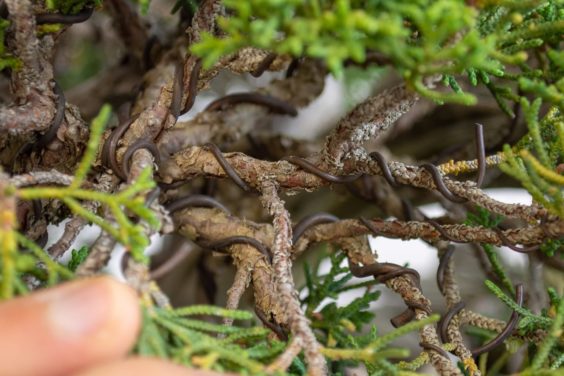
Wanting to give the live roots a chance to grow, I planted the tree in a much smaller put, returned it to a spot under the shade cloth (30%), and will resume watering the foliage without soaking the soil.
![]()
After repotting
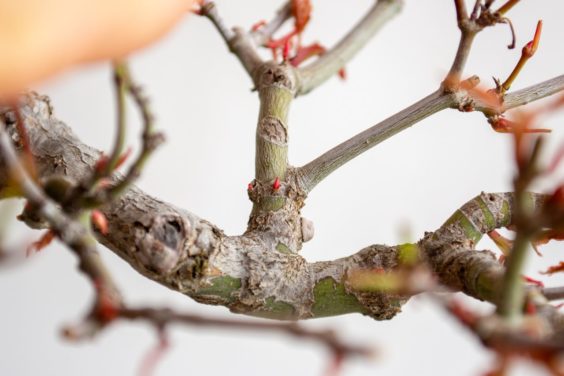
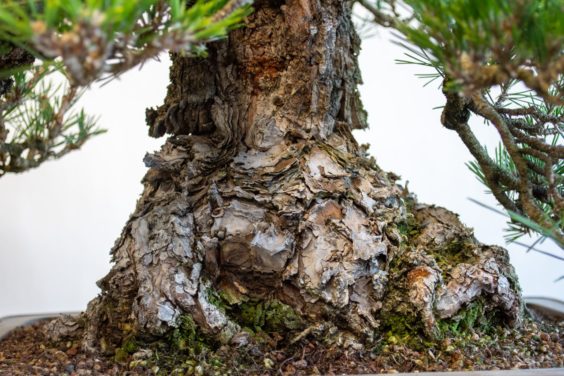
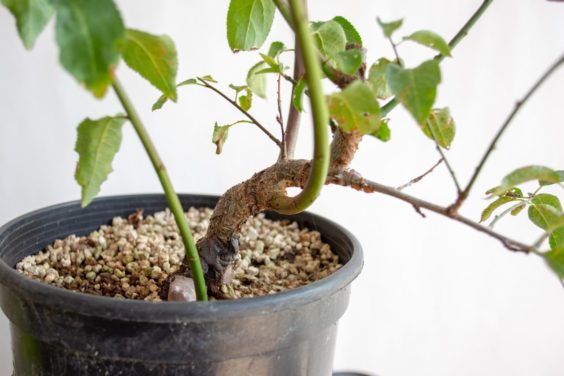
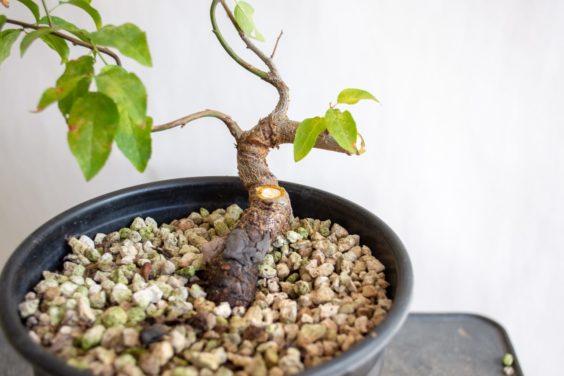
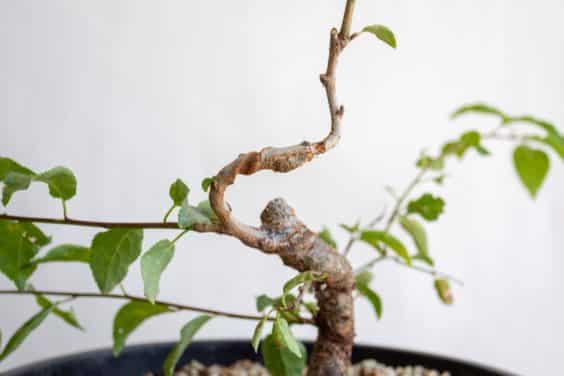
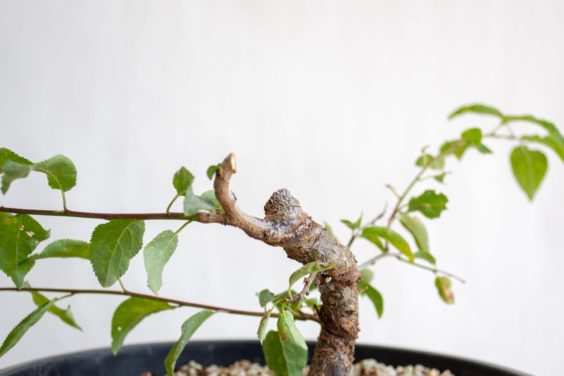
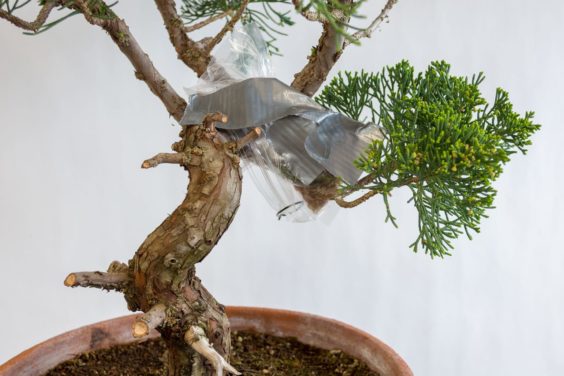
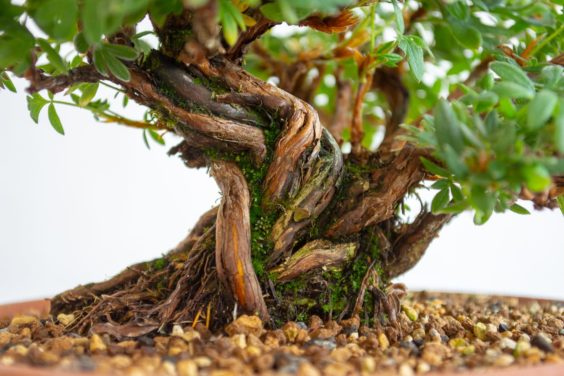
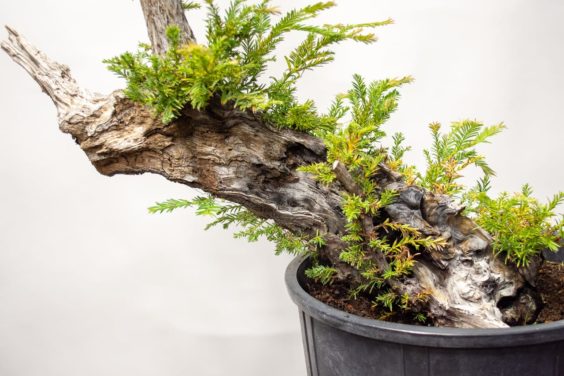
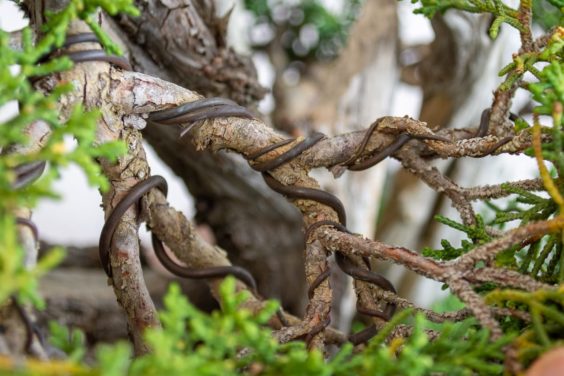
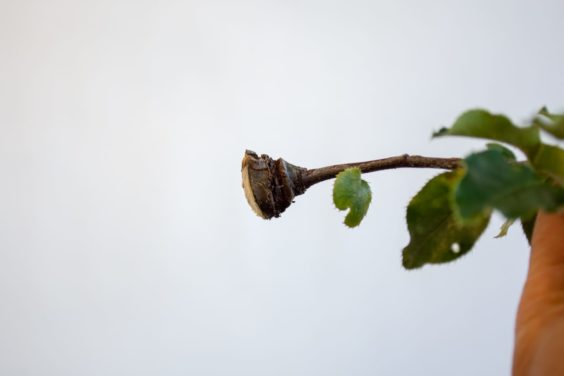
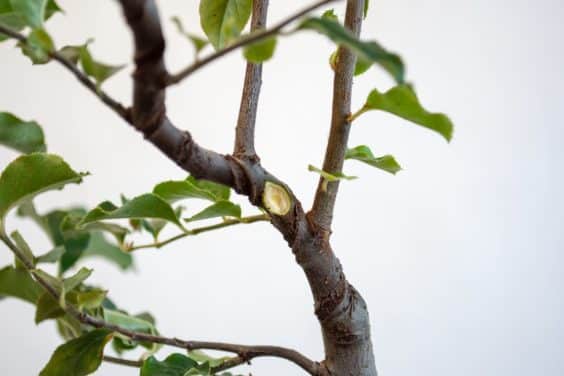
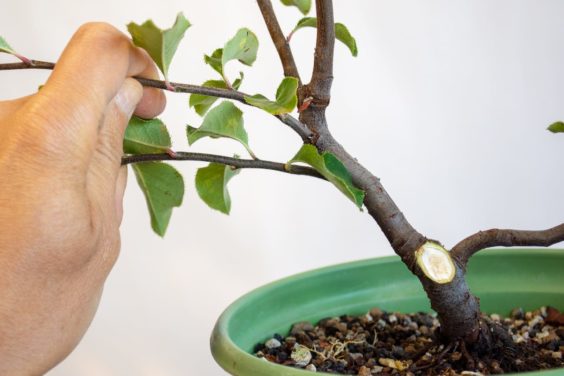
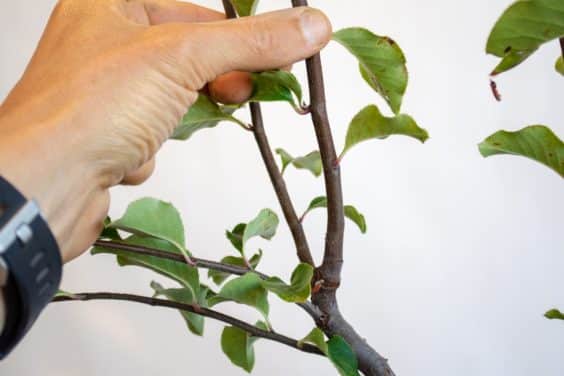
What might of led a young, healthy tree to go into decline? One guess has to do with the large dead branch near the base of the trunk.
![]()
Dead branch
I don’t know if the branch was alive when the tree was first potted or if it died later. Either way, it made me think about which roots were connected to the section of the lifeline that fed this branch.
It turns out that most of the roots were connected to the dead branch. If the low branch had been pruned when the tree was collected, this could have cut off any connection the bulk of the roots had to live foliage. If the branch was alive when the tree was dug and died later, it could be that something else was at play.
Having dug field-grown trees I know that you don’t always get an even number of roots all the way around the trunk. What this example teaches me, is that we now have yet another reason to preserve lots of foliage when we collect conifers: not only do we want to maintain as many healthy roots and foliage as possible, but we want to preserve a good connection between them.
Related Posts
Spring watering tips
Summer watering
Keeping bonsai from drying out in summer
The post Can you see the signs? Identifying weak roots by checking the foliage appeared first on Bonsai Tonight.