I’d like to say that every pine I start from seed grows into a winner, but that isn’t the case. To avoid investing time in trees with flaws that are difficult to correct, I periodically evaluate all of my bonsai and cull out any that don’t make the cut. Doing this frees up time in my schedule and space in the garden.
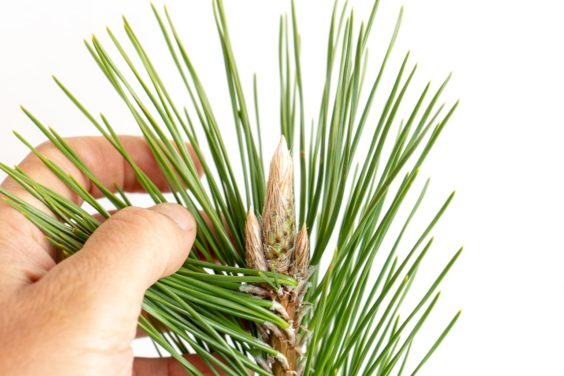
This week I looked at all two-and-a-half year old pines. In general, I liked the curves in the trunks, but the roots weren’t all great. If I only had a few trees in this batch, I’d keep most, if not all of them, and see what I could do to correct the roots. I happen, however, to have a lot of trees in this group so I was happy to mark a few for culling.
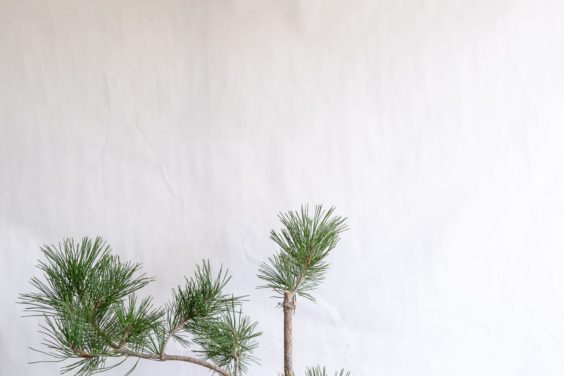
![]()
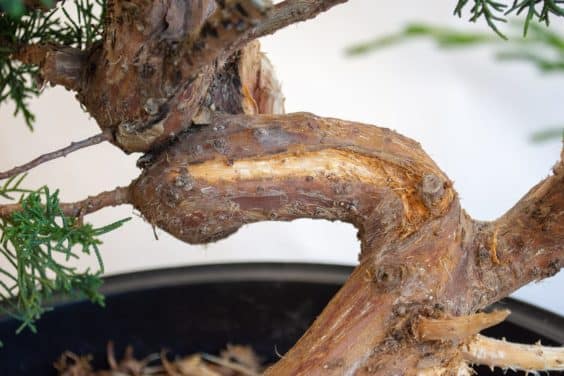
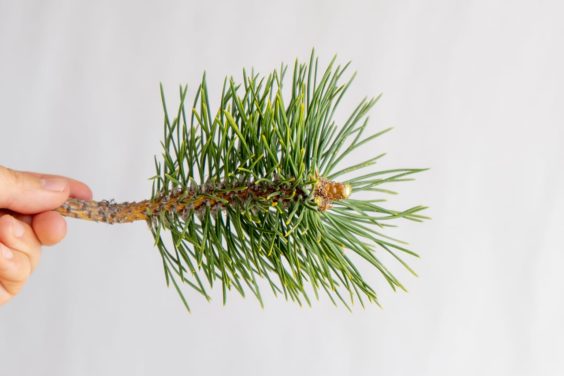
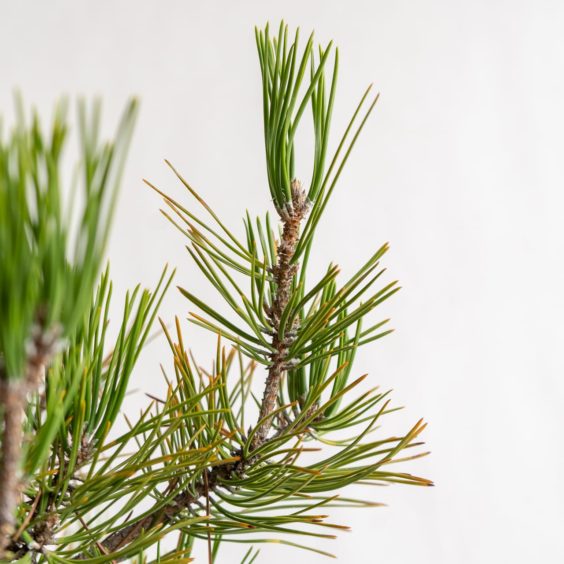
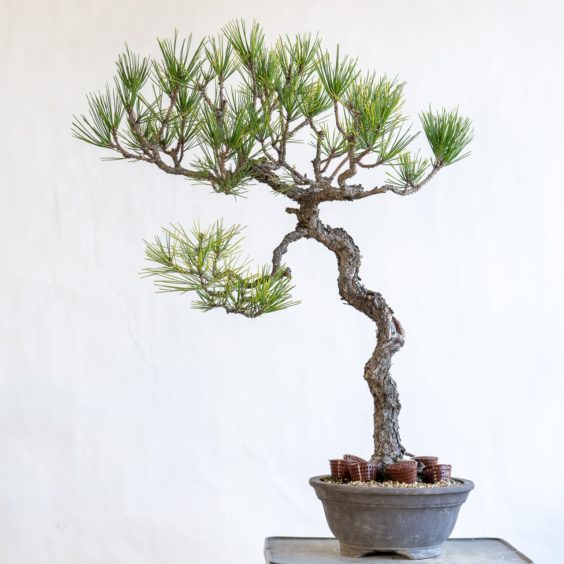
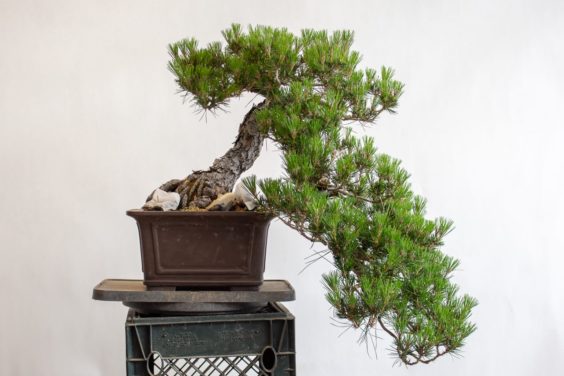
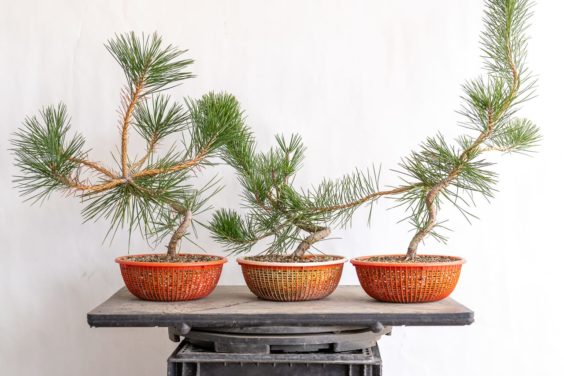
Three black pines – 2.5 years old
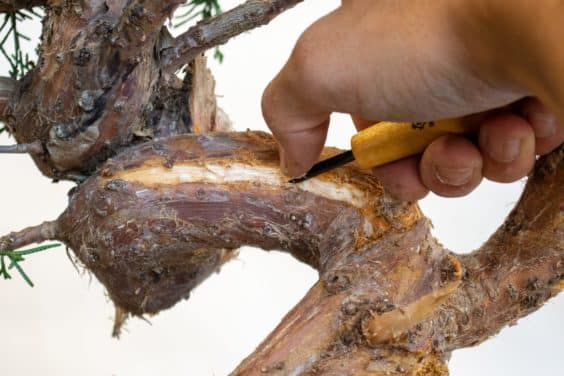
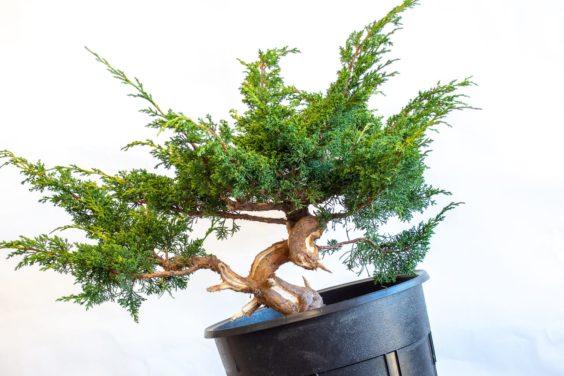
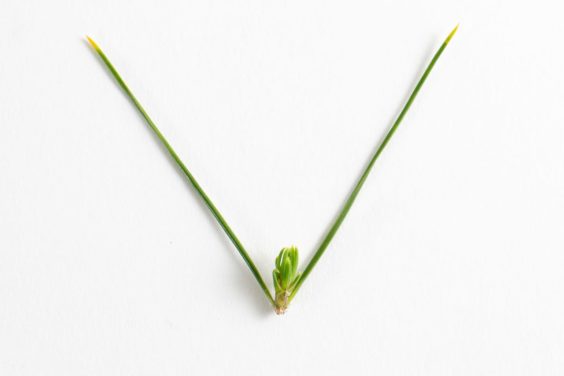
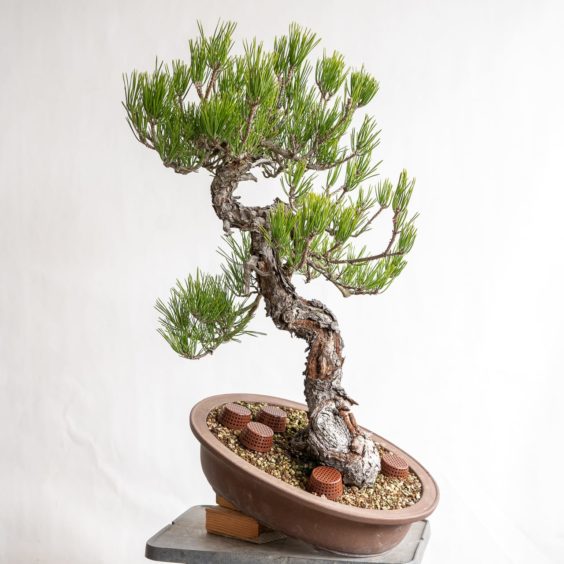
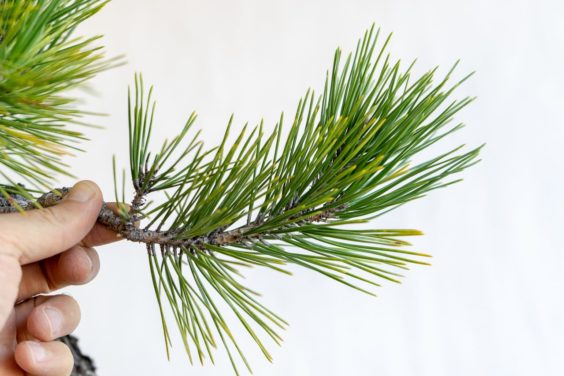
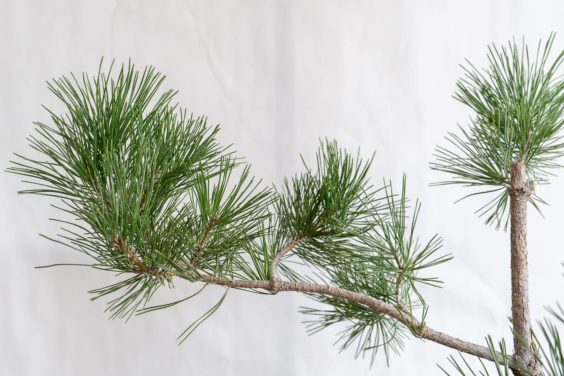
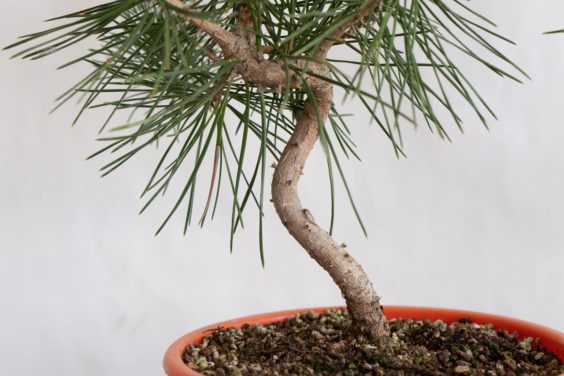
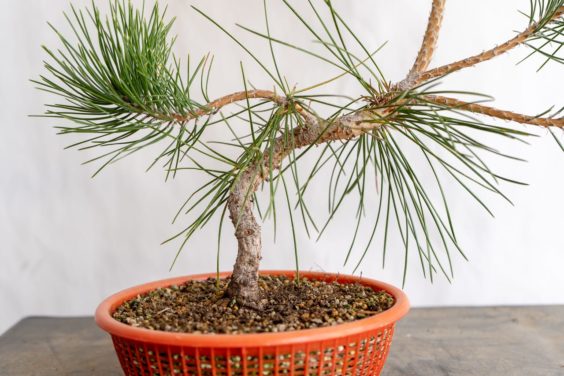
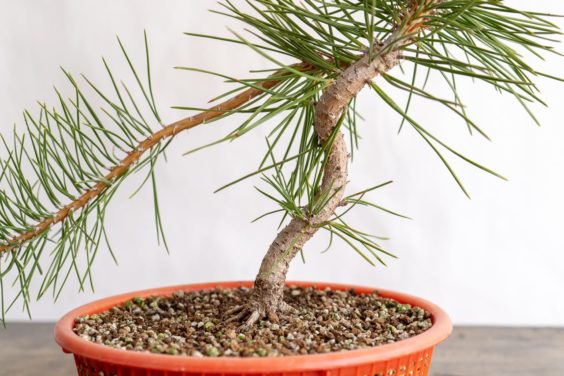
The first tree I looked at had nice curves in the trunk. All of the trees in these photos are styled to become small informal upright trees, and the gentle curves in the pine below are easy to work with.
![]()
Tree #1
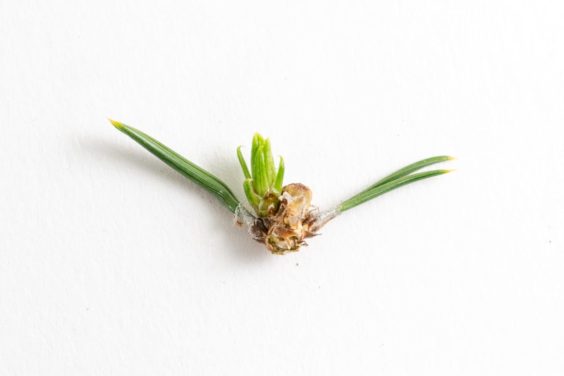
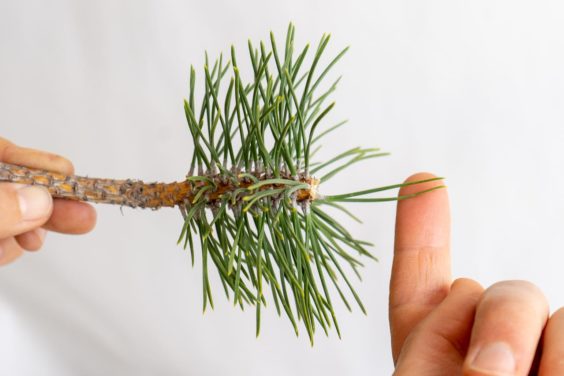
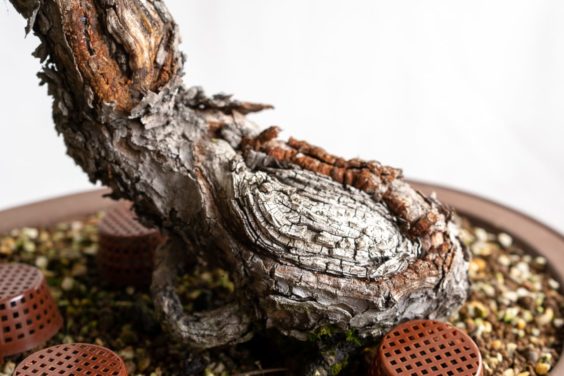
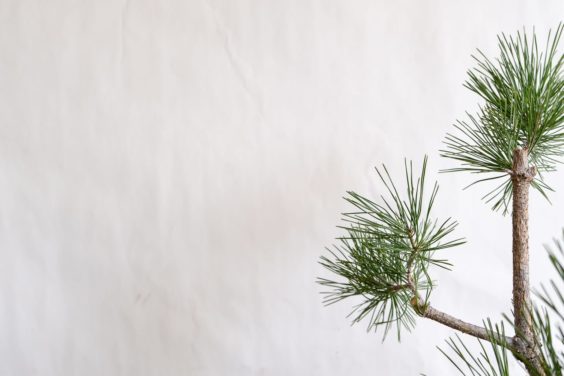
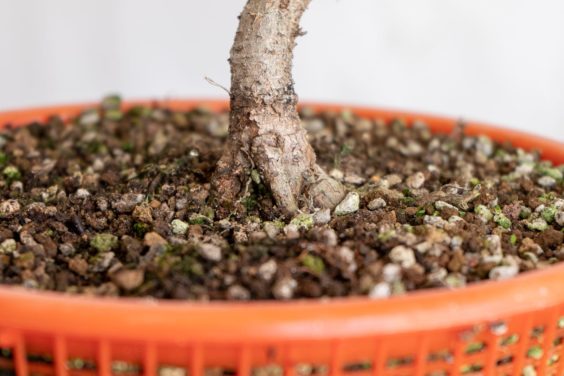
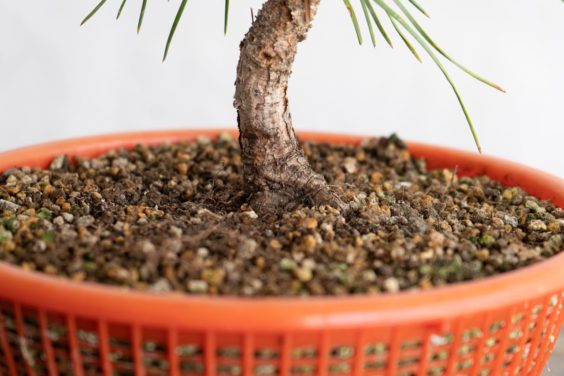
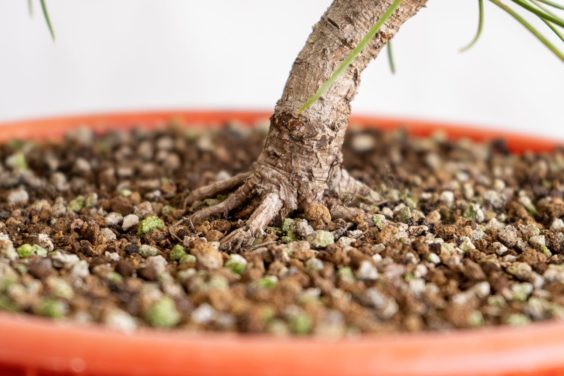
The roots, however, aren’t as good. Even though they emerge at different points around the trunk, they descend steeply before dividing. This wouldn’t be a problem if I wanted to make a larger tree, but they’re harder to correct on a smaller scale.
![]()
Roots emerge downward instead of laterally
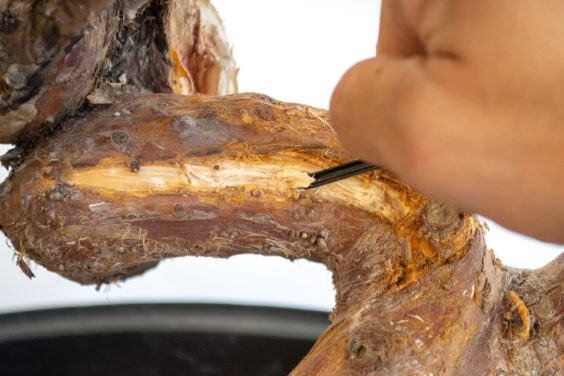
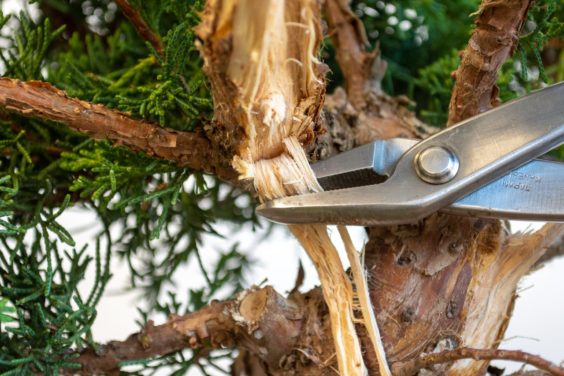
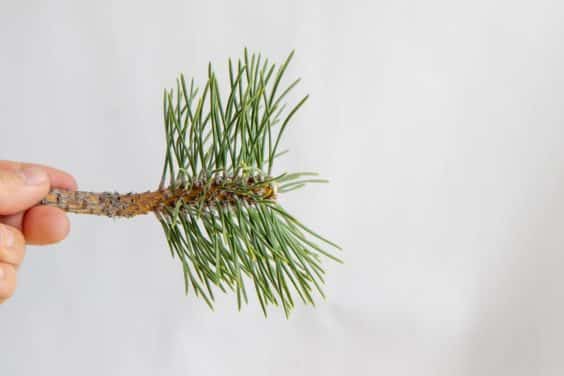
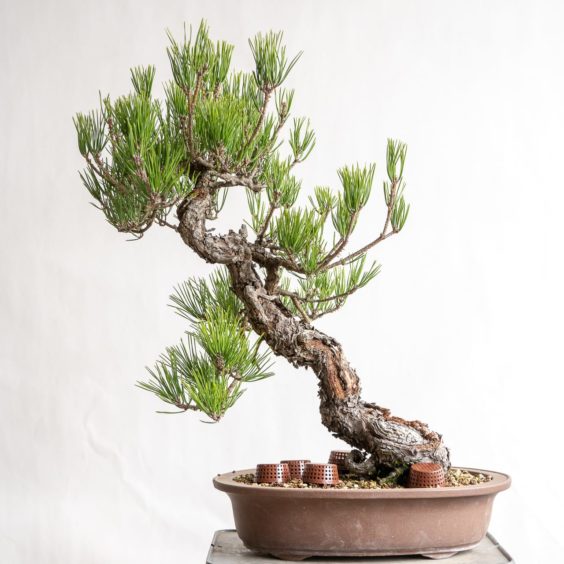
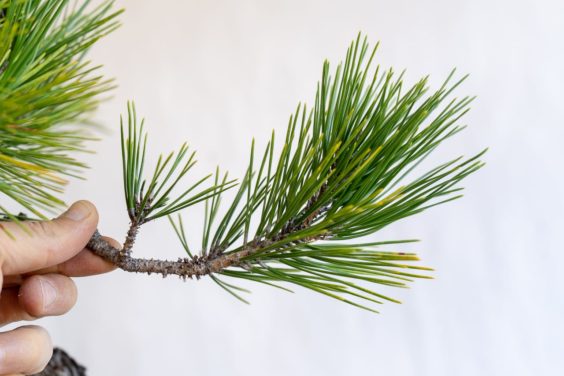
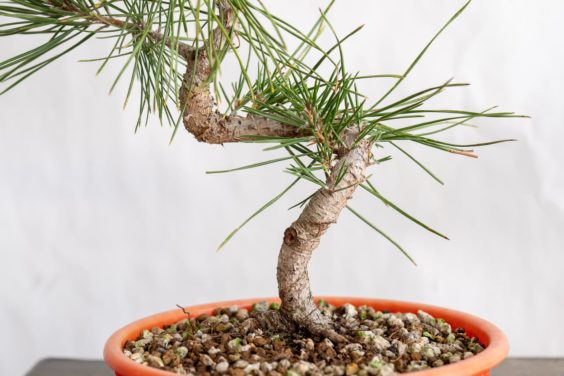
The second tree also has nice curves, but the roots essentially split in half at the base of the trunk. Making big cuts can fix this, but that would slow the tree down for a couple years.
![]()
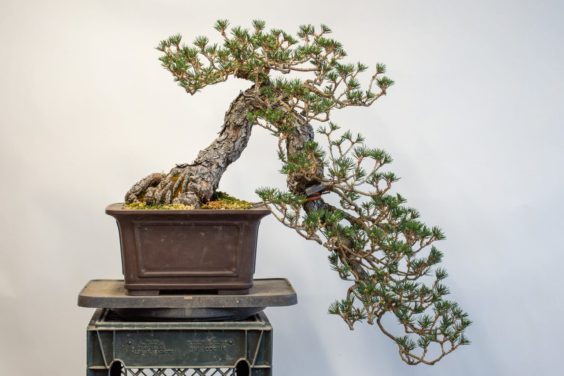
Tree #2
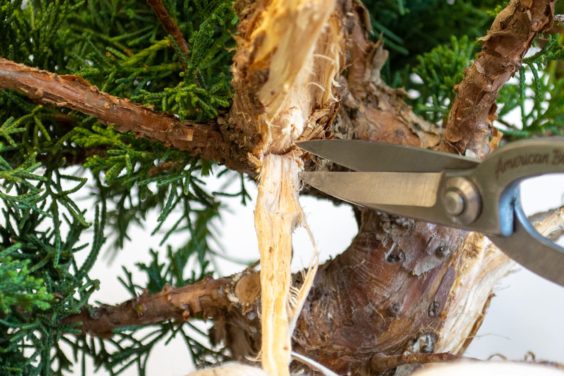
![]()
Poor roots
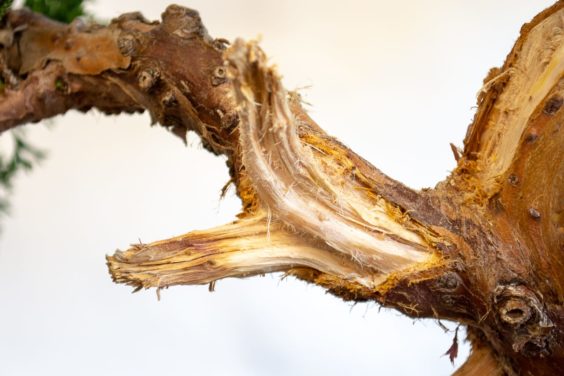
![]()
The other side is no different
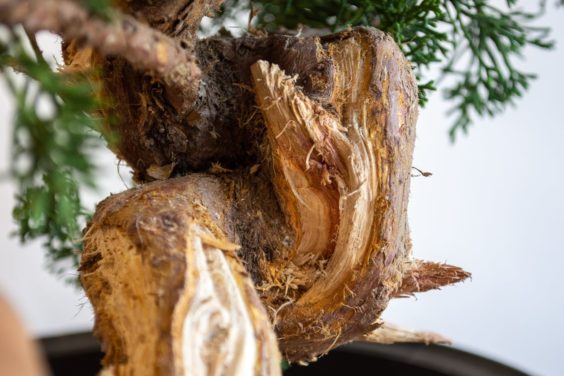
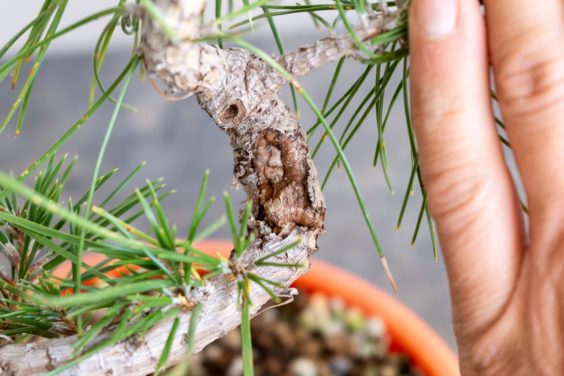
Further up the trunk, the tree had a large scar created by wire that cut in over summer. It’s healing well so I don’t expect it to become a problem in the long run, but it’s another reason to mark this tree for culling.
![]()
Wire scar
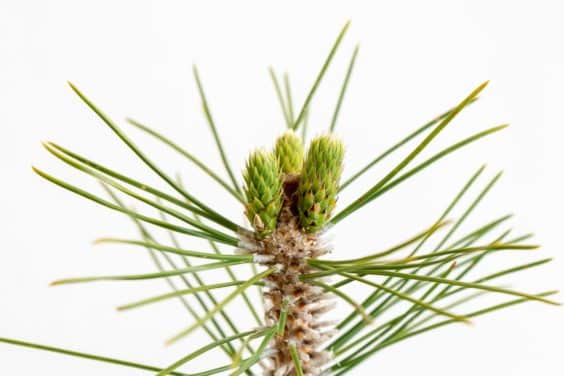
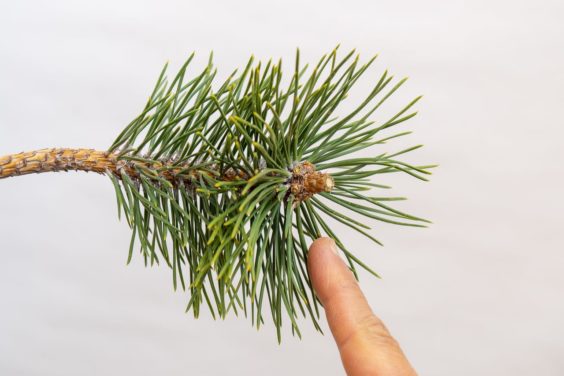
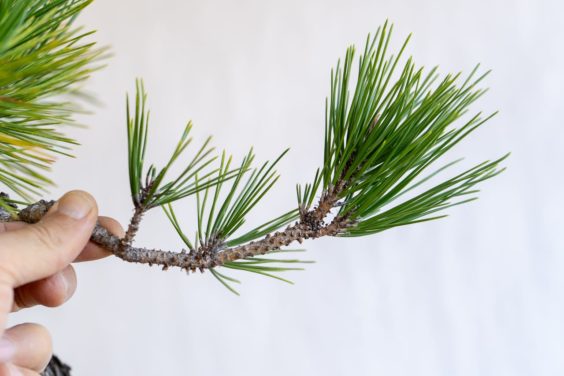
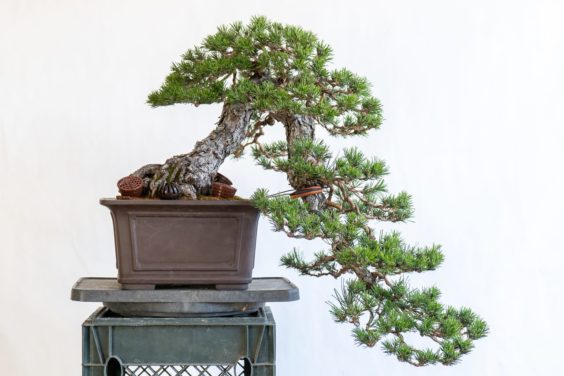
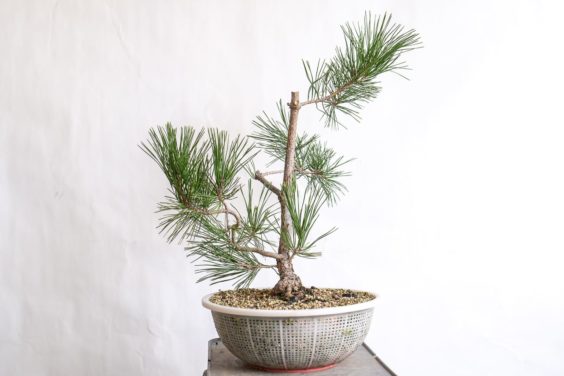
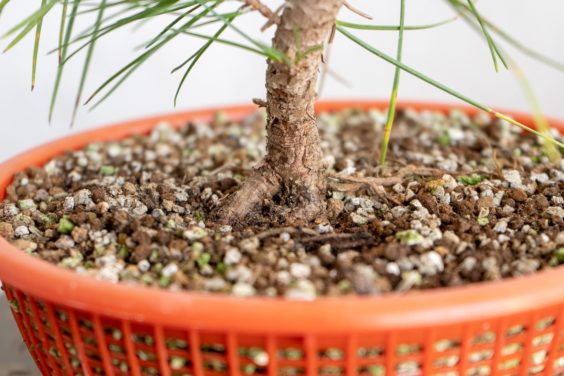
The third tree has gentle curves and decent roots at the base of the trunk.
![]()
Tree #3
![]()
Good roots
At this stage of development, good roots, and to some degree genetics, are the main considerations for keeping or culling a tree. The trunks are still slender enough to bend with wire so the specific shape of the trunk is typically adequate as long as it isn’t straight.
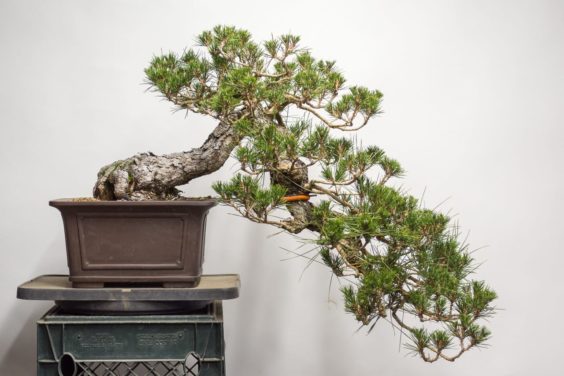
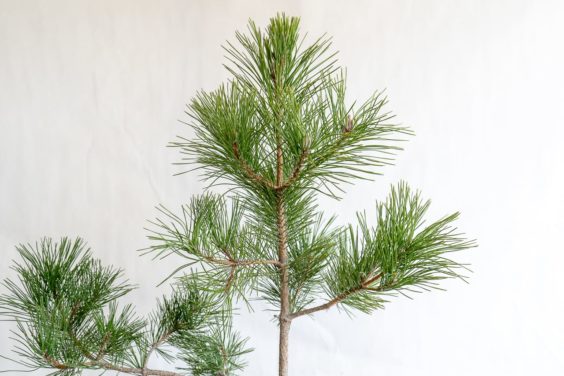
Here’s another group of three pines.
![]()
Three more black pines – 2.5 years old
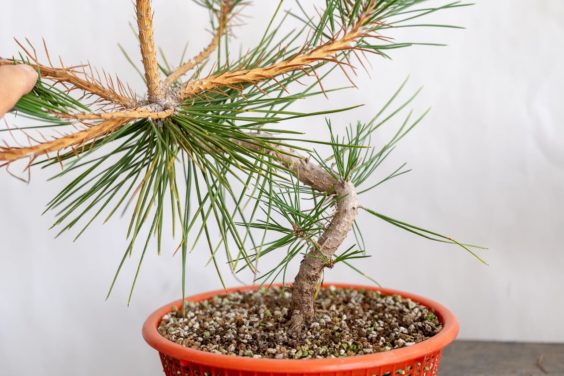
I really like the movement of the trunk on tree #4, but the root division is poor.
![]()
Tree #4
![]()
Poor roots
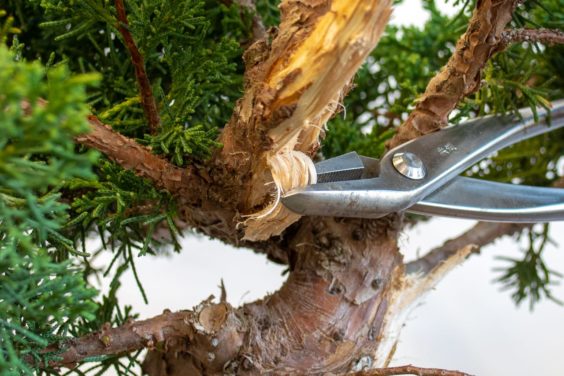
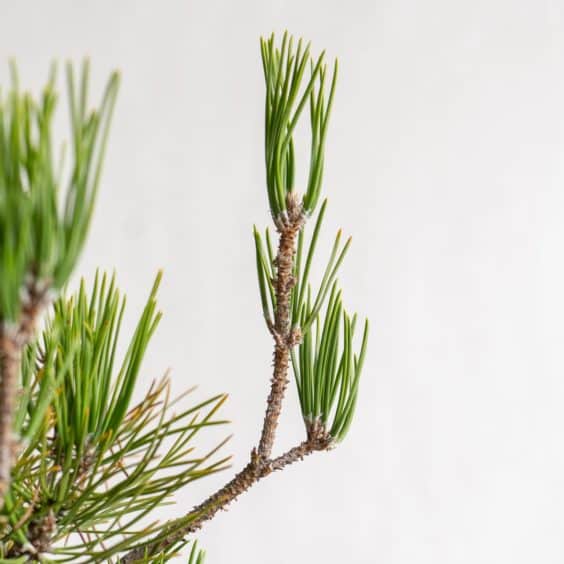
Even worse than the roots is the space between the base of the internodes and the first mature needles. Although this gap is often a reflection of the tree’s health at a specific point in its development – the tree grew quickly as the new shoots were elongating – it’s telling that the gaps below the needles are longer here than they are on any of the other pines in the batch.
![]()
Sparse foliage
These gaps can make bonsai development tricky as it can be difficult to produce buds in areas with no needles.
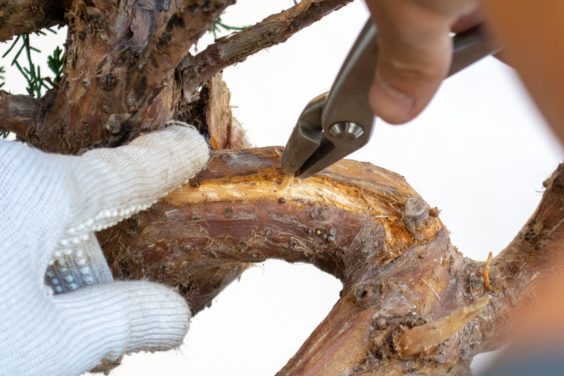
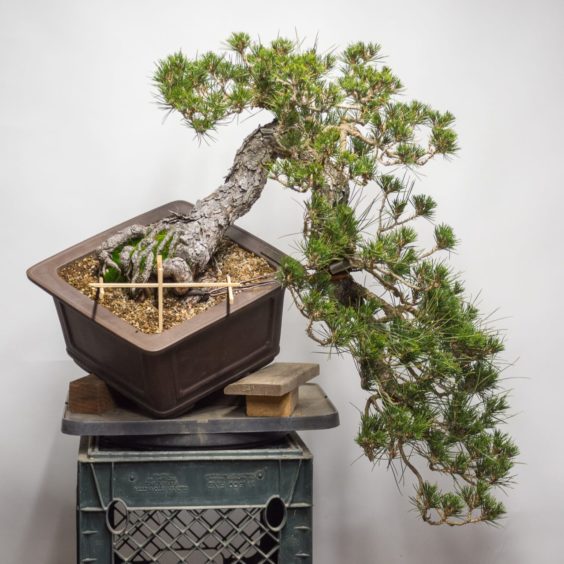
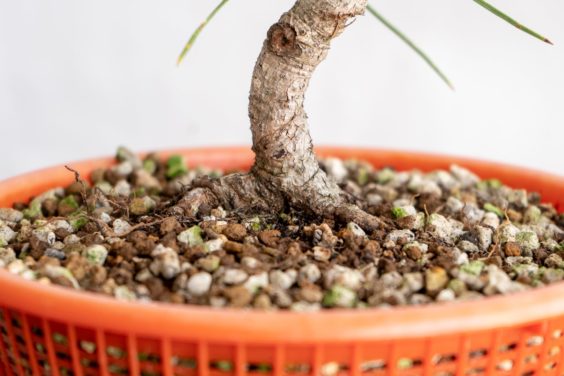
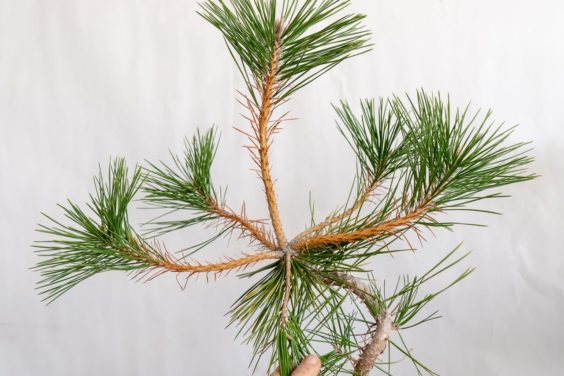
Tree #5 has a low curve and what appear to be OK roots.
![]()
Tree #5
![]()
Roots look good at the base of trunk
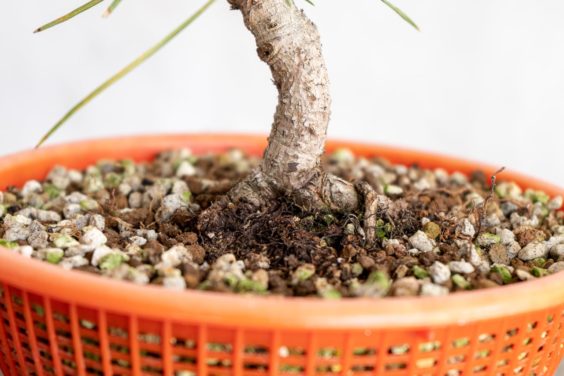
Digging a bit deeper, however, reveals poor root division below the surface of the soil.
![]()
Poor roots below the surface
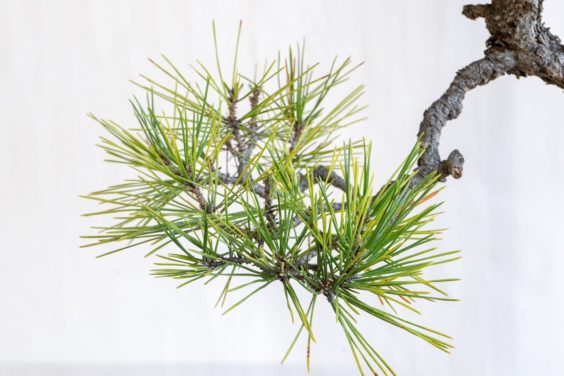
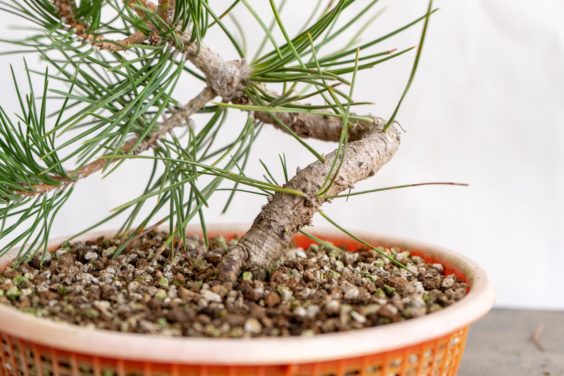
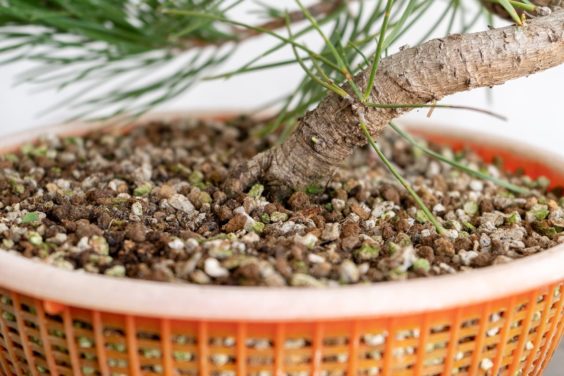
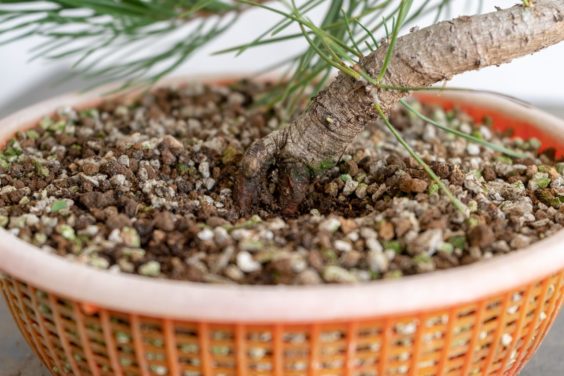
Tree #6 has subtle movement and good roots at the base of the trunk. It’s a keeper for now.
![]()
Tree #6
![]()
Good roots
In all, I culled about one in five trees from this batch. That left me with plenty of trees to work with and helps me avoid correcting flaws that add time to development.
The most common question that comes up when culling trees is where to draw the line between which trees stay and which go. I typically sort the trees into three groups as I work – keepers, rejects, and maybes. Depending on how many trees end up in each group, I can move the maybes into either group depending on whether I want to keep more or cull more.
Have any strategies for culling your own collections? Feel free to share them in the comments below.
The post Bonsai Development Series #11: Culling trees with poor characteristics appeared first on Bonsai Tonight.